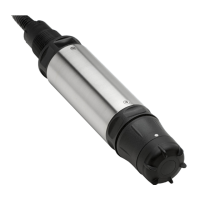
6. Assemble the sensor with a new membrane cap.
7. Install the sensor in the flow cell and connect the sensor cable.
8. Condition the sensor by operating it for 6 to 12 hours. The sensor is
conditioned when the sensor readings stabilize. Refer to Diagnostic
and test menu on page 20 for information about viewing sensor
readings.
9. Calibrate the sensor.
Replace the electrolyte
1. Disconnect the cable from the sensor.
2. Remove the sensor from the flow cell.
3. Read the precautions in Sensor assembly on page 7.
4. Lift up the rubber band that covers the vent hole marked “M48” on
the membrane cap and slide the rubber band over so it does not
cover the vent hole.
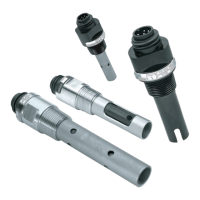
5. Turn the membrane cap counter-clockwise and remove the
membrane cap from the sensor.
6. Hold the membrane cap with the electrolyte on the bottom and shake
up and down 1-2 times to remove old electrolyte.
7. Assemble the sensor with the membrane cap.
8. Install the sensor in the flow cell and connect the sensor cable.
9. Condition the sensor by operating it until the sensor readings
stabilize. Refer to Diagnostic and test menu on page 20 for
information about viewing sensor readings.
10. Calibrate the sensor.
Prepare the sensor for storage
C A U T I O N
The electrolyte contains potassium halide and buffer to adjust acidity. Read the
MSDS sheet before opening the electrolyte bottle.
The sensor can be stored for up to 3 years from the date of manufacture
when prepared as described. Refer to Specifications on page 3 for
storage specifications.
Note: Do not touch the electrodes and keep the electrodes clean. Do not remove
the layer on the electrodes.
1. Turn the membrane cap counter-clockwise and remove the
membrane cap from the sensor.
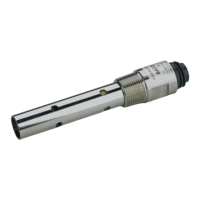
2. Rinse the membrane cap and electrode in clean water.
3. Dry the membrane cap and electrode with a clean, dry paper towel in
a place free of dust.
4. Loosely put the membrane cap on to the electrode shaft to protect
the electrode. The membrane must not rest against the measuring
electrode.
Remove the sensor from storage
Pre-requisite: Obtain a new membrane cap. The old membrane cap
cannot be used again.
1. Read the precautions in Sensor assembly on page 7.
2. Turn the membrane cap counter-clockwise and remove the
membrane cap from the sensor.
3. Dispose of the old membrane cap.
4. Polish the electrode tip with the special abrasive paper.
5. Assemble the sensor with a new membrane cap.
6. Install the sensor in the flow cell and connect the sensor cable.
7. Condition the sensor by operating it for 6 to 12 hours. The sensor is
conditioned when the sensor readings stabilize. Refer to Diagnostic
and test menu on page 20 for information about viewing sensor
readings.
8. Calibrate the sensor.
English
19