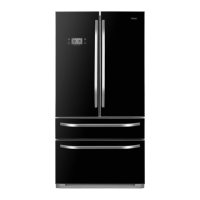
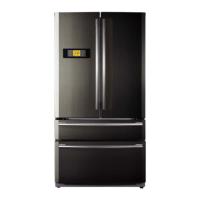
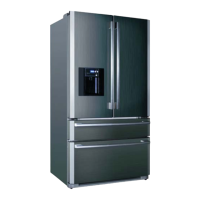
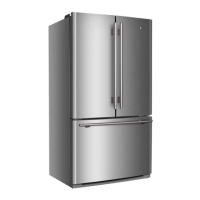
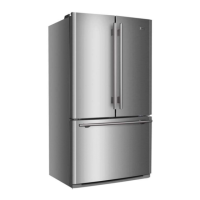
8
Disassembly and Assembly of Door
Refr. Left Door Disassembly and Assembly
Preparation
1. Remove all package
Packing base and tapes that x accessories also must be removed.
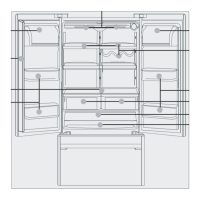
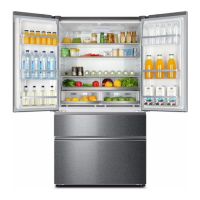
2. Check out the accessories and materials
Check out the items in the box according to the packing list. If varies, please make
query to the seller.
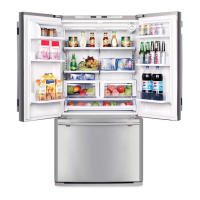
3. Place your refrigerator into proper location
4. It is better to clean your refrigerator before use (see section leaning for details)
5. Standing
After leveling and cleaning, the refrigerator shall keep standing more than 6 hours
before connecting to power supply to ensure the normal running of the refrigerator.
3. Remove the left door and place It to proper
location.
4. Middle hinge may be removed if necessary.
5. The door can be installed by reverse steps.
Disassembly and Assembly of Ice Receiving Drawer
1. Pull the drawer to the maximum length at
rst, and then remove the drawer.
2. The Ice Receiving Drawer can be Install by
reverse steps.
1. Follow the direction of the arrow 1, pull
outthegearatthe horizontal station.
2. Follow the direction of the arrow2, bending
pole of gear, and then splited.
Disassembly and Assembly of Freezer Drawer
1. Pull the freezer door to the maximum length at rst,
and then remove the drawer.
2. Pull the freezer door to the maximum length at rst,
and then remove the drawer.
Gear
Pole of gear
 Loading...