13
FINAL INSTALLATION
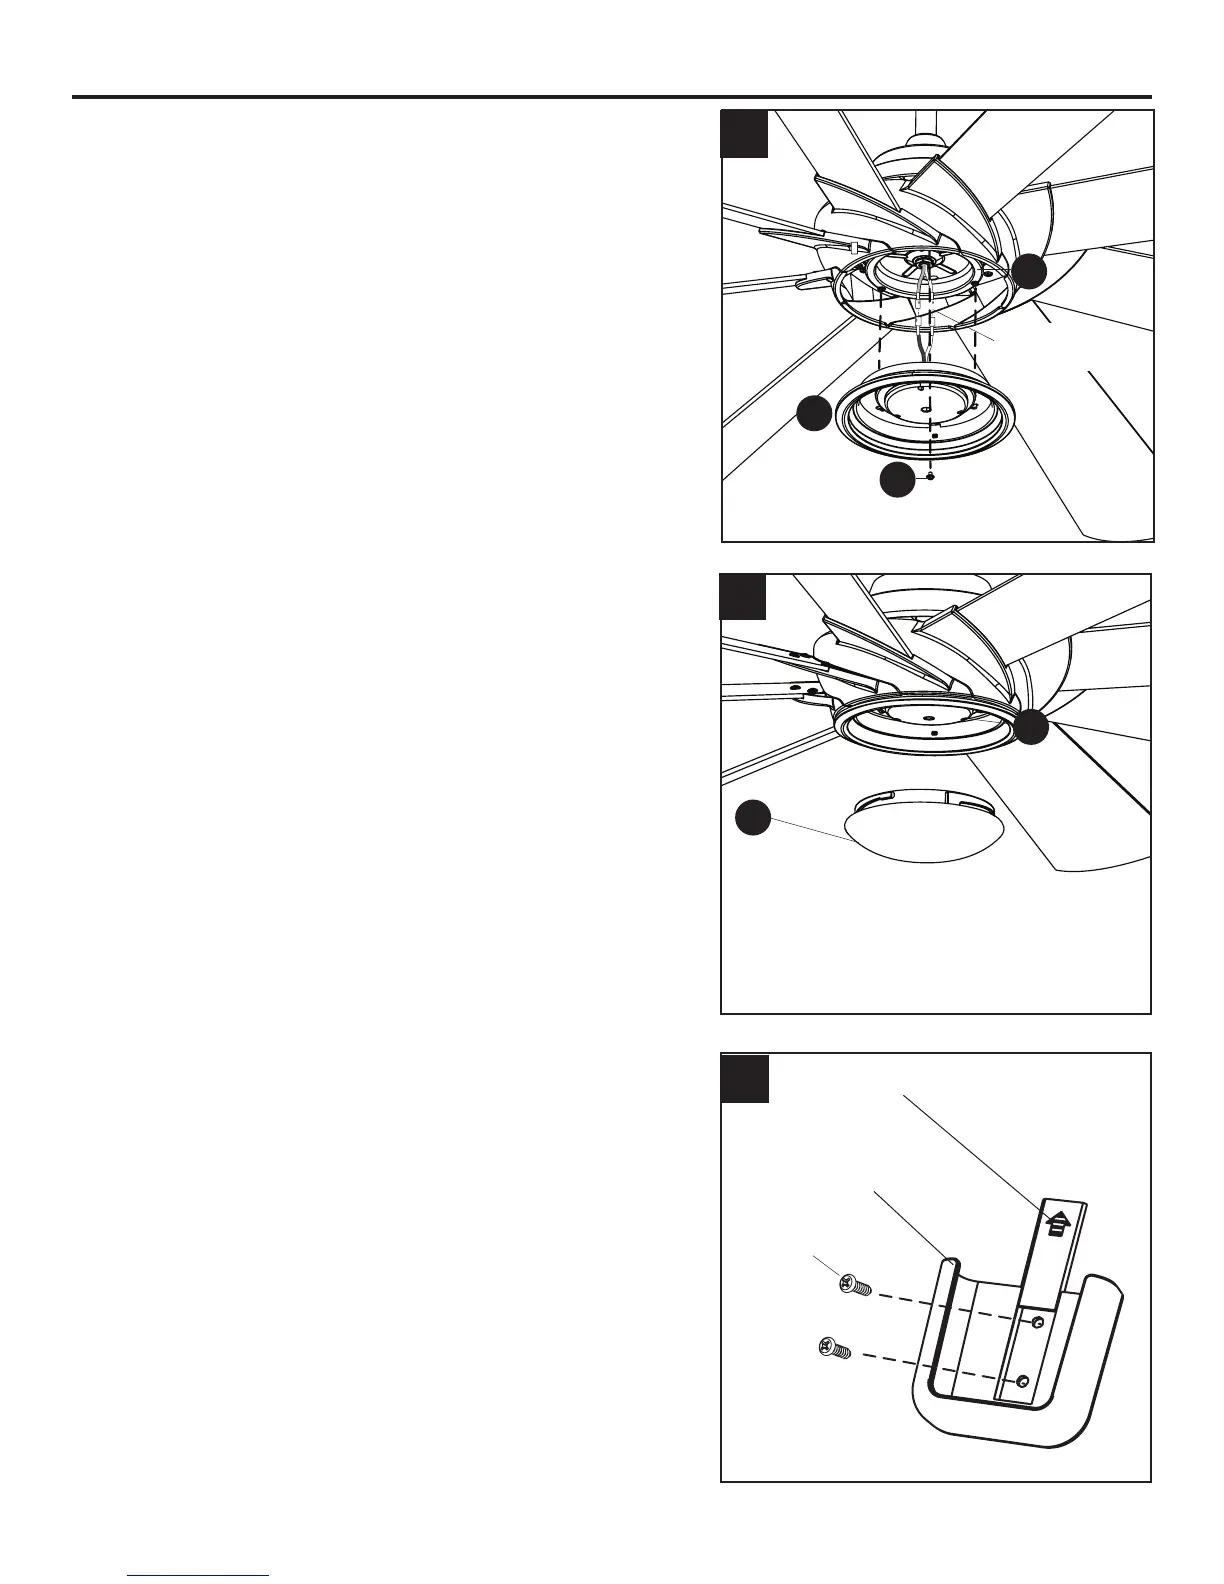
4. To install the light kit (K), connect the single-pin connector
from the motor assembly (G) to the single-pin connector
from the light kit (K) -- Blue to Black and White to White.
Reinserttwopreviouslyremovedtterplatescrews(I)
(step6,page8)intothetterplate(H),butdonottighten.
Placethekeyholesofthelightkit(K)overthetterplate
screws (I) and turn clockwise. Secure the light kit (K)
withtheremainingpreviouslyremovedtterplatescrew
(I).Tightenallthreetterplatescrews(I).
5. Lift the glass bowl (L) over the light kit (K) and turn in a
clockwise direction until it is secure.
6. If desired, the mounting bracket in remote pack (M)
can be installed to a wall using the provided mounting
screws. The remote from remote pack (M) can be
stored in the mounting bracket for easy access.
4
5
H
K
I
6
L
K
Single-pin
Connector
Wall Bracket
Screws
Wall Bracket
Small Plate
 Loading...