38
DUE TO VARYING ANGLES OF VEHICLE SEAT BELT
RETRACTORS, EXCESS SLACK IN THE VEHICLE BELT
SYSTEM MIGHT NOT BE REMOVED AUTOMATICALLY.
Once the lap and shoulder porons of the seat belt
are properly posioned and the buckle is aached,
FEED ANY REMAINING SLACK OF THE SEAT BELT
MANUALLY BACK INTO THE RETRACTOR TO TIGHTEN
THE WHOLE SYSTEM.
WARNING!
!
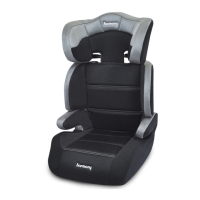
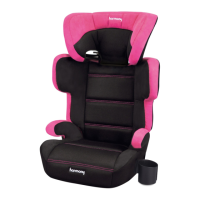
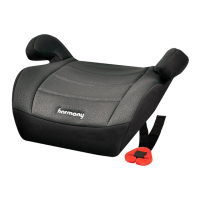
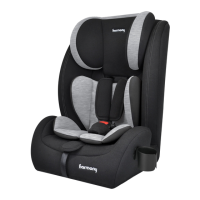
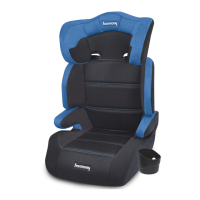
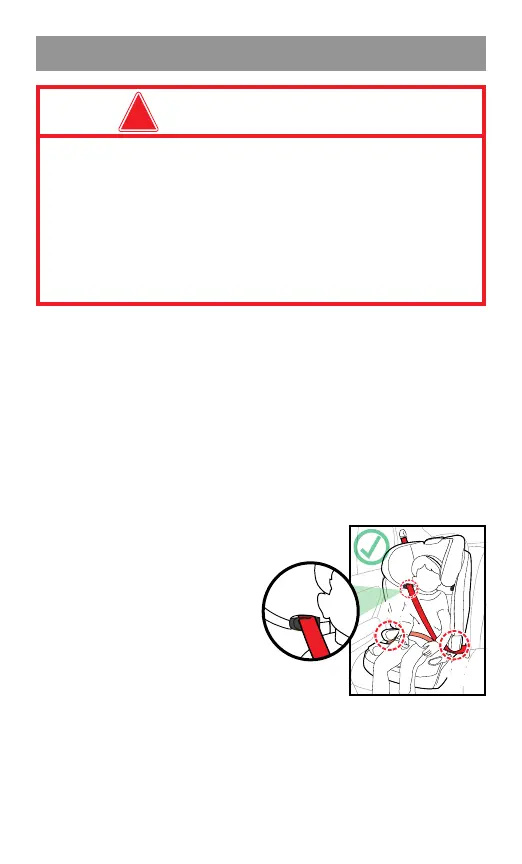
1. Place the booster seat ush against a forward-facing
vehicle seat. The vehicle seat MUST be equipped with
a 3-point lap-and-shoulder belt. Booster must be
level, stable and not rock side-to-side (see “Vehicle
seang posions”).
2. Place child in the booster seat with child’s back at
against the back of the booster seat.
3. Adjust headrest height so that the shoulder belt is
EVEN or JUST ABOVE the top of the child’s shoulders.
4. Thread shoulder belt poron of
the 3-point lap-and-shoulder belt
system through the
shoulder belt guide
❶ and ensure that
shoulder belt lies across
child’s shoulder and
chest, and NOT across
child’s face or neck.
5. Thread both sides of the lap belt under BOTH
armrests. Thread the lower end of the shoulder
belt under the armrest on the buckle side ❷.
ENSURE that the belt is snug across the child’s hips.
It is important to ensure that any lap strap is worn
❷