60
Refer to Table 4.9 for the description of the external live view icons.
Table 4.9 Description of External Live View Icons
Select the window division mode. The screen will be displayed in
1-division mode by default.
The window division modes vary with the connected devices.
Capture picture of the selected live view window, and upload the picture to
the USB disk or to the FTP server. You can also press the button at the top
of the joystick to capture the picture.
Record the video of the selected live view window, and save the video to
the USB disk or upload it to the FTP server.
Enable/Disable two-way audio. You can get not only the live video but also
the real-time audio.
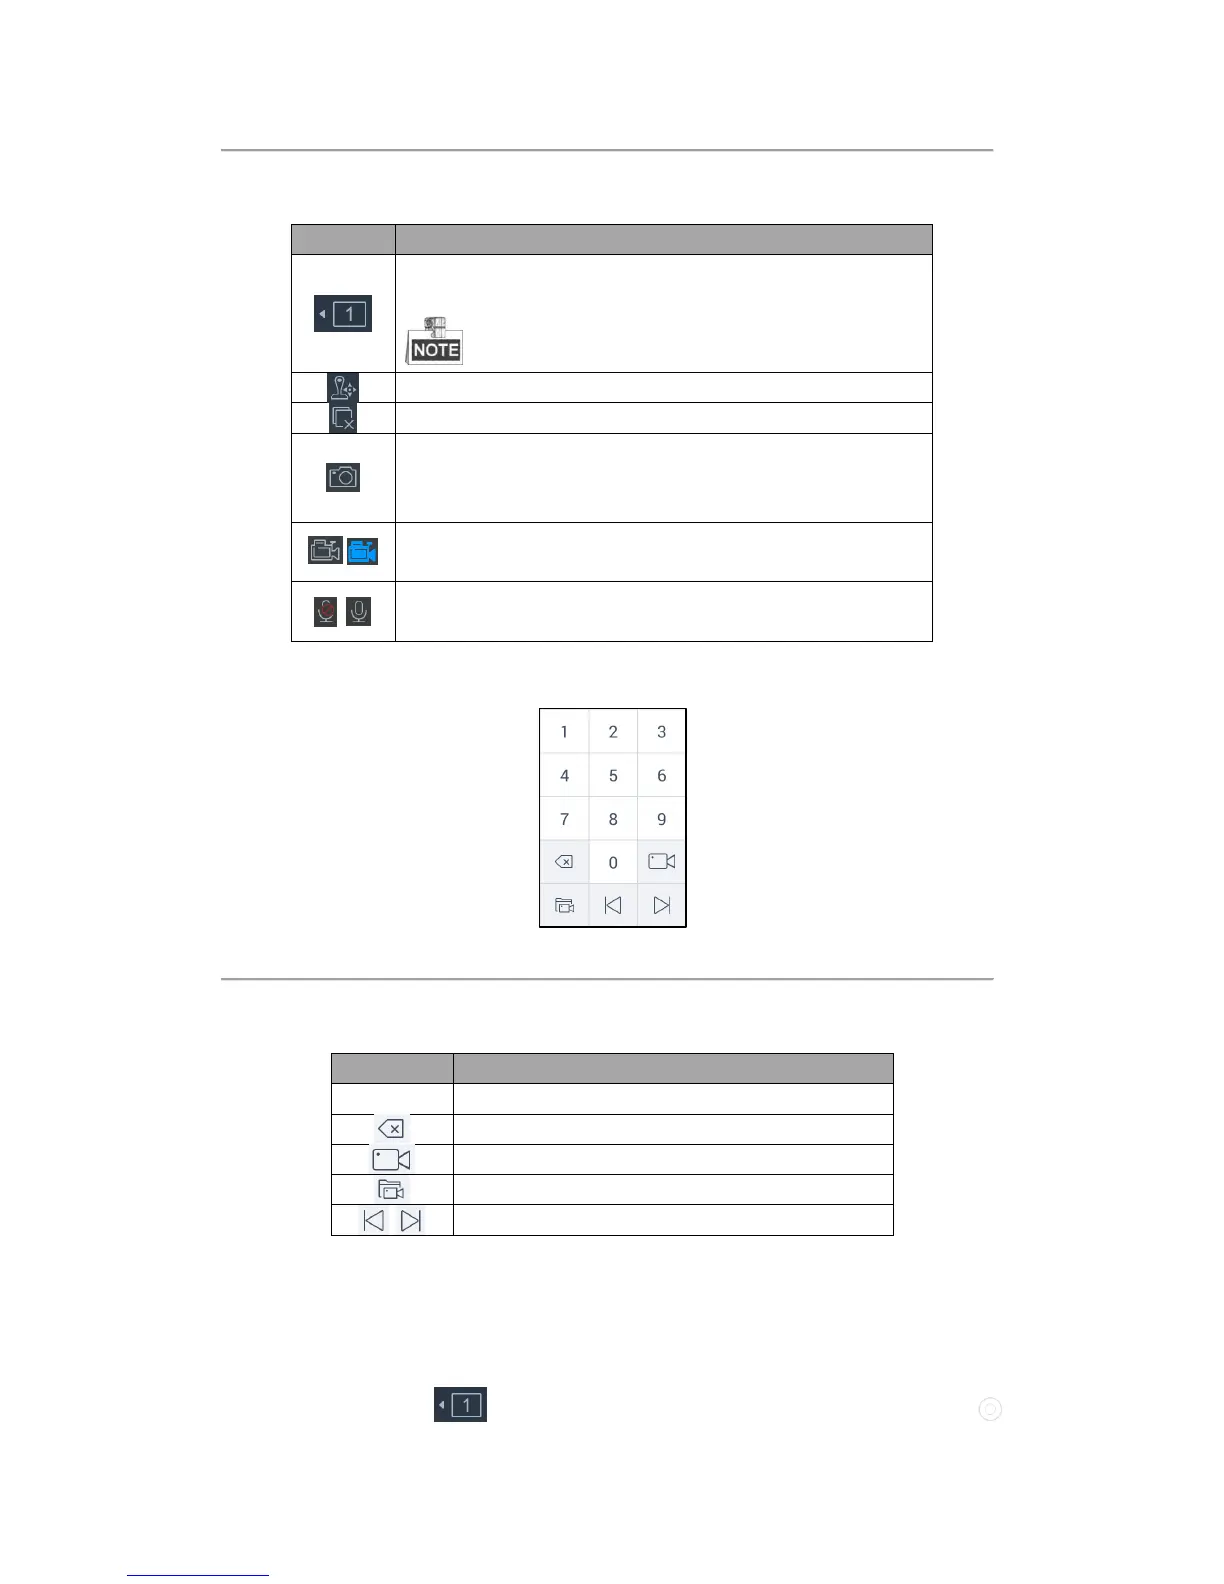
There is a numeric panel on the right with numbers 0 to 9 and five other icons for you to enter the number of the
device.
Figure 4.58 Live View Numeric Panel
Refer to Table 4.10 for the description of the external live view numeric panel icons.
Table 4.10 Description of External Live View Numeric Panel Icons
Delete the entered information.
Preview the live video of the added cameras.
Preview the live video of the added groups.
Preview the previous/next camera or group.
Starting Live View
Steps:
1. (Optional) You can click on the upper-left corner to set the window division as desired. Click

 Loading...