61
to select the window division mode.
2. Select one output window and enter the serial number in the numeric panel, and then click . The live
view of the corresponding cameras will be displayed on the selected window.
3. Select one output window and enter the serial number, then click . The live view of the corresponding
group will be displayed on the selected window.
For group, auto-switching is only supported in single-screen mode.
4. Enter 0 in the numeric panel and click . You can stop the live view of the corresponding camera.
5. (Optional) You can click to delete the entered information if you entered incorrectly.
6. (Optional) You can click or to display the video of the previous or next camera or group on the
external display.
7. (Optional) You can click to stop the external live view.
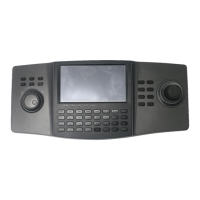
PTZ Control
In live view mode, select a playing window and click to activate PTZ control panel.
The PTZ control should be supported by the added device.
You can turn the joystick to realize the pan left/right and tilt up/down movements. You can also rotate the joystick
anticlockwise/clockwise to zoom out/in in the live view. Refer to Chapter 4.3.1 Local View for details.
Capturing the Picture
Steps:
1. Select one output window and enter the serial number in the numeric panel, and then click . The live
video of the corresponding cameras will be displayed on the selected window.
2. Click to capture the picture of the selected live view window, and save the picture to the USB disk or
upload it to the FTP server. You can also press the button at the top of the joystick to capture the picture.
You must connect a USB disk to the keyboard, or ensure the network connection of the PC (running FTP
server) and the keyboard is valid and correct. Run the FTP server on the PC and copy the firmware into the
corresponding directory of your PC.
Recording
Steps:
1. Select one output window and enter the serial number in the numeric panel, and then click . The live
video of the corresponding cameras will be displayed on the selected window.

 Loading...