User Manual of Digital Video Recorder
122
4. Click the Apply button to save the Email settings.
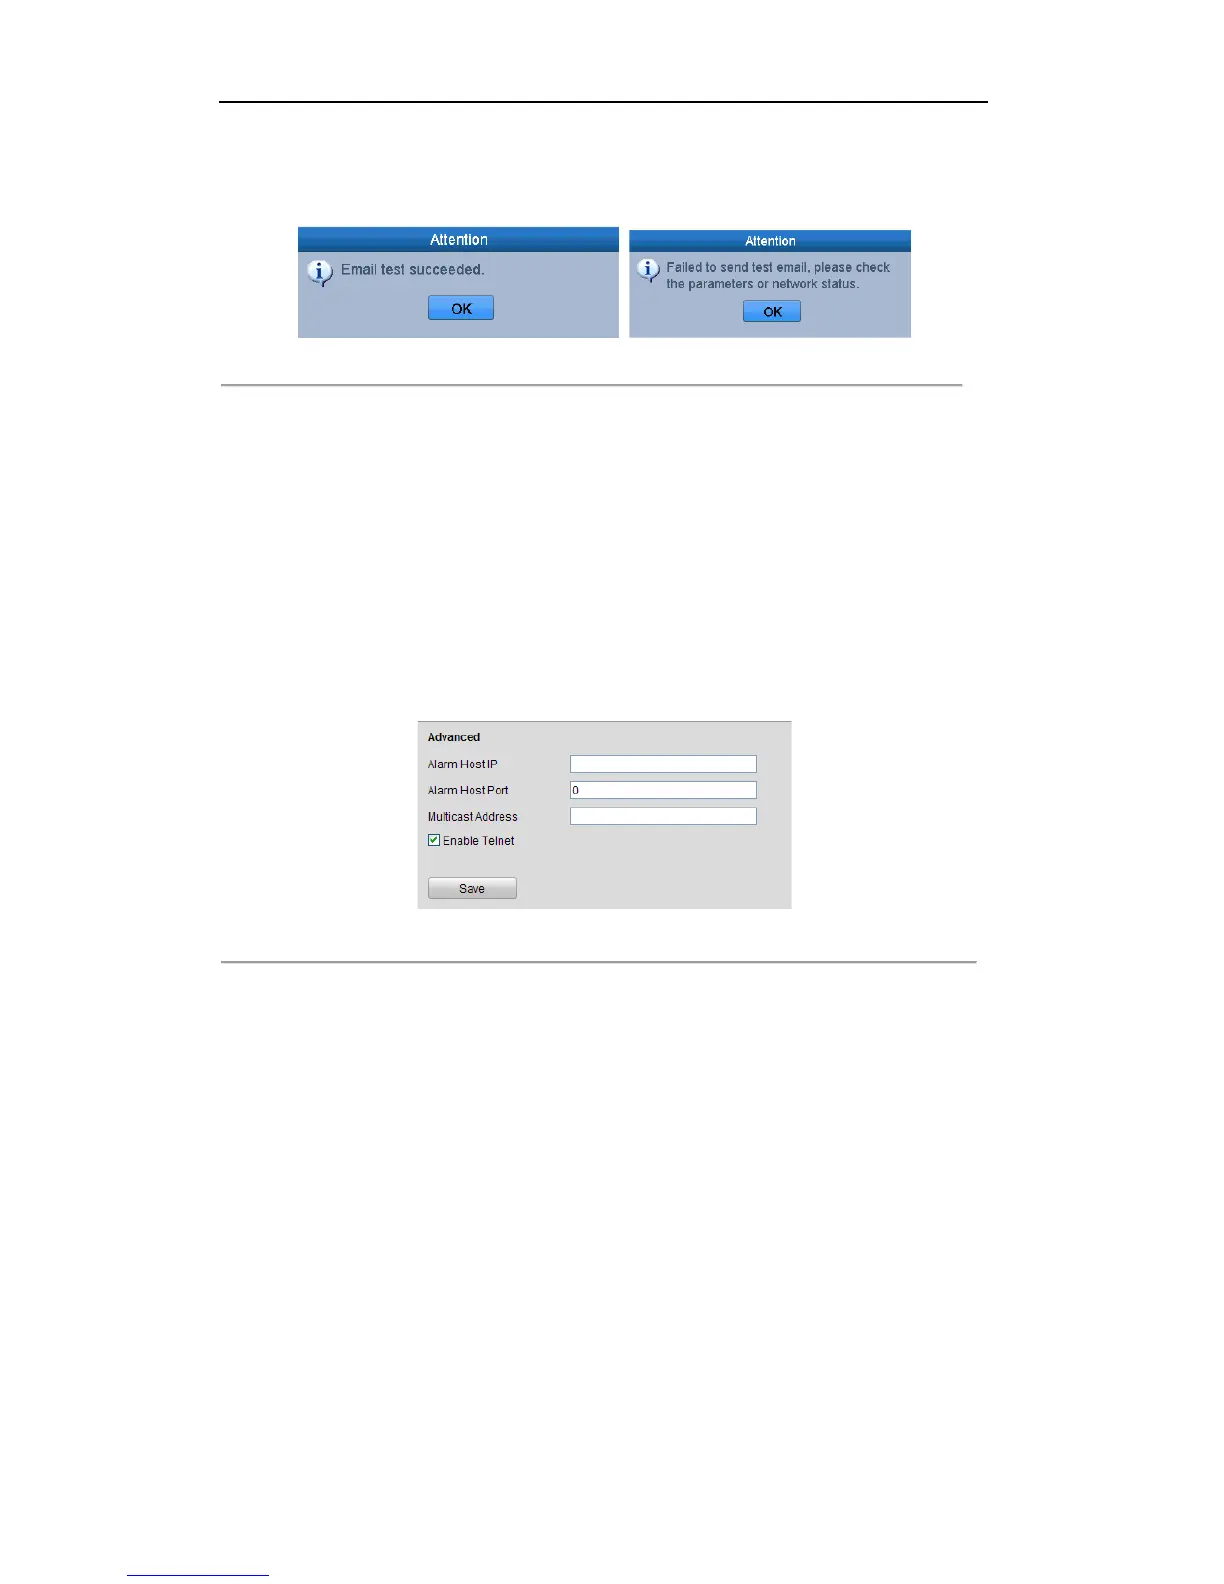
5. You can click the Test button to test whether your Email settings work. The corresponding Attention
message box pops up.
Figure 9. 29 Email Testing Attention
9.2.12 Telnet Settings
Purpose:
Telnet function provides an easy way to get access to the DVR. You can see the advanced information about the
device by inputting command; as well the configuration can also be realized through telnet connection.
Steps:
1. Enter the Advanced settings interface, as shown in the Figure 9. 29.
Configuration > Remote Configuration > Network Settings > Advanced
Figure 9. 30 Telnet Settings Interface
2. Check the checkbox of the Enable Telnet.
3. Click the Save button to save the setting.
4. You can open the Command Prompt window in your PC, and input “telnet IP Address” to connect with the
DVR, as shown in the figure below.
Example:
If the IP address of the DVR is 192.0.0.64, you can input “telnet 192.0.0.64” and then press Enter to
connect to the DVR.