User Manual of Digital Video Recorder
106
8.4 Setting All-day Video Quality Diagnostics
Purpose:
The device provides two ways to diagnose the video quality: manual and all-day. Perform the following steps to
set the threshold of the diagnosing and the linkage actions.
Steps:
1. Enter Video Quality Diagnostics settings interface of Camera Management and select a channel you want
to detect video tampering. Menu> Camera> Video Quality Diagnostics
2. Check the checkbox of Enable Video Quality Diagnostics.
3. Enable and set the threshold of the diagnostic types, there are Blurred Image, Abnormal Brightness, and
Color Cast.
Check the corresponding checkbox of the diagnostic type, and adjust the threshold of it by
clicking-and-dragging the bar.
Note: The higher the threshold you set, the harder the exception will be detected.
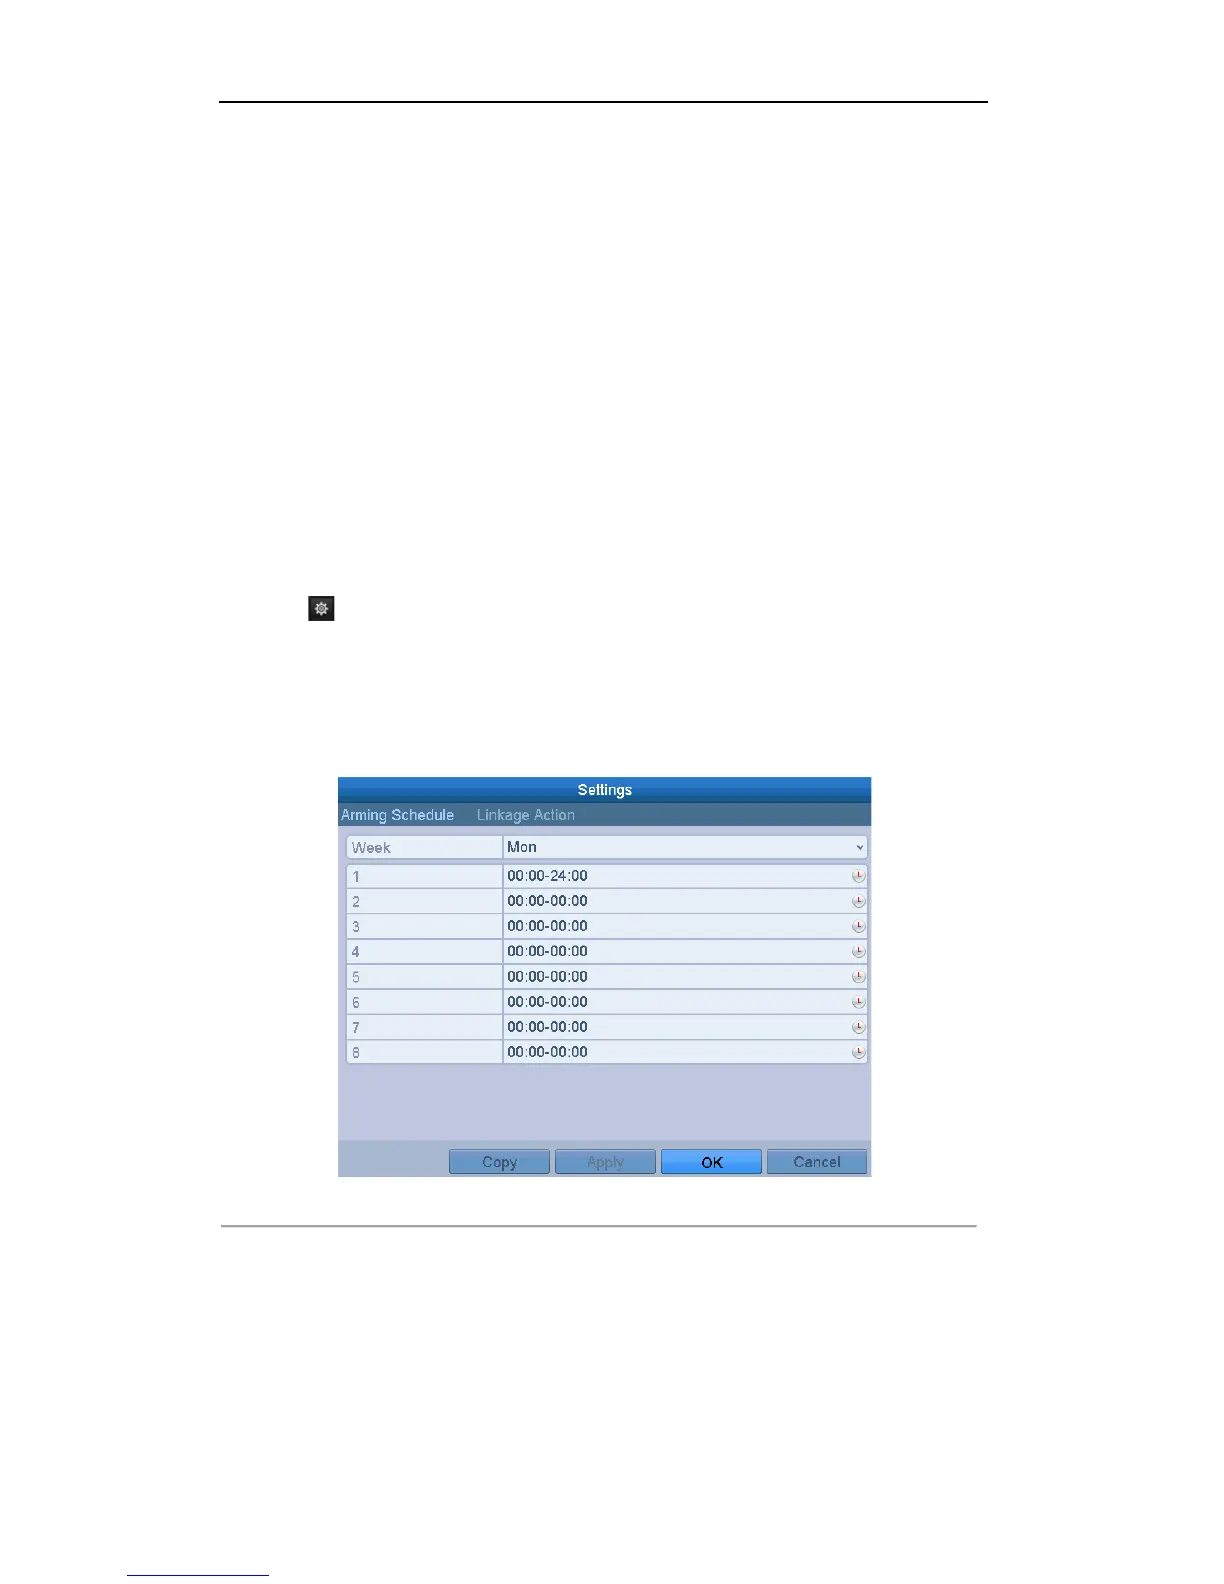
4. Click to set handling method of video tampering. Set arming schedule and alarm response actions of
the channel.
1) Click Arming Schedule tab to set the arming schedule of response action.
2) Choose one day of a week and up to eight time periods can be set within each day.
Note:
Time periods shall not be repeated or overlapped.
Figure 8. 10 Set Arming Schedule of Video Quality Diagnostics
3) Select Linkage Action tab to set alarm response actions of video tampering alarm (please refer to
Chapter 8.7 Setting Alarm Response Actions).
Repeat the above steps to set arming schedule of other days of a week. You can also use Copy button
to copy an arming schedule to other days.
4) Click the OK button to complete the video tampering settings of the channel.
5. Click the Apply button to save and activate settings.
6. (Optional) you can copy the same settings to other cameras by clicking the Copy button.