User Manual of Digital Video Recorder
16
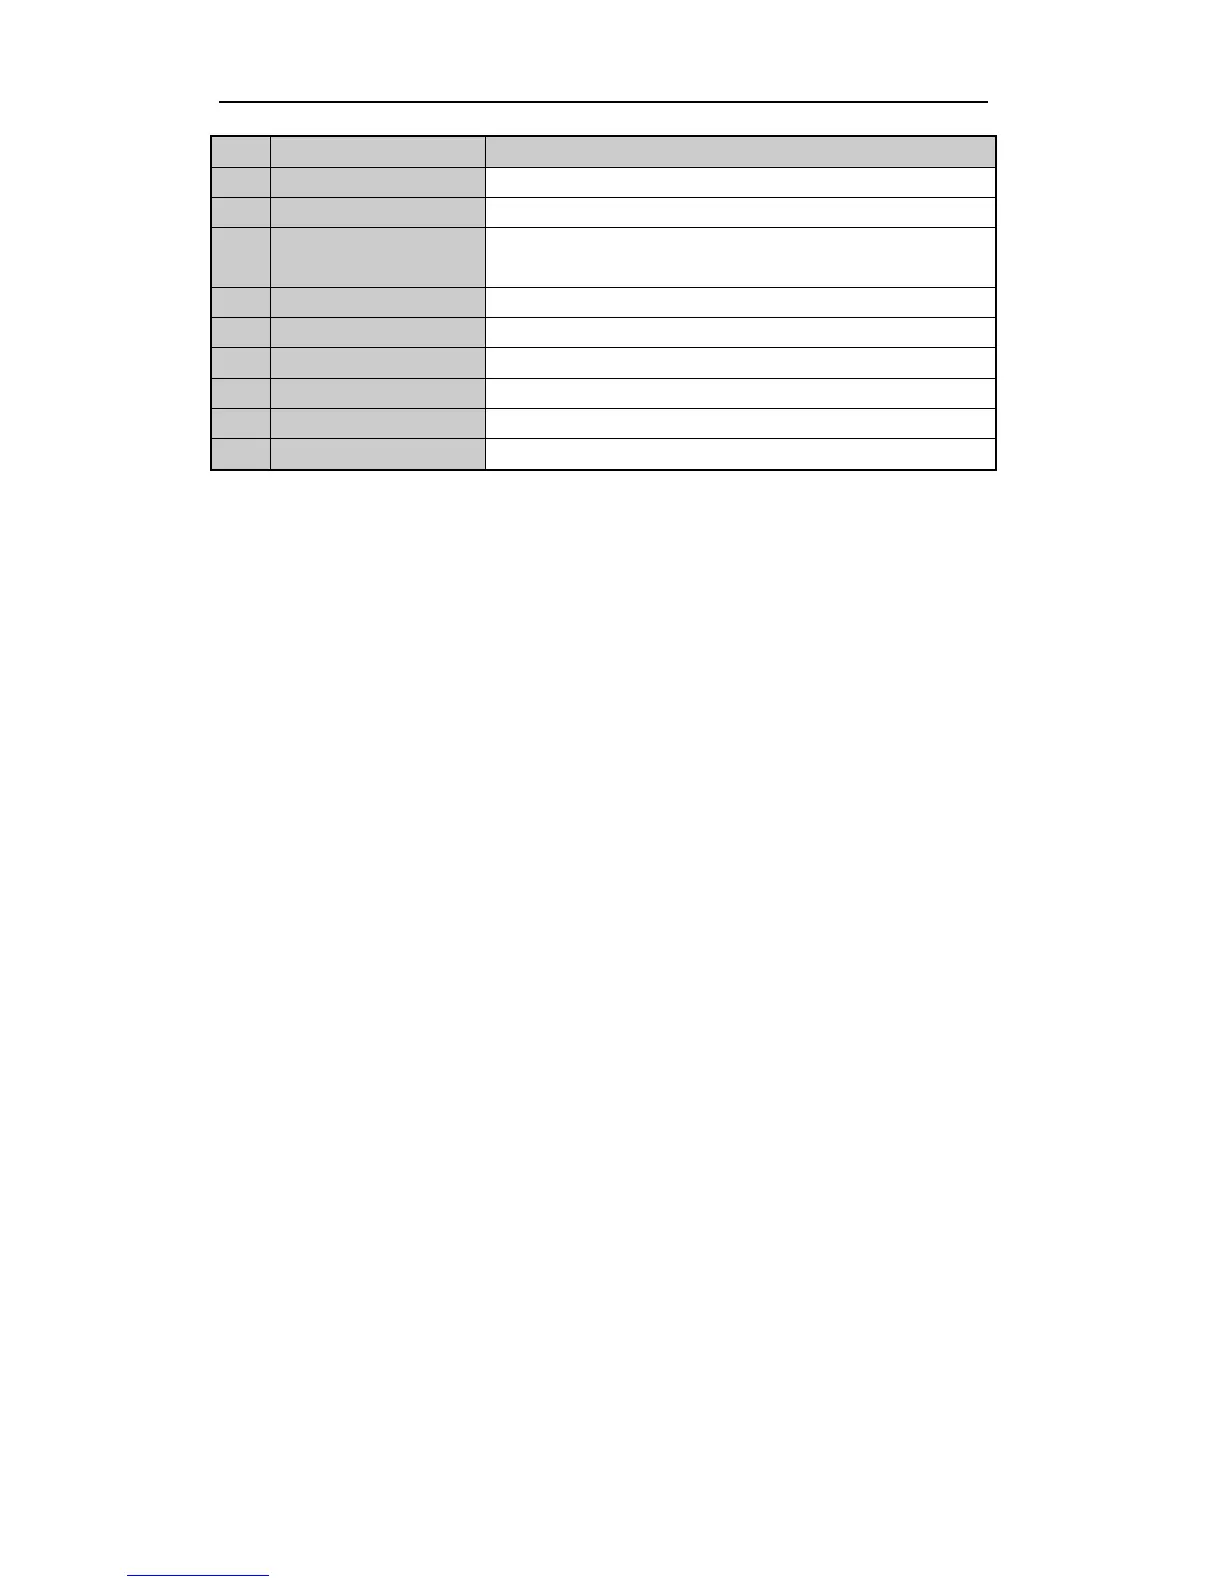
No. Name Description
10 MENU Button
Same as the MENU/WIPER button on front panel.
11 PREV Button
Same as the PREV/FOCUS- button on front panel.
12 DIRECTION/ENTER
Buttons
Same as the DIRECTION/ENTER buttons on front panel.
13 PTZ Button
Same as the PTZ/IRIS- button on front panel.
14 ESC Button
Same as the ESC button on front panel.
15 RESERVED
Reserved for future usage.
16 F1 Button
Same as the F1/LIGHT button on front panel.
17 PTZ Control Buttons
Buttons to adjust the iris, focus and zoom of a PTZ camera.
18 F2 Button
Same as the F2/AUX button on front panel.
Troubleshooting Remote Control:
Note:
Make sure you have install batteries properly in the remote control. And you have to aim the remote
control at the IR receiver in the front panel.
If there is no response after you press any button on the remote, follow the procedure below to troubleshoot.
Steps:
1. Go into Menu > Settings > General > More Settings by operating the front control panel or the mouse.
2. Check and remember DVR ID#. The default ID# is 255. This ID# is valid for all IR remote controls.
3. Press the DEV button on the remote control.
4. Enter the DVR ID# in step 2.
5. Press the ENTER button on the remote.
If the Status indicator on the front panel turns blue, the remote control is operating properly. If the Status
indicator does not turn blue and there is still no response from the remote, please check the following:
1. Batteries are installed correctly and the polarities of the batteries are not reversed.
2. Batteries are fresh and not out of charge.
3. IR receiver is not obstructed.
If the remote still cannot function properly, please change the remote and try again, or contact the device
provider.