Steps
1.
Go to the sengs page: Conguraon → Network → Advanced Sengs → SNMP .
2.
Check Enable SNMPv1, Enable SNMP v2c or Enable SNMPv3.
Note
The SNMP version you select should be the same as that of the SNMP soware.
And you also need to use the dierent version according to the security level required. SNMP v1
is not secure and SNMP v2 requires password for access. And SNMP v3 provides encrypon and
if you use the third version, HTTPS protocol must be enabled.
3.
Congure the SNMP sengs.
4.
Click Save.
3.6 Access to Device via Domain Name
You can use the Dynamic DNS (DDNS) for network access. The dynamic IP address of the device can
be mapped to a domain name
resoluon server to realize the network access via domain name.
Before You Start
Registraon on the DDNS server is required before conguring the DDNS sengs of the device.
Steps
1.
Refer to TCP/IP to set DNS parameters.
2.
Go to the DDNS
sengs page: Conguraon → Network → Basic Sengs → DDNS .
3.
Check Enable DDNS and select DDNS type.
DynDNS
Dynamic DNS server is used for domain name
resoluon.
NO-IP
NO-IP server is used for domain name resoluon.
4.
Input the domain name informaon, and click Save.
5.
Check the device ports and complete port mapping. Refer to
Port to check the device port, and
refer to Port Mapping for port mapping sengs.
6.
Access the device.
By Browsers
Enter the domain name in the browser address bar to access the device.
By Client Soware Add domain name to the client soware. Refer to the client manual for
specic adding methods.
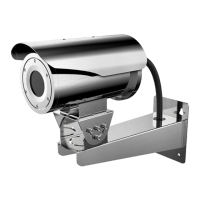
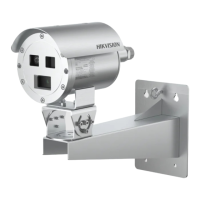
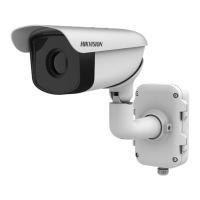
Thermal Opcal Bi-spectrum Network Camera User Manual
9
 Loading...