Do you have a question about the HIKVISION DS-7108NI-E1/V/W and is the answer not in the manual?
Information regarding FCC compliance and potential interference.
Details on EU conformity statements and directives.
Information related to the battery directive and disposal.
List of trademarks and registered intellectual property.
Precautionary steps before installing the NVR.
Guidelines for installing the NVR in a rack.
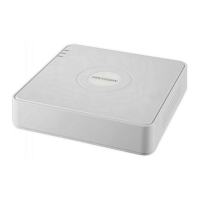
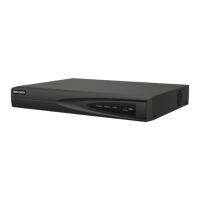
Illustration and description of the NVR's front panel.
Guide on how to connect to the NVR using a web browser.
Steps for logging into the NVR's web interface.
Instructions to enhance account security by changing the password.
Process of adding and configuring IP cameras.
How to view live video streams from connected cameras.
Explanation of components within the Live View screen.
Detailed steps for operating the live view window.
Introduction to manual and scheduled recording options.
Setting up custom recording schedules for cameras.
Detailed steps for customizing recording time segments.
Description of the playback screen and its components.
Steps to start playing recorded video files.
Steps to configure the Wide Area Network connection.
Steps to set up and connect to a wireless network.
Overview of the NVR's menu hierarchy and navigation.
Proper steps for powering the NVR on and off.
Detailed guide on adding IP cameras, including custom options.
Procedure for adding IP cameras with specific configurations.
Explanation of status icons displayed in Live View.
How to enable and configure instant and all-day recording.
Managing recorded playback using the toolbar.
Steps to configure the NVR for wireless internet access.
| Maximum resolution | - pixels |
|---|---|
| Video input channels | 8 channels |
| Operating temperature (T-T) | -10 - 55 °C |
| Operating relative humidity (H-H) | 10 - 90 % |
| Power consumption (typical) | 12 W |
| Ethernet LAN data rates | 10, 100 Mbit/s |
| Ethernet LAN (RJ-45) ports | 4 |
| Supported network protocols | IPv6, UPnP, SNMP, NTP, SADP, DDNS, SMTP, NFS, iSCSI |
| HDD capacity | 0 GB |
| HDD interface | - |
| Maximum storage capacity | - TB |
| Number of HDDs installed | 0 |
| Width | 870 mm |
|---|---|
| Height | 157 mm |
| Weight | 530 g |