All-in-One Network Video Recorder Quick Start Guide
17
Live View
Some icons are provided on screen in Live View mode to indicate different camera status. These icons include:
Live View Icons
In the live view mode, there are icons at the upper-right corner of the screen for each channel, showing the status
of the record and alarm in the channel, so that you can find problems as soon as possible.
Alarm (video loss, tampering, motion detection or sensor alarm)
Record (manual record, continuous record, motion detection or alarm triggered record)
Alarm & Record
Event/Exception (event and exception information, appears at the lower-left corner of the screen.)
Adding IP Cameras
You should add and configure the online IP cameras to enable the live view and recording function.
Before you start:
Ensure the network connection is valid and correct, and the IP camera to add has already been activated. Please
refer to the User Manual for activating the inactive IP camera.
You can select one of the following three options to add the IP camera.
IP camera in the same network segment with NVR will be added automatically.
Steps:
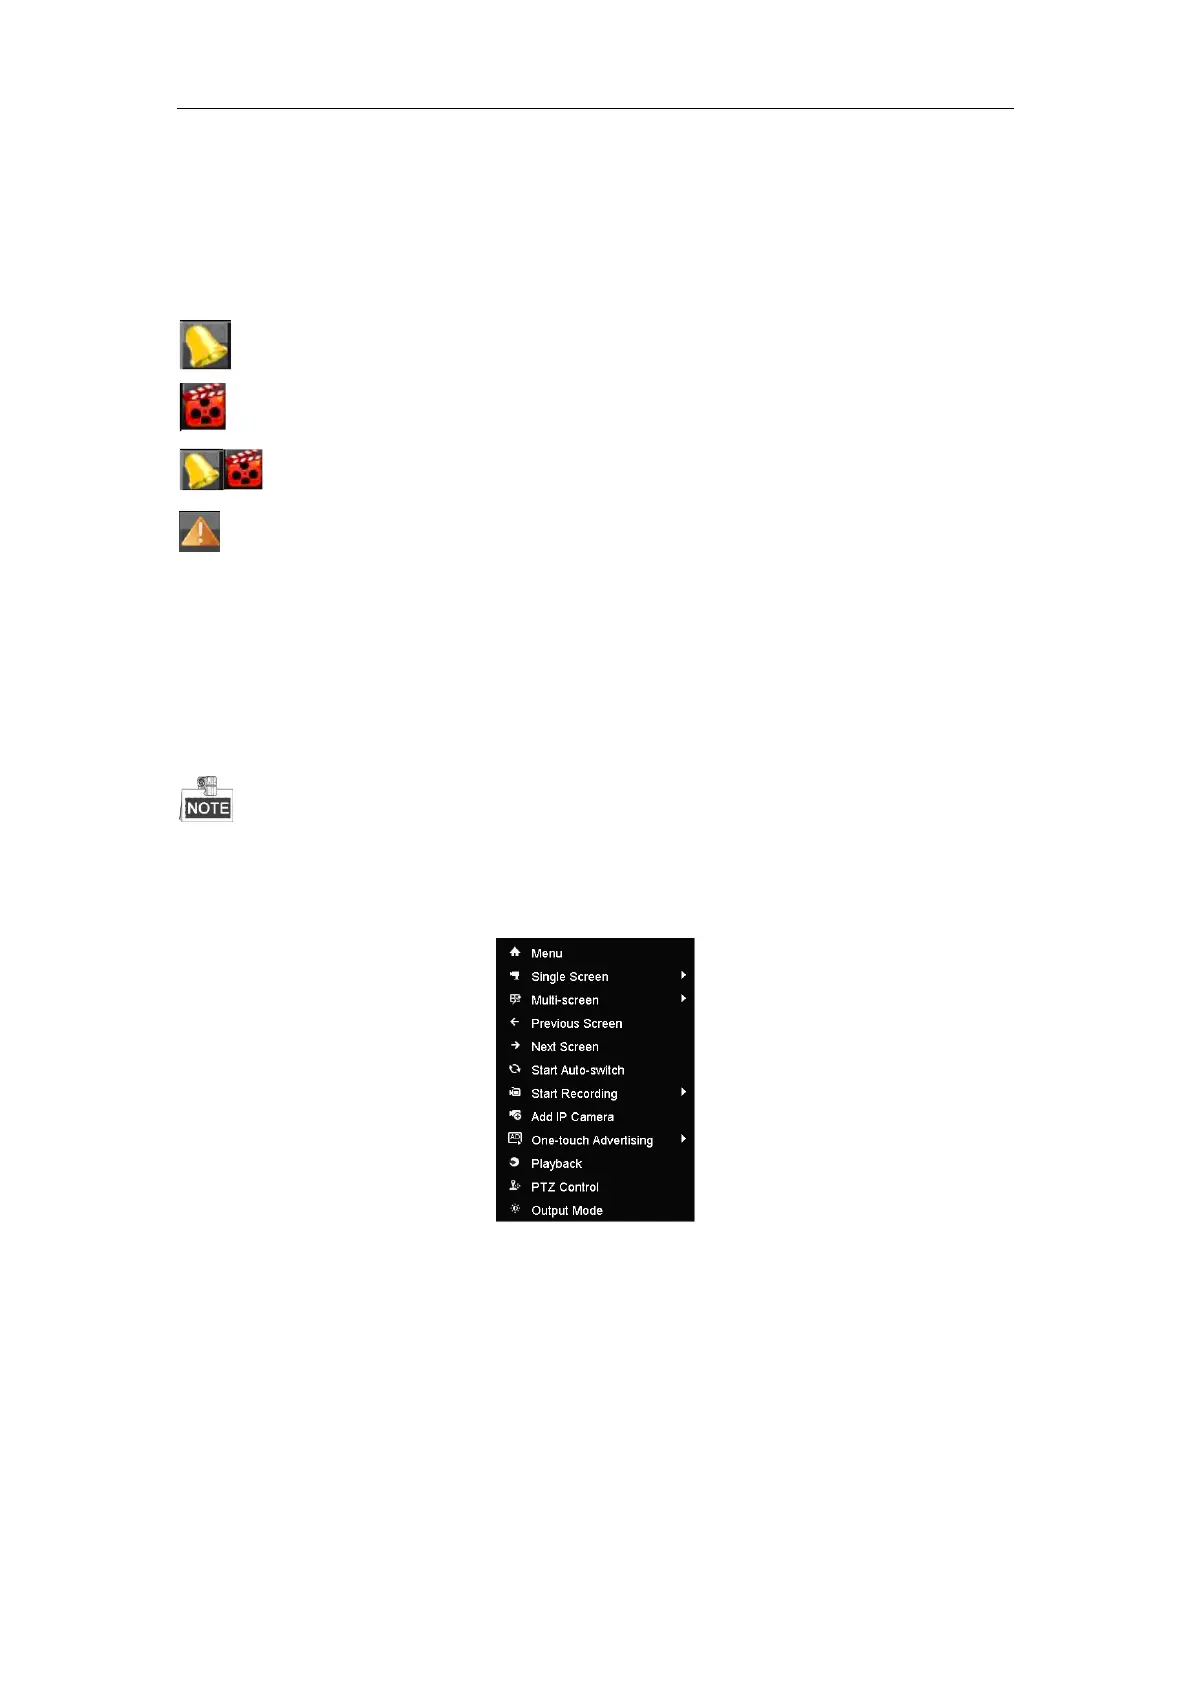
1. Right-click the mouse when you in the live view mode to show the right-click menu.
2. Select Add IP Camera in the pop-up menu to enter the IP Camera Management interface.

 Loading...