All-in-One Network Video Recorder Quick Start Guide
19
camera to be added.
3) Click Add to add the camera.
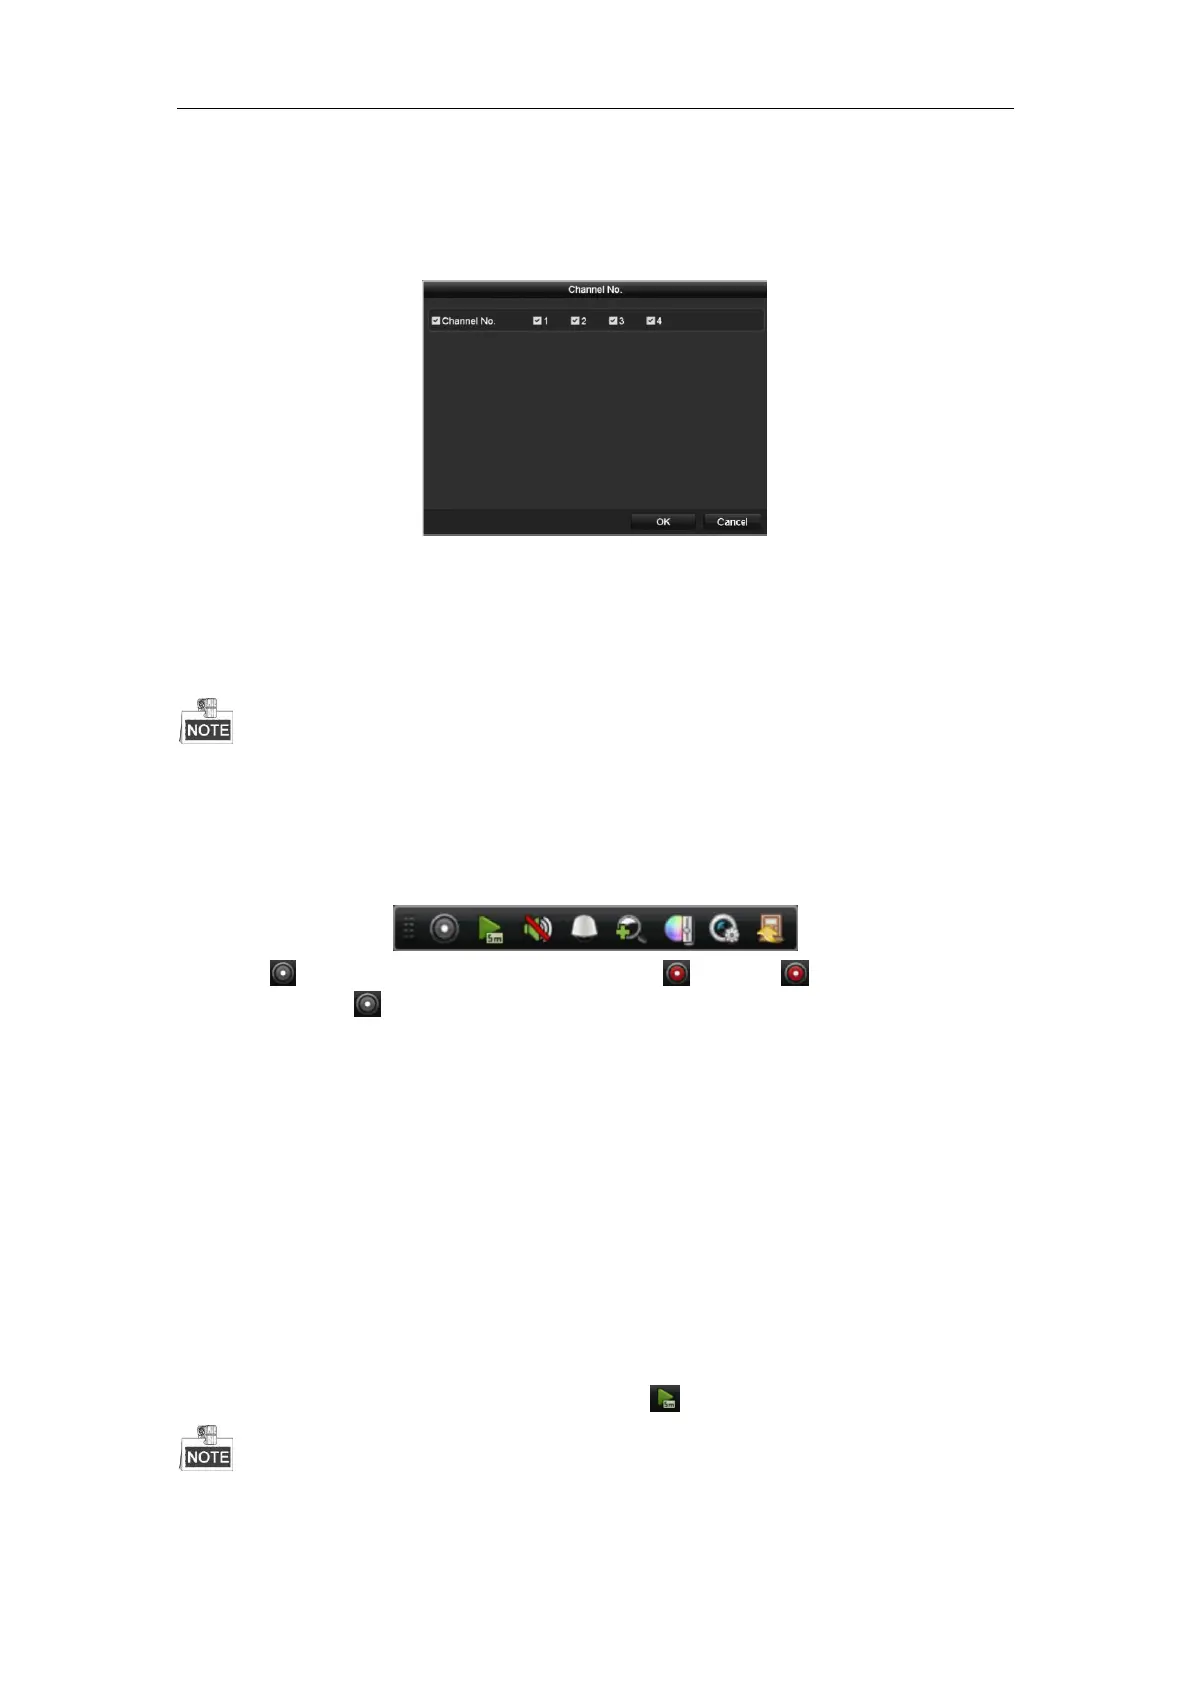
4) (For the encoders with multiple channels only) check the checkbox of Channel No. in the pop-up window,
as shown in the following figure, and click OK to finish adding.
Recording
Purpose:
Two kinds of record types are introduced in the following section, including Instant Record and All-day Record.
And for other record types, you may refer to the user manual for detailed information.
After rebooting all the manual records enabled are canceled.
Instant Recording
On the live view window of each channel, there is a quick setting toolbar which shows on the bottom of the
window when you click on it.
Click the icon to enable the record, and the icon turns to . And click icon to disable the record,
then the icon turns to .
All-day Recording
Steps:
1. On the live view window, right lick the window and move the cursor to the Start Recording option, and
select Continuous Record or Motion Detection Record on your demand.
2. And click the Yes button in the popup Attention message box to confirm the settings.
Then all the channels will start to record in the selected mode.
Playback
Play back the record files of a specific channel in the live view menu. Channel switch is supported.
Option 1:
Choose a channel under live view using the mouse and click the button in the shortcut operation menu.
Only record files recorded during the past five minutes on this channel will be played back.

 Loading...