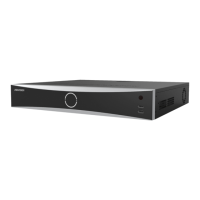
Network Video Recorder Quick Start Guide
30
Step 4 A message box will pop up when the array creation is completed, click OK on it.
Step 5 Optionally, the device will automatically initialize the created array. Go to Storage > RAID
Setup > Array view the information of created arrray.
3.10 Recording Settings
Before You Start
Make sure that the disk has already been installed or added. If not, install or add a disk and
initialize it. Refer to the user manual for detailed information.
Option 1:
In the live view mode, select a connected camera window and click the icon on the toolbar
to start recording.
Option 2:
Step 1 Go to Storage > Recording Schedule.
Step 2 Select a camera.
Step 3 Check the Enable Schedule.
Step 4 Select a Record Type. The record type can be Continuous, Motion Detection, Alarm, Motion |
Alarm, Motion & Alarm, Event, etc.

 Loading...


