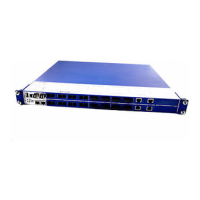
Installation MACH104
Release
08
01/2019
29
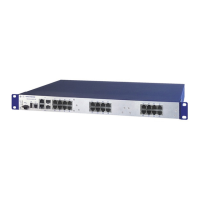
2.4 Installing the device and grounding
The device can be mounted on a flat surface, in a 19" standard switch
cabinet, or on the wall.
2.4.1 Selecting the assembly location
Select the assembly location according to the safety guidelines (see on
page 5 “Safety instructions”).
When selecting the assembly location, also make sure the following
requirements are met:
The assembly location can be accessed for maintenance and repair work.
The LED display elements are clearly visible.
Twisted pair cables are at a sufficient distance from potential sources of
electrical interference, such as power supply cables.
The device has a separate power source with a ground connection. The
power supply can be interrupted by means of a separate isolator or power
switch. We recommend using overvoltage protection for all devices.
2.4.2 Mounting on a flat surface
Before operating the device on a flat surface, such as a table, stick the
supplied casing feet onto the bottom of the device, with approx. 0.8 in (2 cm)
of space from the corners.
If necessary, remove any dirt from the bottom of the device where you
want to place the stick-on feet.
Remove the protective foil from the adhesive surface of a casing foot and
attach the casing foot on the device.
2.4.3 Mounting in a switch cabinet
Note: Note the instructions on installations in 19" switch cabinets according
to UL 60950-1.
See “Relevant for installations in switch cabinets according to UL 60950-1”
on page 12.
Note: For more information on sliding/mounting rails and how to install them,
please contact your switch cabinet manufacturer.
The devices are designed to be mounted in a 19" switch cabinet.
Ensure adequate ventilation. If necessary, install an additional fan in the
switch cabinet to prevent the device from overheating.
Measure the depth of the 19" switch cabinet so as to allow the power
supply cables to be fitted at the back and the data cables to be fitted at
the front.
Assemble the sliding or mounting rails in the 19" switch cabinet as
specified by the manufacturer.
 Loading...