3 - 15
(c) The following display will be presented.
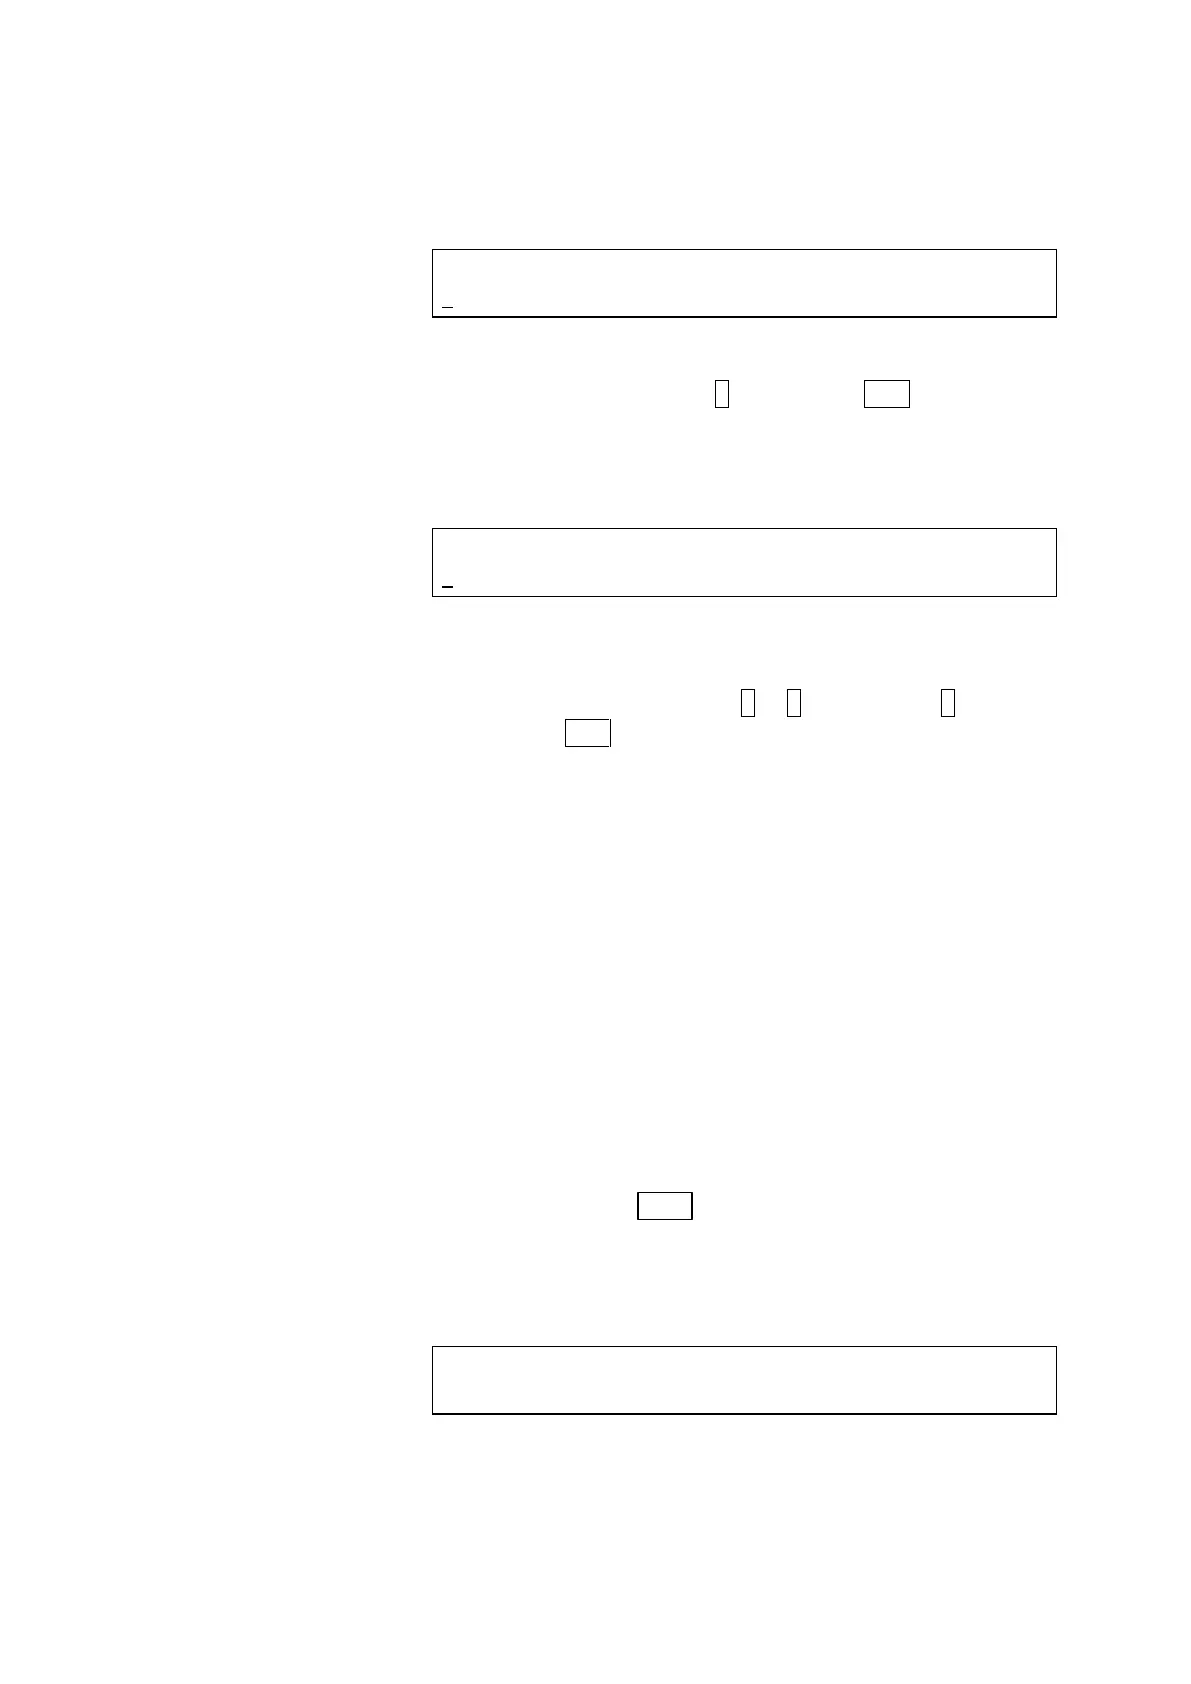
<Others setting screen>
OTHERS (Em BANDWIDTH=1, ERROR OUT=2,
3 LEAK SENSOR=3, LAMP=4)
Select LEAK SENSOR.
Press numeric key 3 and then the ENT key.
(d) The following display will be presented.
<Leak sensor selecting screen>
LEAK SENSOR (OFF=0, ON=1)
1
Select use (ON=1) or non-use (OFF=0) of the leak
sensor.
Press a numeric key (0 or 1, usually input 1) and then
the ENT key.
* Default value: 0
* When use (ON=1) of the leak sensor is selected, an
error message will be indicated upon detection of
liquid leakage (Refer to Section 4.6).
* When power supply is restored, setting will be use
(ON=1) of the leak sensor.
(e) Selection or avoidance of the leak sensor is now
completed and the 1
st
monitor screen returns.
(4) LAMP setting
ON or OFF status of the xenon lamp is selectable in the
following procedure.
(a) Press the
key.
(b) The following display will be presented.
<Utility initial screen>
UTILITY (OFFSET=1, TIME CONSTANT=2,
_5 USE PROG=3, PMT VOLT=4, OTHERS=5)
 Loading...