15 - 7
Desk Mounting
The DIN Rail (7.5 X 35 mm) slot on the bottom panel enables secure mounting on a horizontal surface.
Hardware Required
• 3/16 in. dia x 5/8 in. long pan head screw
• 1/2 in. OD x 7/32 in. ID x 3/64 in. thick washer
• 3/16 in. dia nut
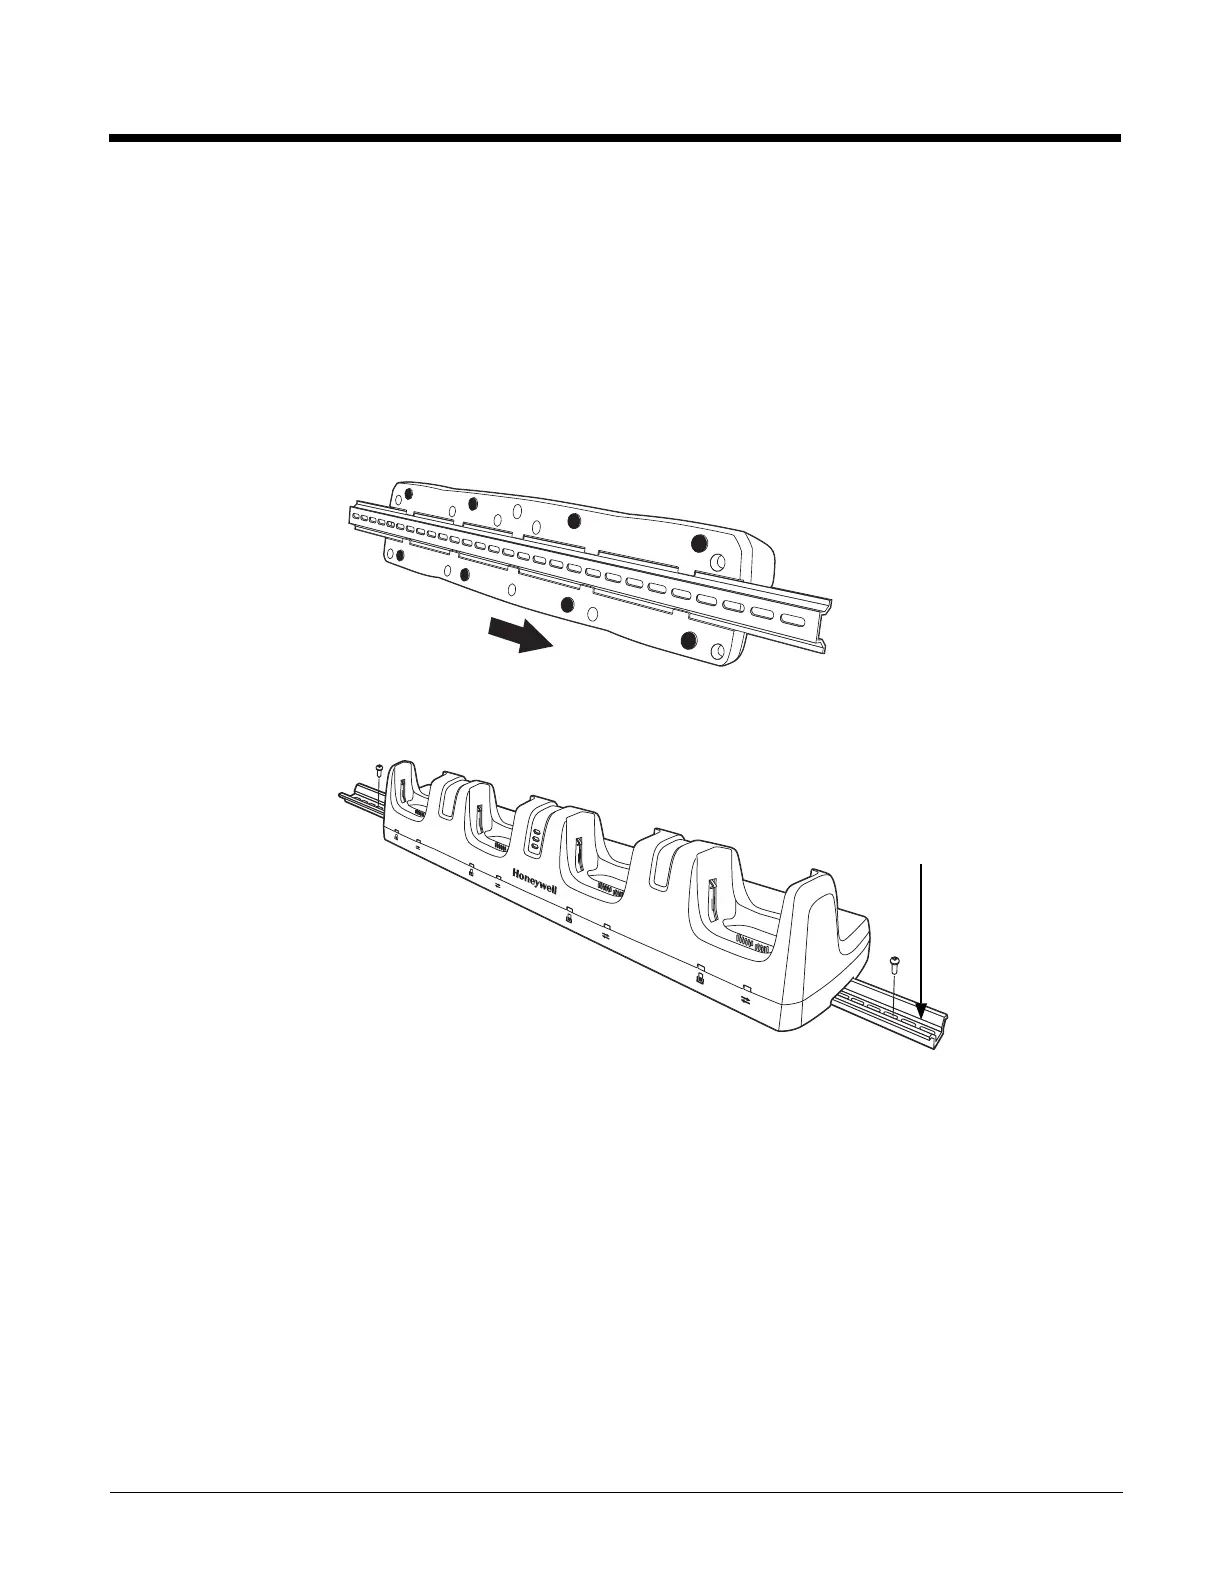
Installing the DIN Rail
1. Slide the DIN Rail into the DIN Rail slot on the bottom panel of the base.
2. Turn the base and DIN Rail right side up.
3. Then, using the appropriate hardware, secure the DIN Rail to a stable, flat horizontal surface.
Wall Mounting
The optional wall mount bracket enables secure mounting of the base on a vertical surface. The wall
mount bracket can be used in conjunction with the DIN rail but does not require the DIN Rail for use.
Hardware (Provided)
• M3 x 9 mm self-tapping screws, #2 Phillips, Qty. 4
• 3/8 in. x 4 in. round head toggle bolt, 2-5/8 in. usable length, Qty. 4
• 3/8 in. x 2 1/2 in. length Hex Head Lag Screw, Qty. 4
Tools Required
•Drill
• 7/8 in. Drill Bit (for hollow wall installations) or
1/4 in. Drill Bit (for wood stud installation)
• Phillips Screw Driver
 Loading...