Monitor Operation
24 E
3
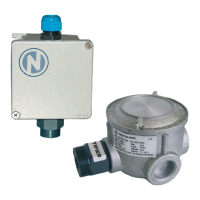
Point Gas Monitor Technical Manual
Model Specific Menu Options
Standalone Model Relay Menu
The Relay menu allows users to select Latch, Failsafe, or SetDelay.
Press enter to access the Relay menu options, then scroll to select Relay
#1 or Relay #2.
* Menu *
Relay
Relay
Relay #1
• Use the arrow keys to scroll to the desired option and press enter
to select one of the four following options:
Relay #1
Latch
Latch: Keeps relays on even after an event has returned to normal.
Use the arrow keys to select Yes or No and press enter to
confirm the setting. Once a latched relay is activated, press
and hold a keypad button for 5 seconds to return relays to
their normal position.
Failsafe: Relays will be on in normal conditions but will de-energize
during a controller fault or shutdown, or when an alarm is
triggered. In the Failsafe menu, use the arrow keys to select
either Yes or No and press enter to confirm.
Activate: Relay #2 only. Can be set to activate with B (Alarm B) or F
(Fault).
SetDelay: Allows users to specify a Before and After delay period for
relay alarm activation and deactivation.
SetDelay
Before
• In the SetDelay menu, use the arrow keys to display either Before
or After and press enter to select.
Before
• For the Before (or After) screen, use the arrow keys to increase
the delay in seconds. When the desired value is reached, press
enter to confirm.
SetDelay
Yes
w ww . . co m
information@itm.com1.800.561.8187