EasyManuals Logo

Honeywell Intermec PD43 User Manual

Honeywell Intermec PD43
194 pages
To Next Page IconTo Next Page
To Previous Page IconTo Previous Page
Page #53 background imageLoading...
Page #53 background image
Chapter 2 — Set Up the Printer
PD43 and PD43c Commercial Printer User Manual 39
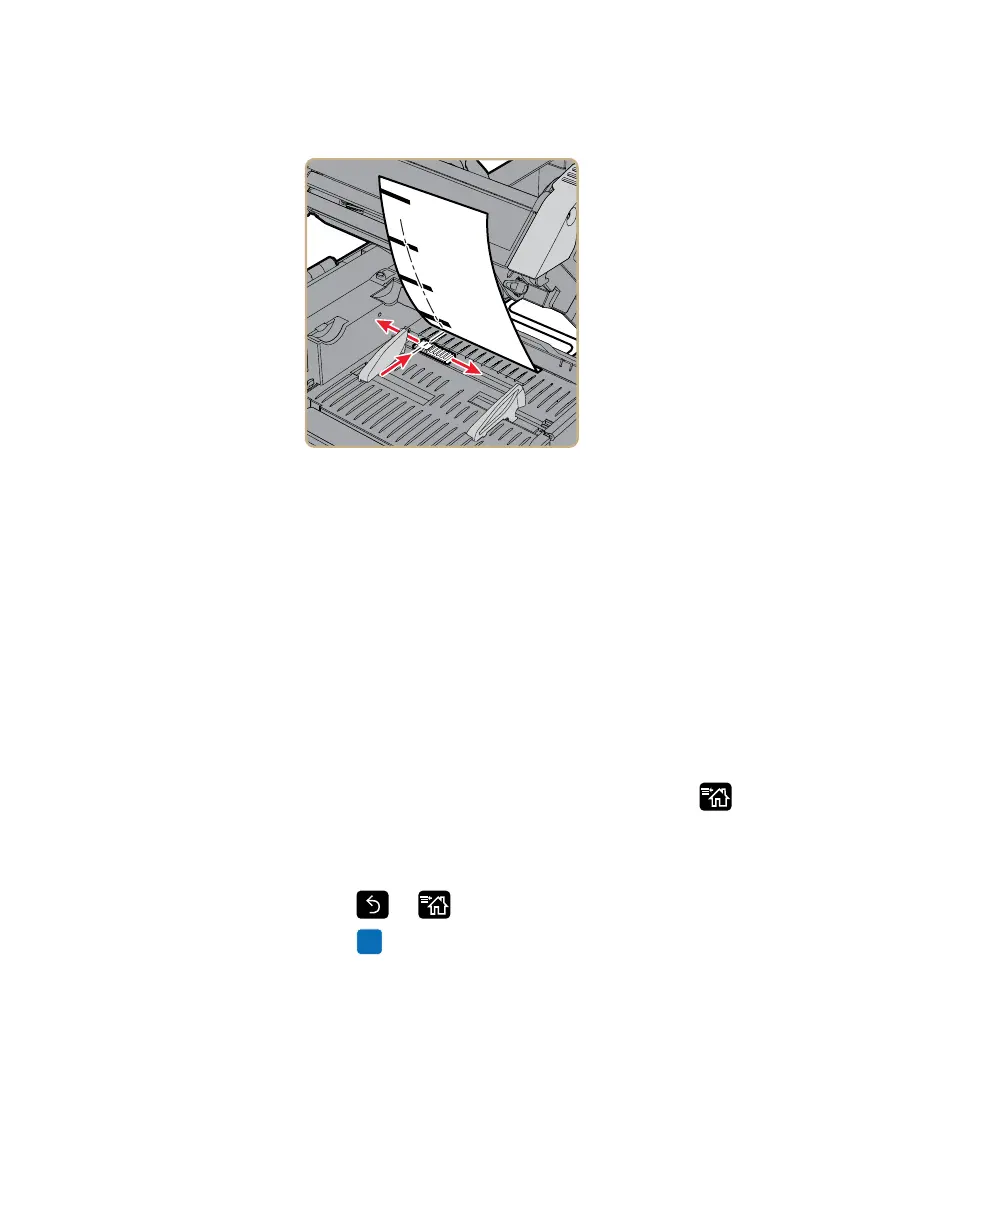
7 If necessary, adjust the label stop sensor to line up with the marks
on the media.
8 Slide the guides to the side edges of the media.
9 Slide the media through the cutter.
10 Press the print mechanism down to lock it in place.
11 Close the media compartment door and then close the top of the
printer.
12 Turn the printer on and configure the cutter:
If you have an icon printer, use PrintSet 5 to configure the
cutter. If you already know the printer IP address, you can
configure the cutter using the printer web page.
If you have an LCD printer, continue with the next step.
13 After the printer finishes starting up, press .
14 Select Settings > Printing > Cutter.
15 In the Cutter Control options, select Automatic.
16 Press or . A “Save Changes?” message appears.
17 Press to save your changes and exit the Settings menu.
18 Configure the feed adjust settings.

Table of Contents

Questions and Answers:

Question and Answer IconNeed help?

Do you have a question about the Honeywell Intermec PD43 and is the answer not in the manual?

Honeywell Intermec PD43 Specifications

General IconGeneral
Print TechnologyThermal Transfer / Direct Thermal
Power Supply100-240 VAC, 50/60 Hz
Print Resolution203 dpi (8 dots/mm)
Max. Print Width104 mm
Media Width19 mm to 110 mm
Media Thickness0.06 mm (0.003 in) to 0.20 mm (0.008 in)
ConnectivityUSB, Serial, Ethernet, Bluetooth
Memory128 MB Flash
Operating System CompatibilityWindows, Linux
Dimensions211 mm x 180 mm
Weight2.5 kg (5.5 lbs)
Operating Temperature+5°C to +40°C (+41°F to +104°F)
Storage Temperature-40 to 60°C

Related product manuals