Chapter 3 - Plan and Install MLPLC
Step Action
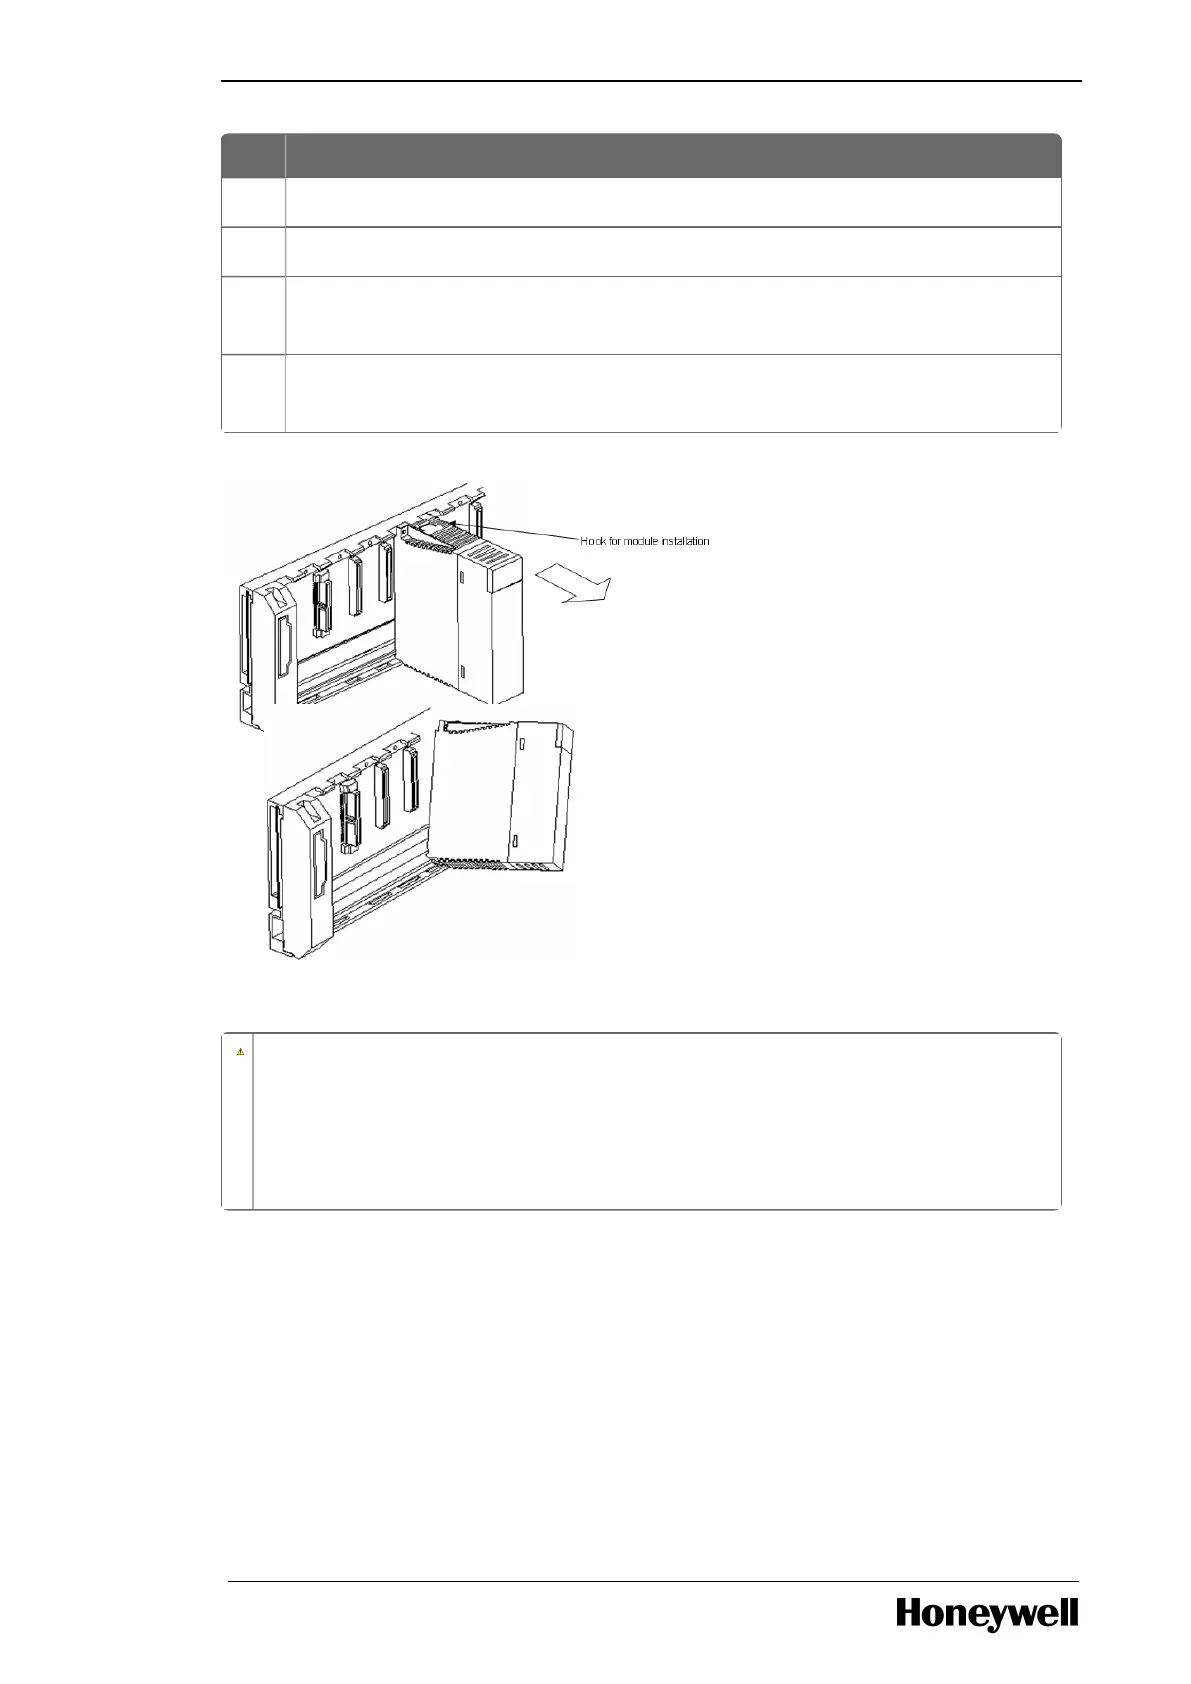
1 From the base, loosen the fixed screws on the upper part of the module.
2 Hold the module and thoroughly press the fixed hook of the module.
3 By pressing the hook, pull the upper part of the module from the axis of the lower
part.
4 By lifting the module upward, remove the fixed projection of the module from the
fixing hole.
Figure 12: Removing modules
CAUTION
While removing the module, press the hook and remove the module from the base.
Then, remove the fixed projection of the module from the module-fixing hole. If
module is detached forcefully, the hook or the fixed projection of the module may
break.
3.3 Achieving the topology
Achieving the topology for ML200-IEC
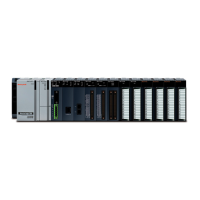
ML 200-IEC Architecture
The following figure illustrates the system configuration of ML200-IEC with 12 slot base.
- 33 -
 Loading...