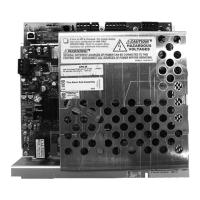
26 APS2-6R/E Instruction Manual — P/N 53232:B 2/26/2014
UL 864 8th Edition Configurations XPIQ Transponder
7. Attach battery interconnect cable.
B.6 XPIQ Transponder
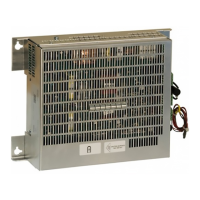
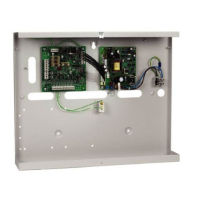
The APS2-6R must be mounted to the CHS-4/L chassis in the CAB-3/4 Series backbox. See “In a CAB-3/4 Series
Backbox” on page 11.
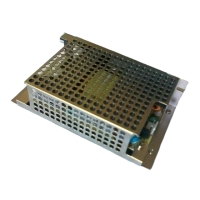
B.6.1 Connecting to the XPIQ-MB and XPIQ-PS
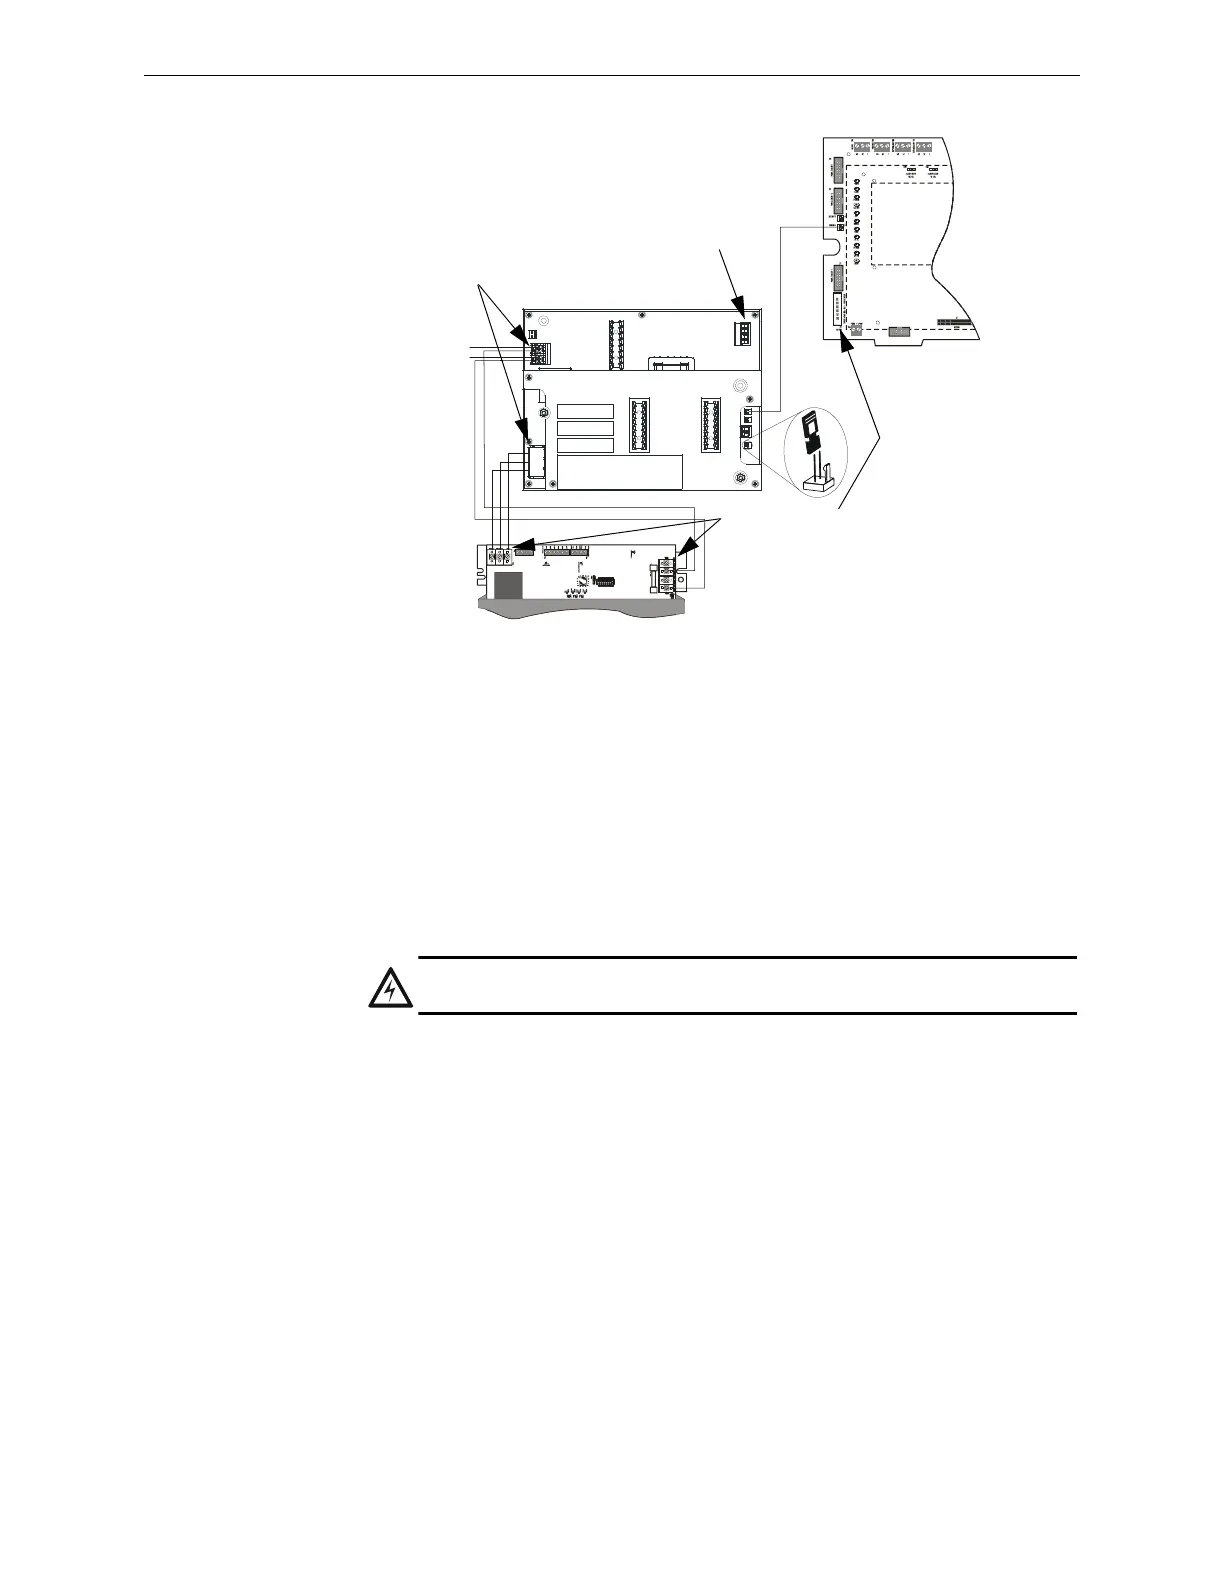
1. Connect trouble output from J3 on the APS2-6R to J9 on the XPIQ.
2. Place shunt across both pins of JP4 on the APS2-6R.
3. Connect cable P/N 75121 from J9 on the APS2-6R to TB9 on the XPIQ-MB to supply non-power-limited
power. See the XPIQ Instruction Manual for information.
4. Connect primary power from TB1 on the APS2-6R to TB1 on the XPIQ-PS.
5. Connect AC power to TB1 on the XPIQ-PS. Make sure to properly ground the unit to the backbox.
6. Connect batteries to TB2 on the XPIQ-PS.
7. Connect secondary power from TB3 on the APS2-6R to TB2 on the XPIQ-PS.
Note: Maintain 0.25” spacing between
Power-limited and Non-power-limited
wiring. Install tie wraps and adhesive
squares to secure the wiring.
APS2-6R
to battery +
back-up -
Non-power-limited
Power-limited
aps26rtocpu3030.wmf
Figure B.6 Wiring to AMPS-24 and CPU-3030
Non-power-limited
CPU-3030
AMPS-24
WARNING:
Be sure to finish installation before applying power. Test AC power before continuing.