Do you have a question about the Honeywell SEC-H-600 and is the answer not in the manual?
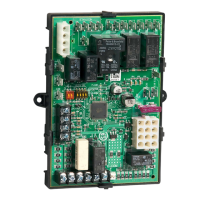
Details the standard security input/output points integrated into the SEC-H-600 controller.
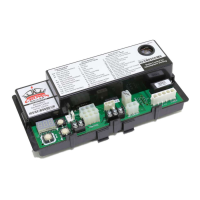
Describes available expansion modules (SEC-H-R2R, SEC-H-RIO) that increase system capacity.
Explains the two option slots for on-board mounting of custom option cards, typically for communication ports.
Details the required WEBs-AX Security Enclosures for UL Listed systems and mounting configurations.
Provides fundamental rules and considerations for designing a WEBs-AX Security System with the SEC-H-600.
Guides on calculating power consumption and recommended backup battery capacity for system operation.
Explains how to manage voltage drops in cabling for reliable operation, especially during backup.
Details output load limitations and potential issues like fuse blowing on the controller.
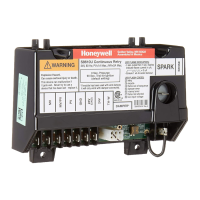
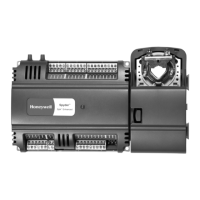
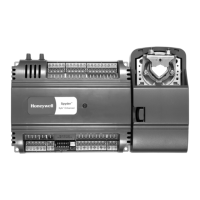
Lists the components and hardware included with the SEC-H-600 Security Controller.
Specifies the necessary supplies and tools for installing the SEC-H-600 and its associated enclosures.
General warnings for installation and start-up to prevent personal injury or equipment damage.
Guidelines to prevent damage to electronic components from electrostatic discharge during handling.
Specifies the indoor operating conditions and environmental limits for the controller's location.
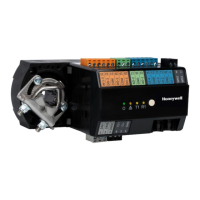
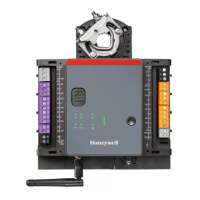
Provides step-by-step instructions for physically mounting the controller onto a DIN rail.
Details the procedure for safely removing and reinstalling the controller's protective cover.
Describes the screw-terminal connectors used for wiring and their installation on the circuit board.
Outlines essential rules for safe and compliant wiring, including conduit and shielding practices.
Provides a general guide to making connections to the Security Controller and its components.
Explains the importance and procedure for connecting the unit to earth ground for safety.
Recommends specific cable types and maximum lengths for various connections, including RS-485.
Maps security I/O points to specific functions for controlling two doors, including reader and lock interfaces.
Details the wiring and pinouts for connecting Wiegand-type 12Vdc readers to the controller.
Explains how to wire supervised inputs for monitoring dry contacts and the use of EOL resistor packs.
Covers the Form-C relay outputs for controlling devices like door strikes and auxiliary equipment.
Describes the wiring for unsupervised digital inputs, typically used for tamper switches or power failure.
Instructions for connecting the controller via its Ethernet ports (LAN1/LAN2) for network communication.
Details the RS-232 (COM1) and RS-485 (COM2) serial ports for communication and expansion modules.
Explains the use of the integral 15Vdc power supply within WEBs-AX enclosures for powering the controller.
Guides on connecting both the onboard NiMH and external sealed lead-acid backup batteries.
Instructions for applying primary power to the controller via its enclosure's power supply.
Describes how to interpret the STATUS and BEAT LEDs to verify system operation after power-up.
Provides detailed information on the function and maintenance of both backup battery types.
Specifies UL 294 compliance requirements for mounting and wiring the controller and expansion modules.
Lists UL approved readers and their compatibility with specific power supplies for UL listed systems.
Lists UL approved third-party power supplies for remote expansion modules, configured for 12Vdc.
Explains the status indications for the controller's Ethernet ports (LAN1, LAN2).
Describes the function of the yellow heartbeat LED for indicating normal system operation.
Details the green STATUS LED, indicating the CPU machine status and power application.
Explains the LEDs associated with each of the four relay outputs indicating energization.
Describes the LEDs for serial ports, indicating transmit and receive activity for communications.
Provides instructions for cleaning the unit's interior and exterior surfaces.
Discusses NiMH battery life expectancy and factors affecting it, such as ambient temperature.
Step-by-step guide for replacing the onboard NiMH battery pack assembly.
Identifies parts that are not serviceable or field-replaceable on the base assembly.
Lists standard parts that can be ordered from stock for replacement purposes.
Information on ordering a new SEC-H-600 controller as a replacement unit.
| Brand | Honeywell |
|---|---|
| Model | SEC-H-600 |
| Category | Controller |
| Language | English |