4 Assembly
Rotary actuators 135 • M140 • M150 • M180
Operating instructions Version 2.0 - June 2012 11
4 Assembly
Prior to installing a rotary actuator:
4.1 Checking the scope of delivery on page 11
4.2 Preparing assembly on page 11
The following sequence of operations is part of the rotary actuator assembly:
4.3 Mount rotary actuator on flap on page 12
4.4 Assembling/disassembling a hood on page 13
4.5 Electrical connection on page 14
4.1 Checking the scope of delivery
1 Check the packaging for damage.
2 Dispose of packaging in an environmentally friendly manner.
3 Check the delivered items against the delivery note in order to see whether the
delivery is complete.
4 Report any missing or damaged products to the manufacturer.
4.2 Preparing assembly
1 Allow for about 160 mm space above the hood at the site of installation.
2 Check the working environment before assembling and commissioning the
rotary actuator.
3 Ensure that the flap is installed correctly. For details please refer to the
installation instruction for the flap.
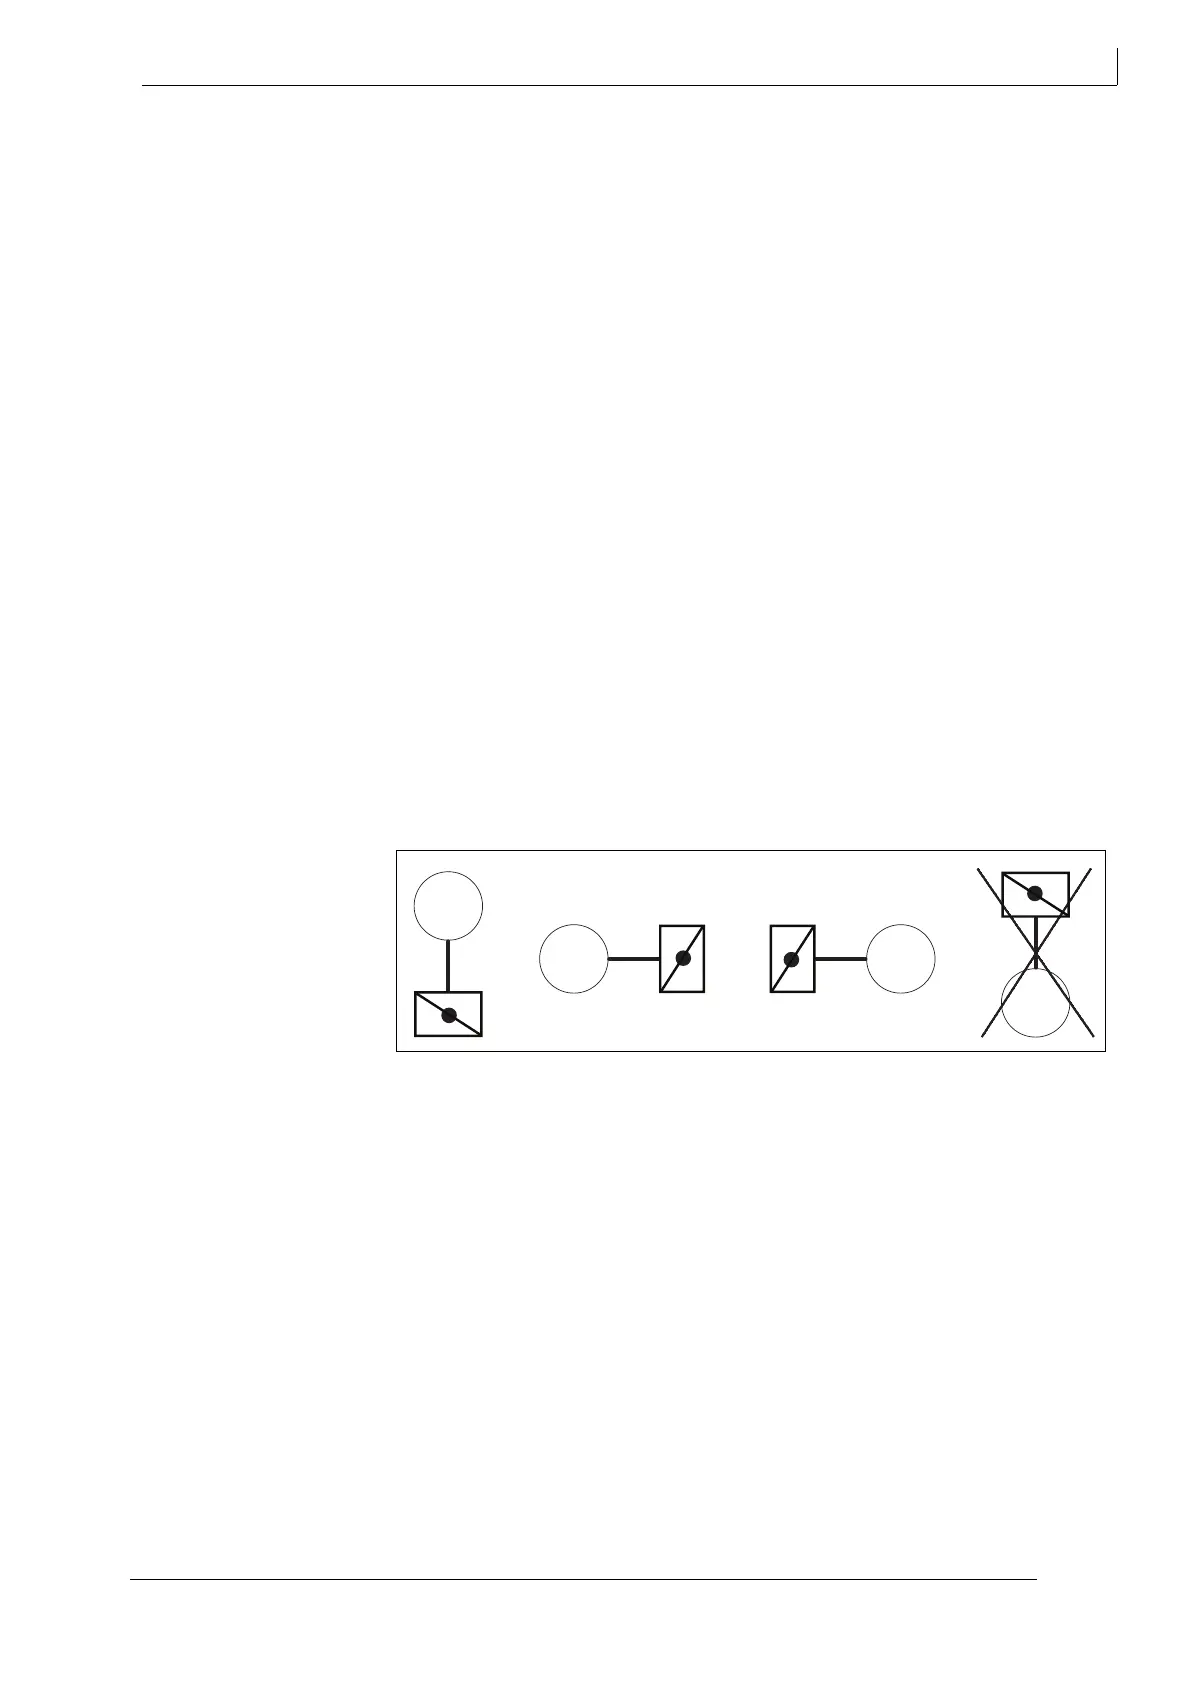
4 Do not arrange rotary actuators in a suspending arrangement.
Fig. 6 Assembly position
M
M
M
M