4 Assembly
Rotary actuators 135 • M140 • M150 • M180
Operating instructions Version 2.0 - June 2012 13
4.4 Assembling/disassembling a hood
The terminals for electric connection are positioned under the hood.
Risk of injury from electric shock by live parts!
When the power supply is on there is a danger of electric shock due to live parts.
• Prior to commencing any work, ensure that the actuator is safely discon
nected
fro
m the power supply system.
• Secure against unauthorised restarting.
• Remove the hood only temporarily.
Remove the hood
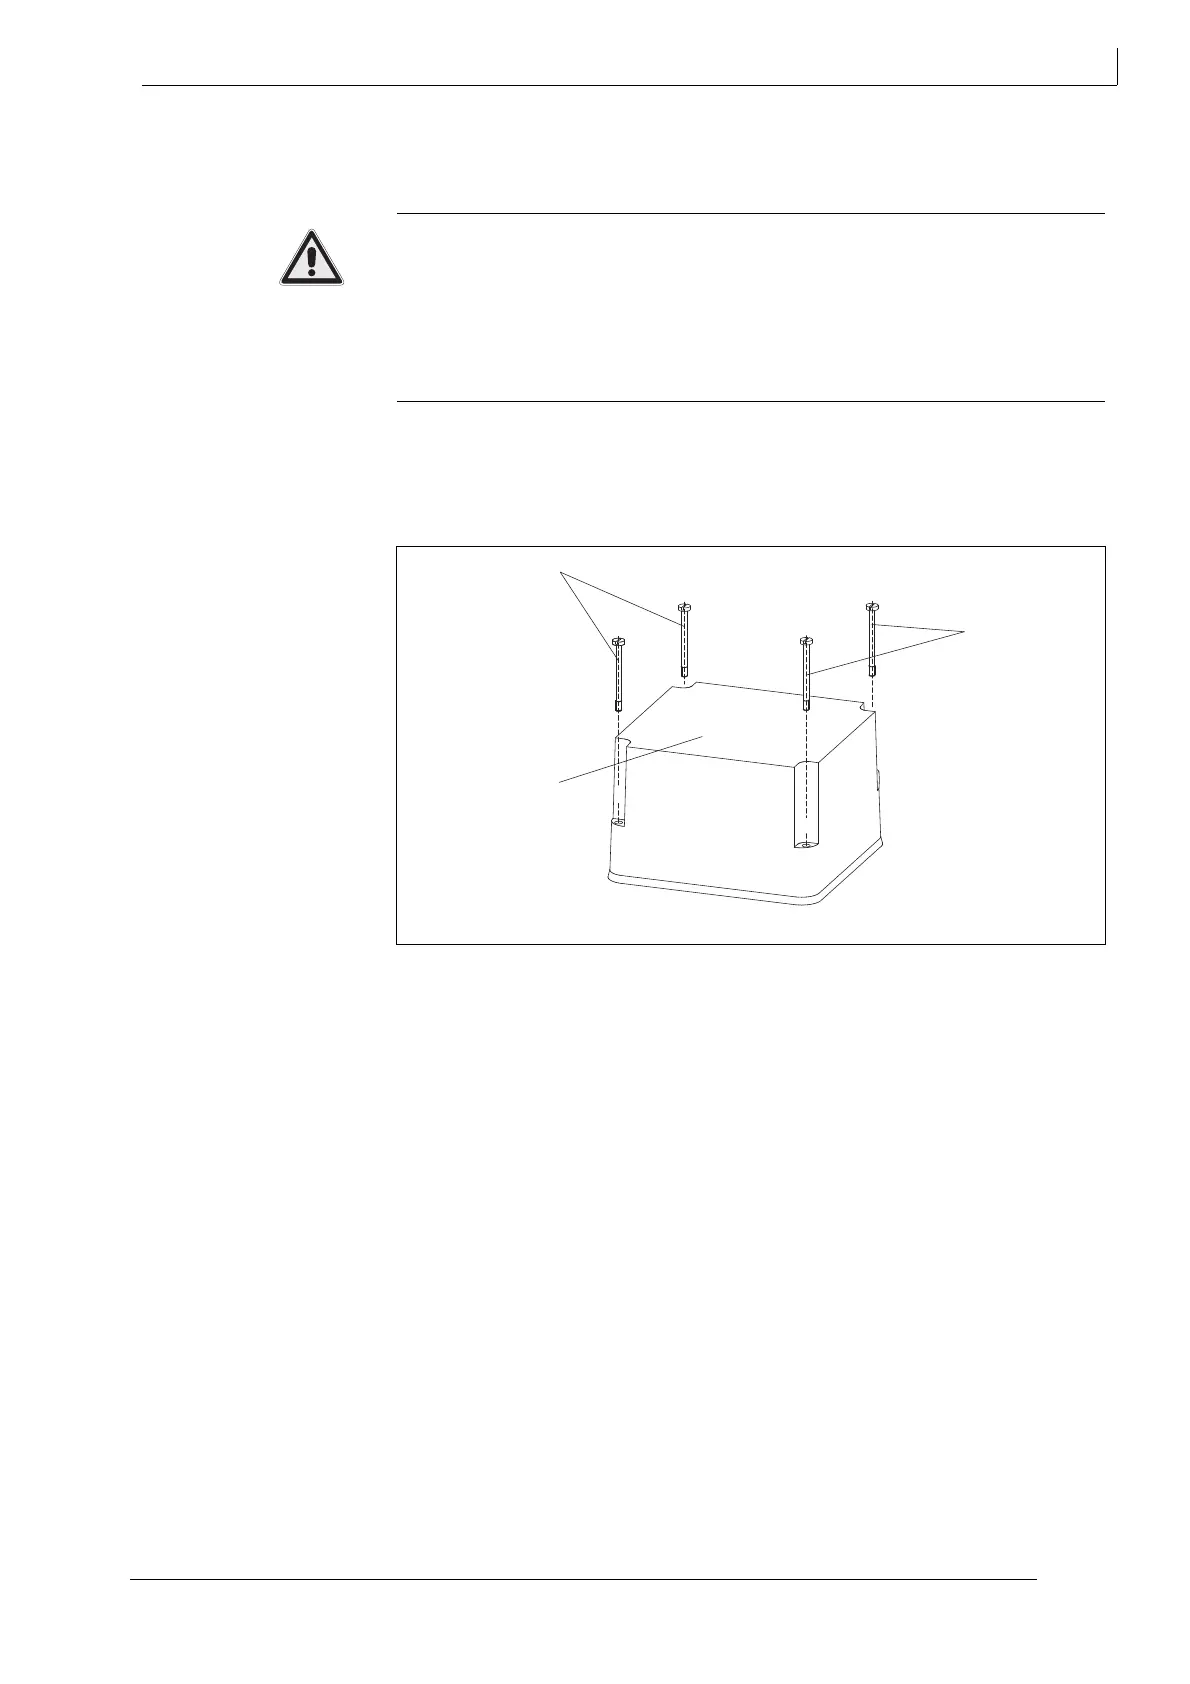
1 Detach the screws.(361)
2 Carefully remove the hood (200) .
How to put the hood back on
1 Put the hood (200) back on.
2 Check the hood for correct fit to ensure air-tightness for the actuator housing.
3 Secure the hood with screws (361).
200 Hood 361 Screws
Fig. 8 Remove the hood
200
361
361.1