EasyManuals Logo

HP 1810-24G Installation And Getting Started Guide

HP 1810-24G
58 pages
To Next Page IconTo Next Page
To Previous Page IconTo Previous Page
Page #27 background imageLoading...
Page #27 background image
2-13
Installing the Switch
Installation Procedure
4. Connect the Switch to a Power Source
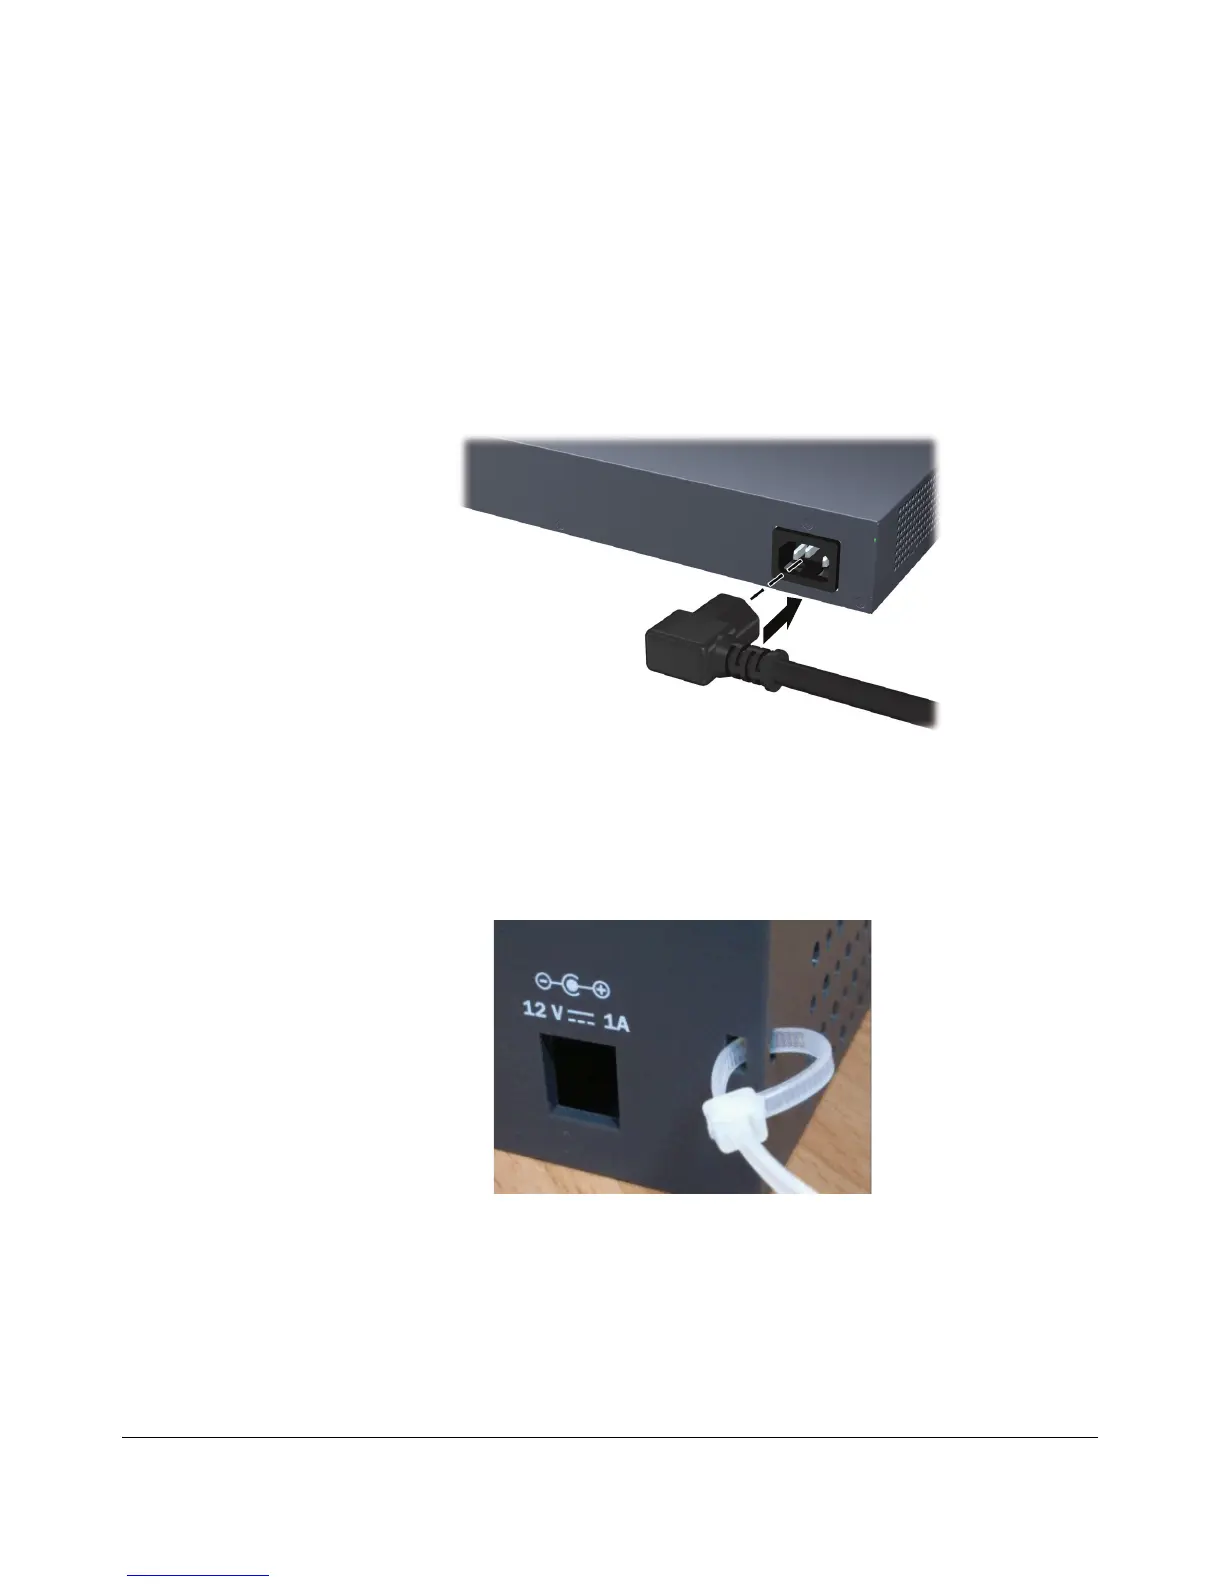
1.) For the 1810-24 and 1810-24G Switch, plug the included power cord into
the switch’s power socket and into a nearby AC power source.
For the 1810-8 and 1810-8G Switch, plug the AC/DC adapter’s power cord
into the switch, and then plug the AC/DC power adapter into a nearby AC
power source.
2.) Re-check the LEDs during self test. See “Self Test LED Behavior” on
page 2-7.
3. For the 1810-8 and 1810-8G Switch, use the included cable tie to secure
the power cord to the switch.

Other manuals for HP 1810-24G

Questions and Answers:

Question and Answer IconNeed help?

Do you have a question about the HP 1810-24G and is the answer not in the manual?

HP 1810-24G Specifications

General IconGeneral
Switching Capacity52 Gbps
Throughput38.7 Mpps
Form FactorRack-mountable
ManagementWeb-based GUI
Power SupplyInternal
LayerLayer 2
Operating Temperature0°C to 40°C (32°F to 104°F)
Ports24 RJ-45 10/100/1000 ports
Weight2.27 kg (5.0 lb)
Operating Humidity10% to 90% non-condensing

Related product manuals