EasyManuals Logo

HP 1810-24G Installation And Getting Started Guide

HP 1810-24G
58 pages
To Next Page IconTo Next Page
To Previous Page IconTo Previous Page
Page #28 background imageLoading...
Page #28 background image
2-14
Installing the Switch
Installation Procedure
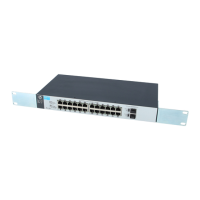
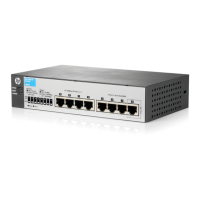
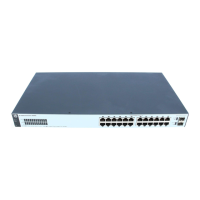
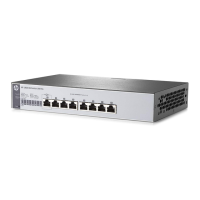
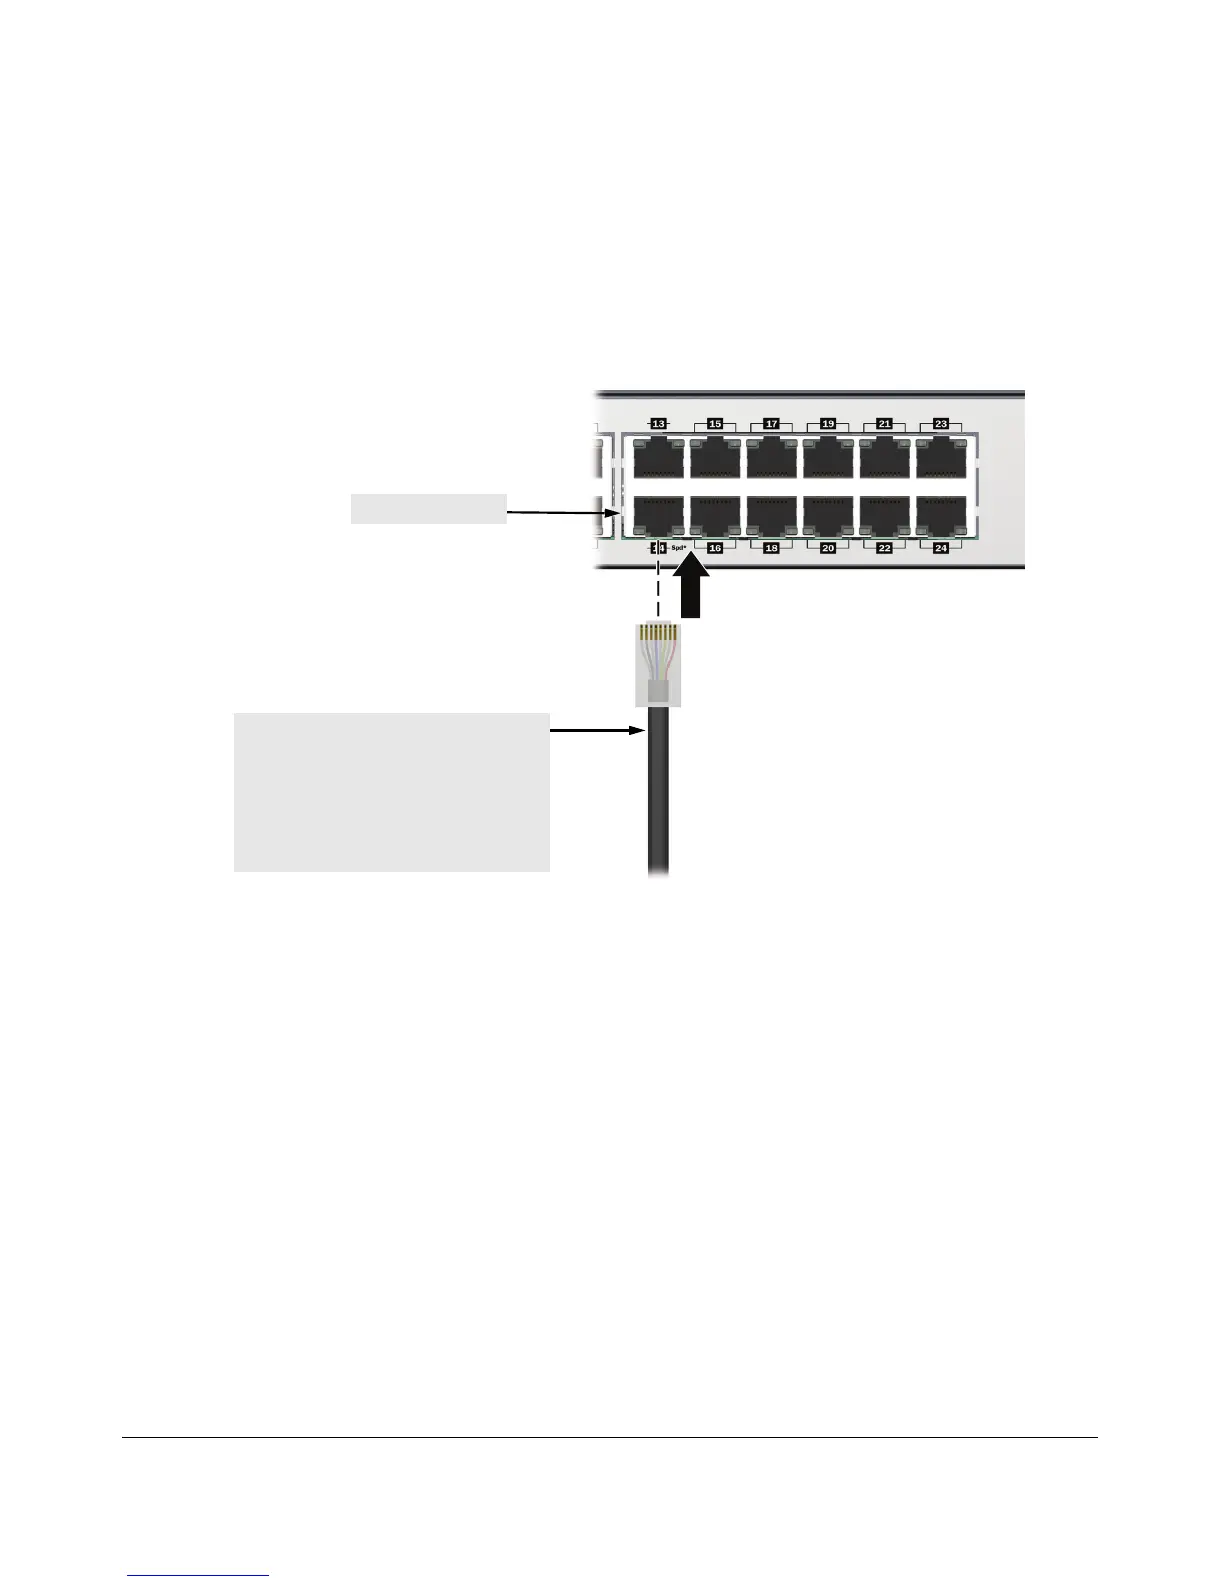
5. Connect the Network Cables
Connect the network cables, from the network devices or your patch panels,
to the fixed RJ-45 ports on the switch or to any SFP transceivers you have
installed in the switch.
When a network cable from an active network device is connected to the port,
the port LEDs for that port should go on. If the port LEDs do not go on when
the network cable is connected to the port, see “Diagnosing with the LEDs”
on page 4-2.
RJ-45 connector
100-ohm unshielded or shielded twisted-
pair cable:
• Category 3, 4, or 5 for 10 Mbps ports
• Category 5 only for 100 Mbps ports
• Category 5, 5e, or 6 for 1000 Mbps ports
Maximum distance: 100 meters

Other manuals for HP 1810-24G

Questions and Answers:

Question and Answer IconNeed help?

Do you have a question about the HP 1810-24G and is the answer not in the manual?

HP 1810-24G Specifications

General IconGeneral
Switching Capacity52 Gbps
Throughput38.7 Mpps
Form FactorRack-mountable
ManagementWeb-based GUI
Power SupplyInternal
LayerLayer 2
Operating Temperature0°C to 40°C (32°F to 104°F)
Ports24 RJ-45 10/100/1000 ports
Weight2.27 kg (5.0 lb)
Operating Humidity10% to 90% non-condensing

Related product manuals