5. Replace the SFP. See “Replacing an SFP” (page 25).
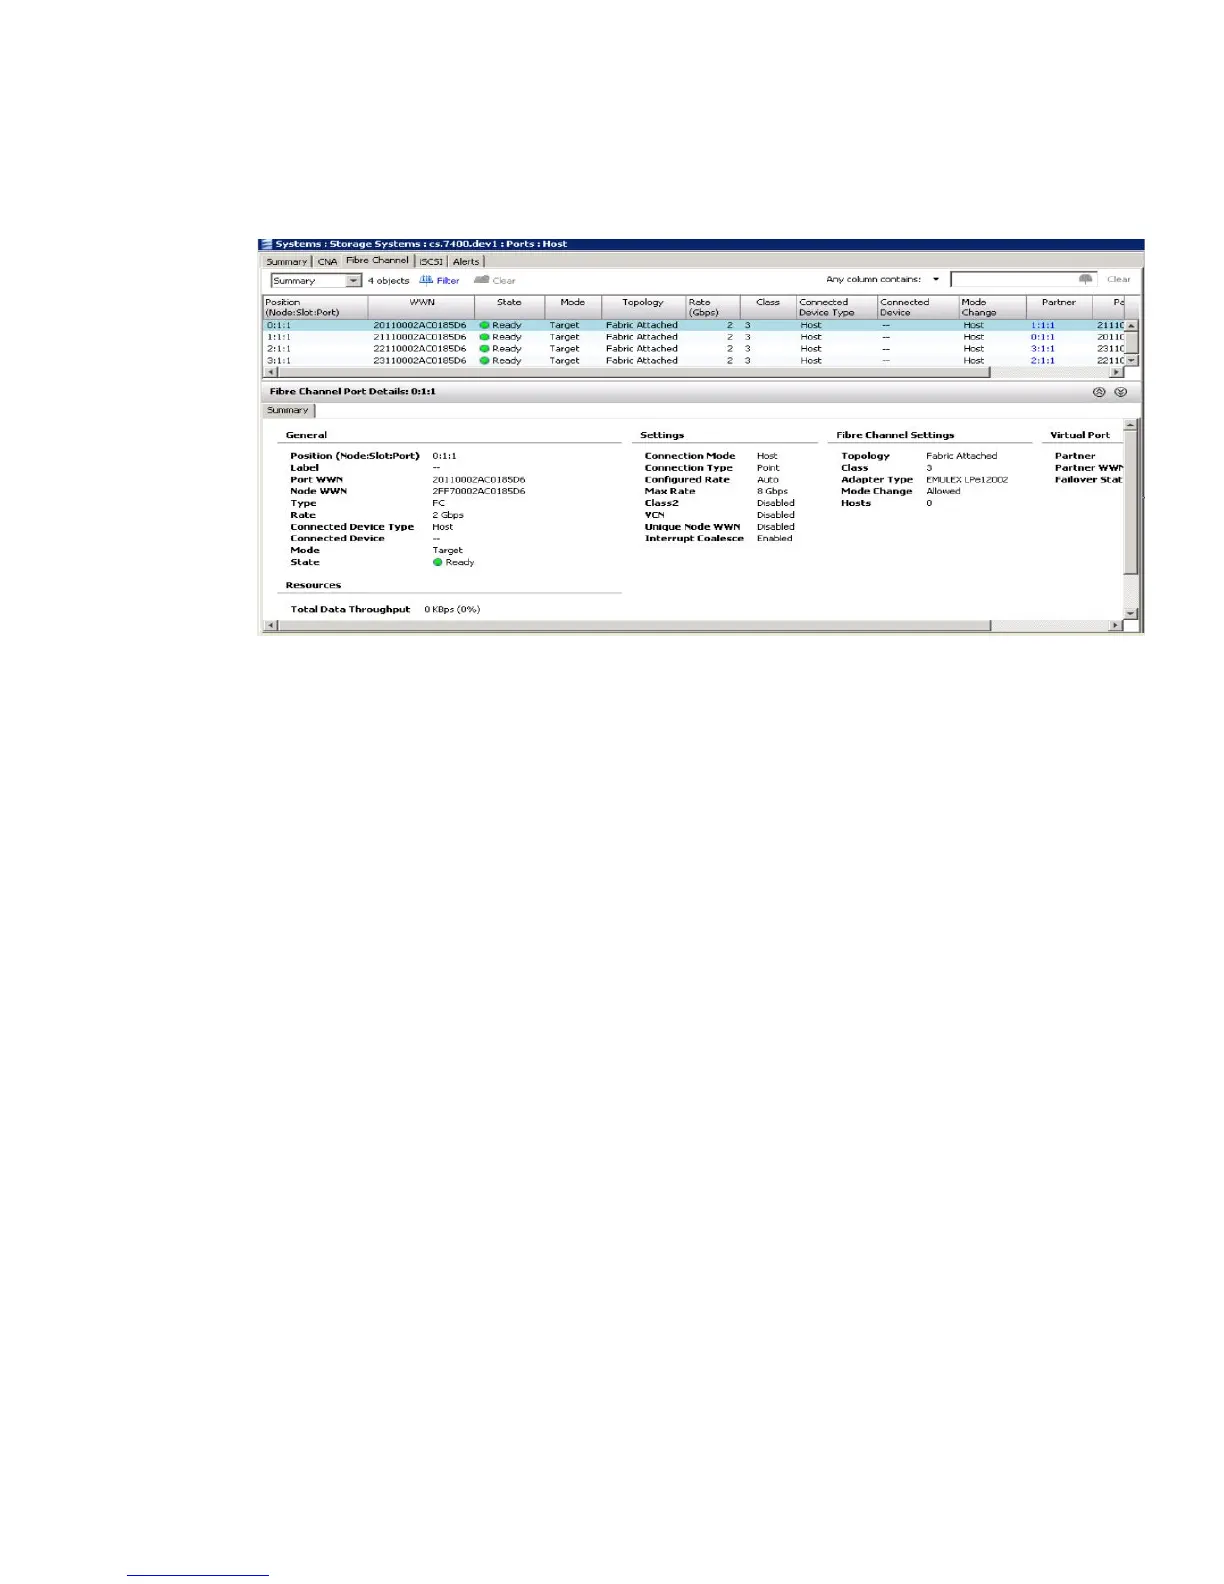
6. In the HP 3PAR Management Console, verify that the SFP is successfully replaced. The replaced
port State is listed as Ready, the Mode is listed as Target, and the Connected Device Type
is listed as Host.
Figure 23 Port details
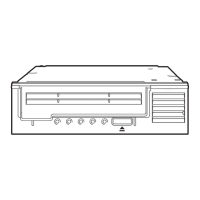
Replacing an SFP
1. After identifying the SFP that requires replacement, disconnect the cable and lift the retaining
clip to carefully slide the SFP out of the slot.
2. Remove the replacement SFP module from its protective packaging.
3. Carefully slide the replacement SFP into the adapter until fully seated, close the retaining clip
to secure it in place, and reconnect the cable.
4. Place the failed SFP into the packaging for return to HP.
5. Reconnect the cable to the SFP module and verify that the link status LED is solid green.
SFP Repair 25
 Loading...