Steps for Installation and Configuration
To install the appliance, complete these steps:
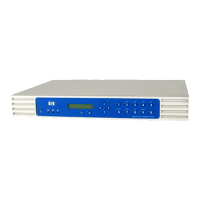
Unpack the appliance and make sure the six items are included in the box.1.
Attach its rubber feet for desktop, rack shelf, or under-printer installation. For rackmount installation,
click here.
2.
Connect the cables and components.3.
Configure the IP settings using the front panel (for the first time). The IP address can be changed
through the web interface if desired.
4.
Access the web interface.5.
Under Network Settings, complete the TCP/IP Network Settings page.6.
Also under Network Settings, complete the Microsoft Networking Settings page to identify the WINS
server address and the Windows NT domain or workgroup. For NT Domain security, complete the other
fields on this page.
7.
Install printers on clients.8.
Back up the settings.9.
Be sure to register the appliance (http://www.hp.com/go/printappliance_registration).10.