9
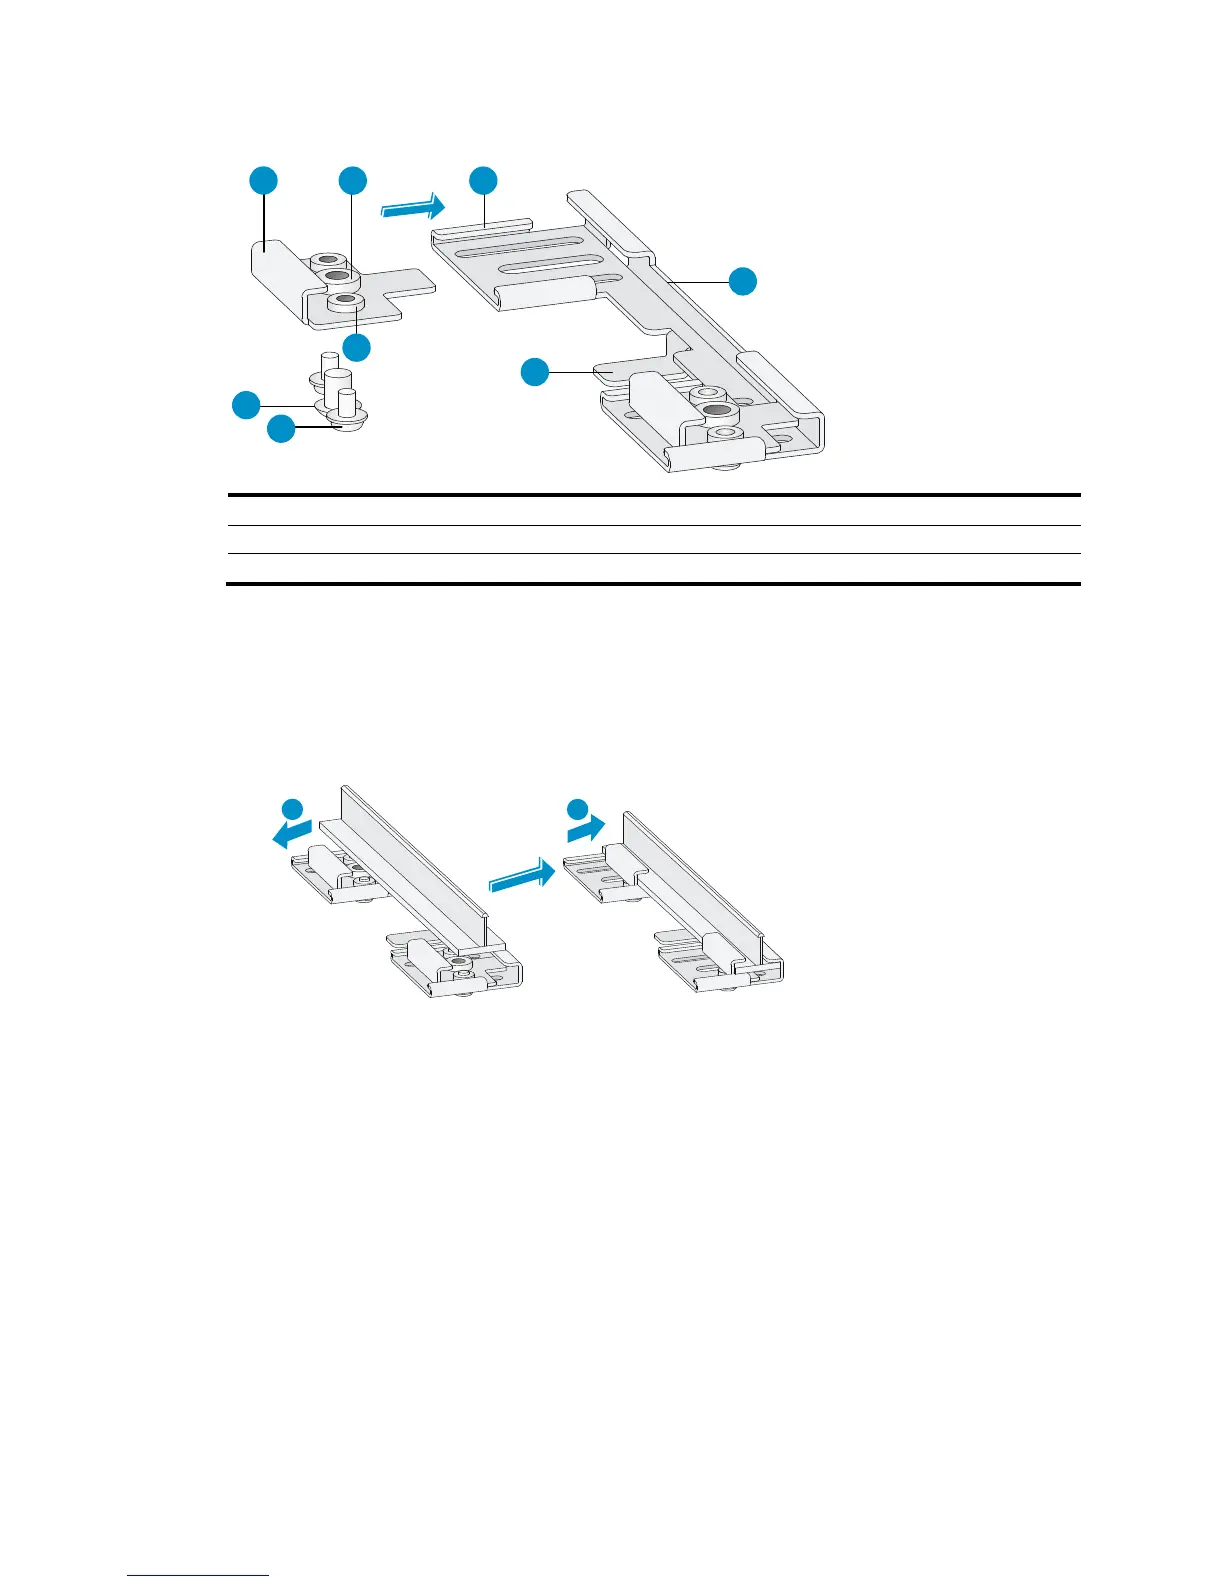
Figure 10 T-rail holder
(1) T-rail clip (2) M4 screw nut (3) Clip holder
(4) T-rail holder (5) M3 screw nut (6) M4 × 5 screw
(7) M3 × 8 screw (8) Mountin
hook
To mount the AP to a ceiling T-rail:
1. Loosen the two M3 × 8 screws on each clip holder. Do not remove the screws.
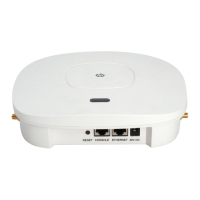
2. Adjust the T-rail clips to make the T-rail holder wider than the T-rail. See callout 1 in Figure 11. T
hen
lock the T-rail with the T-rail holder according to the arrow indicated in callout 2 in Figure 11.
Figure 11 Attaching th
e T-rail holder to the T-rail
3. Tighten the four M3 × 8 screws on the two clip holders.
4. Verify that the T-rail holder is attached to the T-rail.
5. Hook the mounting clip (see callout 3 in Figure 12) of t
he wall-mounting bracket to the mounting
hook (see callout 2 in Figure 12) of the
T-rail holder.
6. Insert the two M4 × 5 screws (see callout 1 in Figure 12) through the t
wo 5 mm (0.20 in) diameter
holes on the wall-mounting bracket according to the dashed line shown in Figure 12. Attach the
screws to the T-rail holder.
7. Verify that the wall-mounting bracket is attached to the T-rail.
8. Connect the AP to the network by using an Ethernet cable.
9. Install the AP to the wall-mounting bracket. For more information, see "Mounting the AP on a wall."
1 2 3
4
5
6
7
8
1 2