5
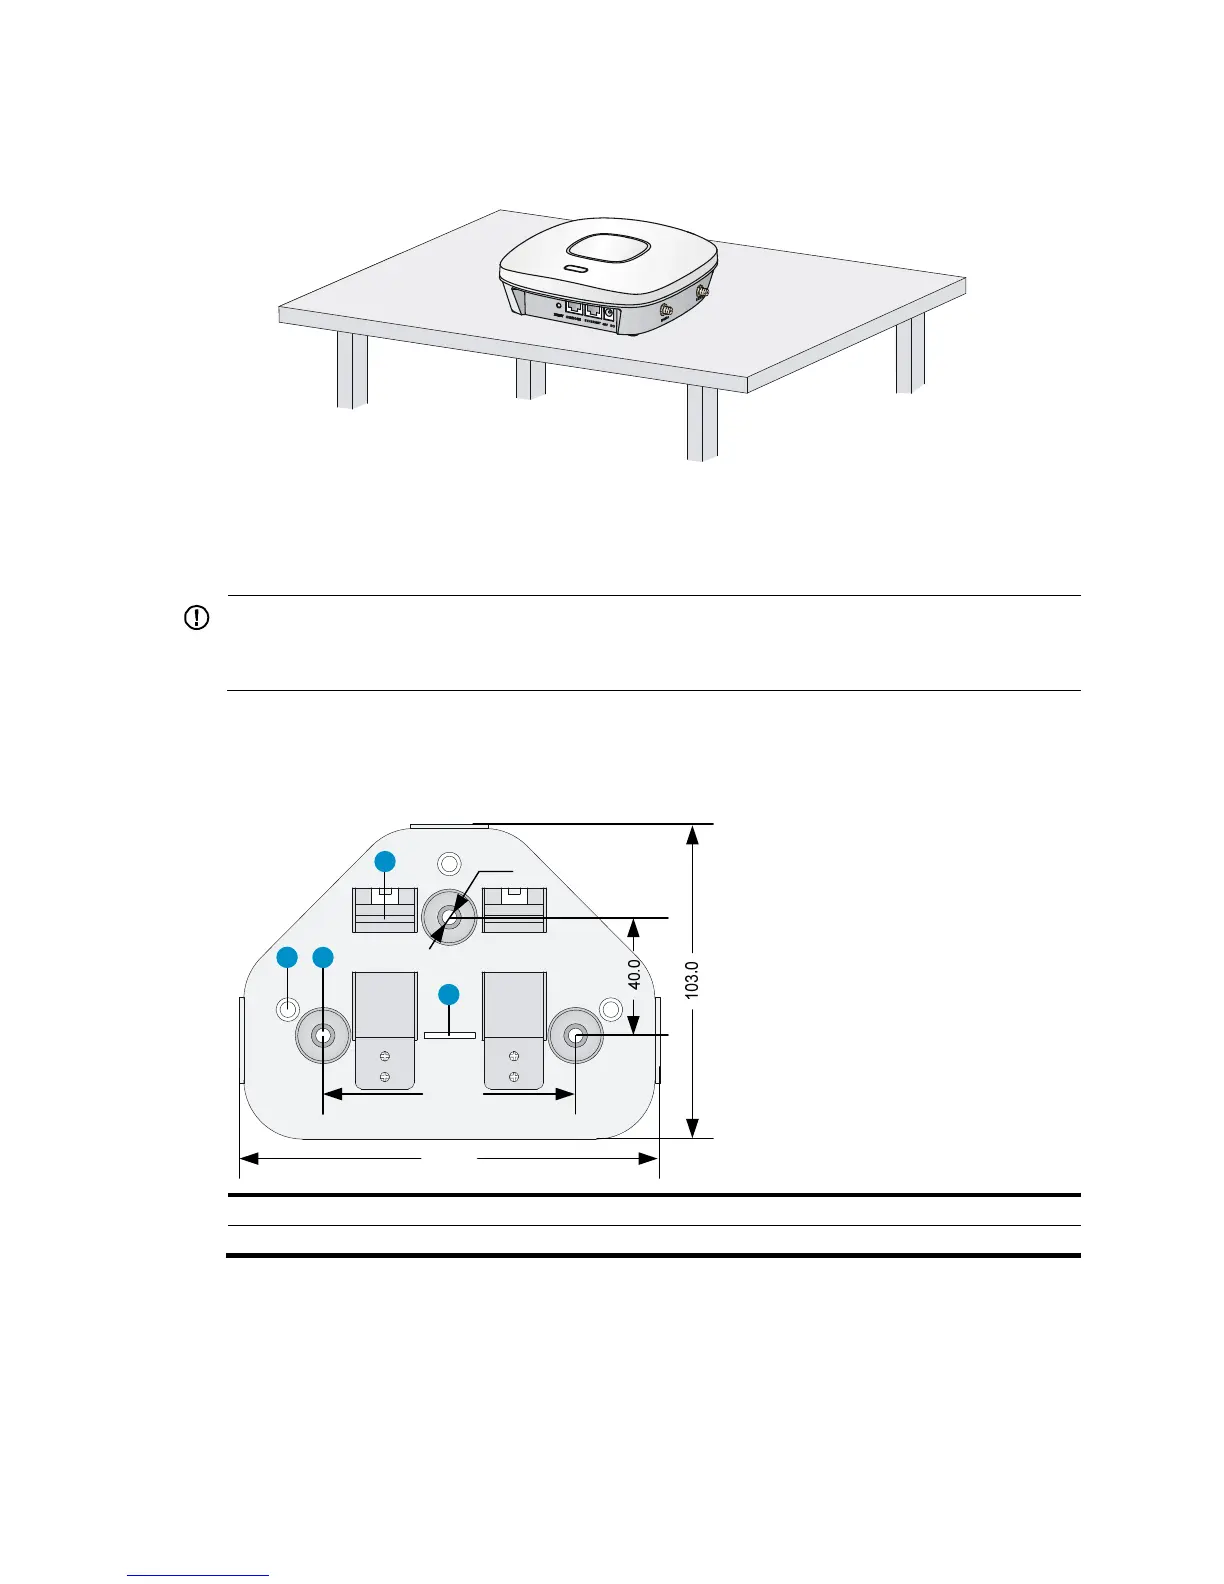
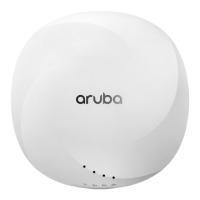
2. Place the AP on the table with the rubber feet facing down as shown in Figure 3.
Figure 3 Mounting the AP on the table
Mounting the AP on a wall
IMPORTANT:
Connect the AP to the network by using an Ethernet cable, and then install the AP to the wall-mounting
bracket.
To mount the AP on a wall, use the wall-mounting bracket and wall anchor kit that is supplied with the AP
as shown in Figure 4.
Figure 4 Screw hole lo
cations and sizes (in mm)
(1) Hook (2) Mounting hole
(3) Clip (4) Mountin
clip
To mount the AP on a wall:
1. Use the wall-mounting bracket as a template to mark the locations of the mounting holes on the
bracket. Drill three 5 mm (0.2 in) diameter holes on the marked mounting hole locations as shown
in Figure 5.
1 2
3
4
Ø5.0
86.0
136.0