16. Replace the fan modules. See “Removing and replacing the fan module” (page 19)
17. Replace the I/O module cables. See “Removing and replacing the I/O module” (page 18)
18. Replace the power cables.
19. Apply power to the enclosure and confirm the system is powered on. See “Verifying the
operating status of the disk enclosures” (page 13)
20. Confirm that the system is operating normally. See “Verifying the operating status of the disk
enclosures” (page 13)
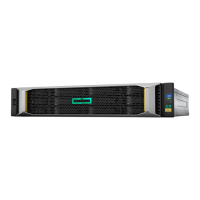
Removing and replacing the enclosure
The operation is performed after Support determines that the enclosure is the source of the issue
and requests the enclosure be replaced
WARNING! Check to make sure data on the drives is backed up. Back up the data if required.
1. Unplug the power cables.
2. Remove I/O cables. See “Removing and replacing I/O Cables” (page 17)
3. Label drives for removal.
4. Remove the drives. See “Removing a drive” (page 16)
5. Remove power supplies See “Removing and replacing a power supply” (page 18)
6. Remove the I/O modules. See “Removing and replacing the I/O module” (page 18)
7. Remove both fan modules. See “Removing and replacing the fan module” (page 19)
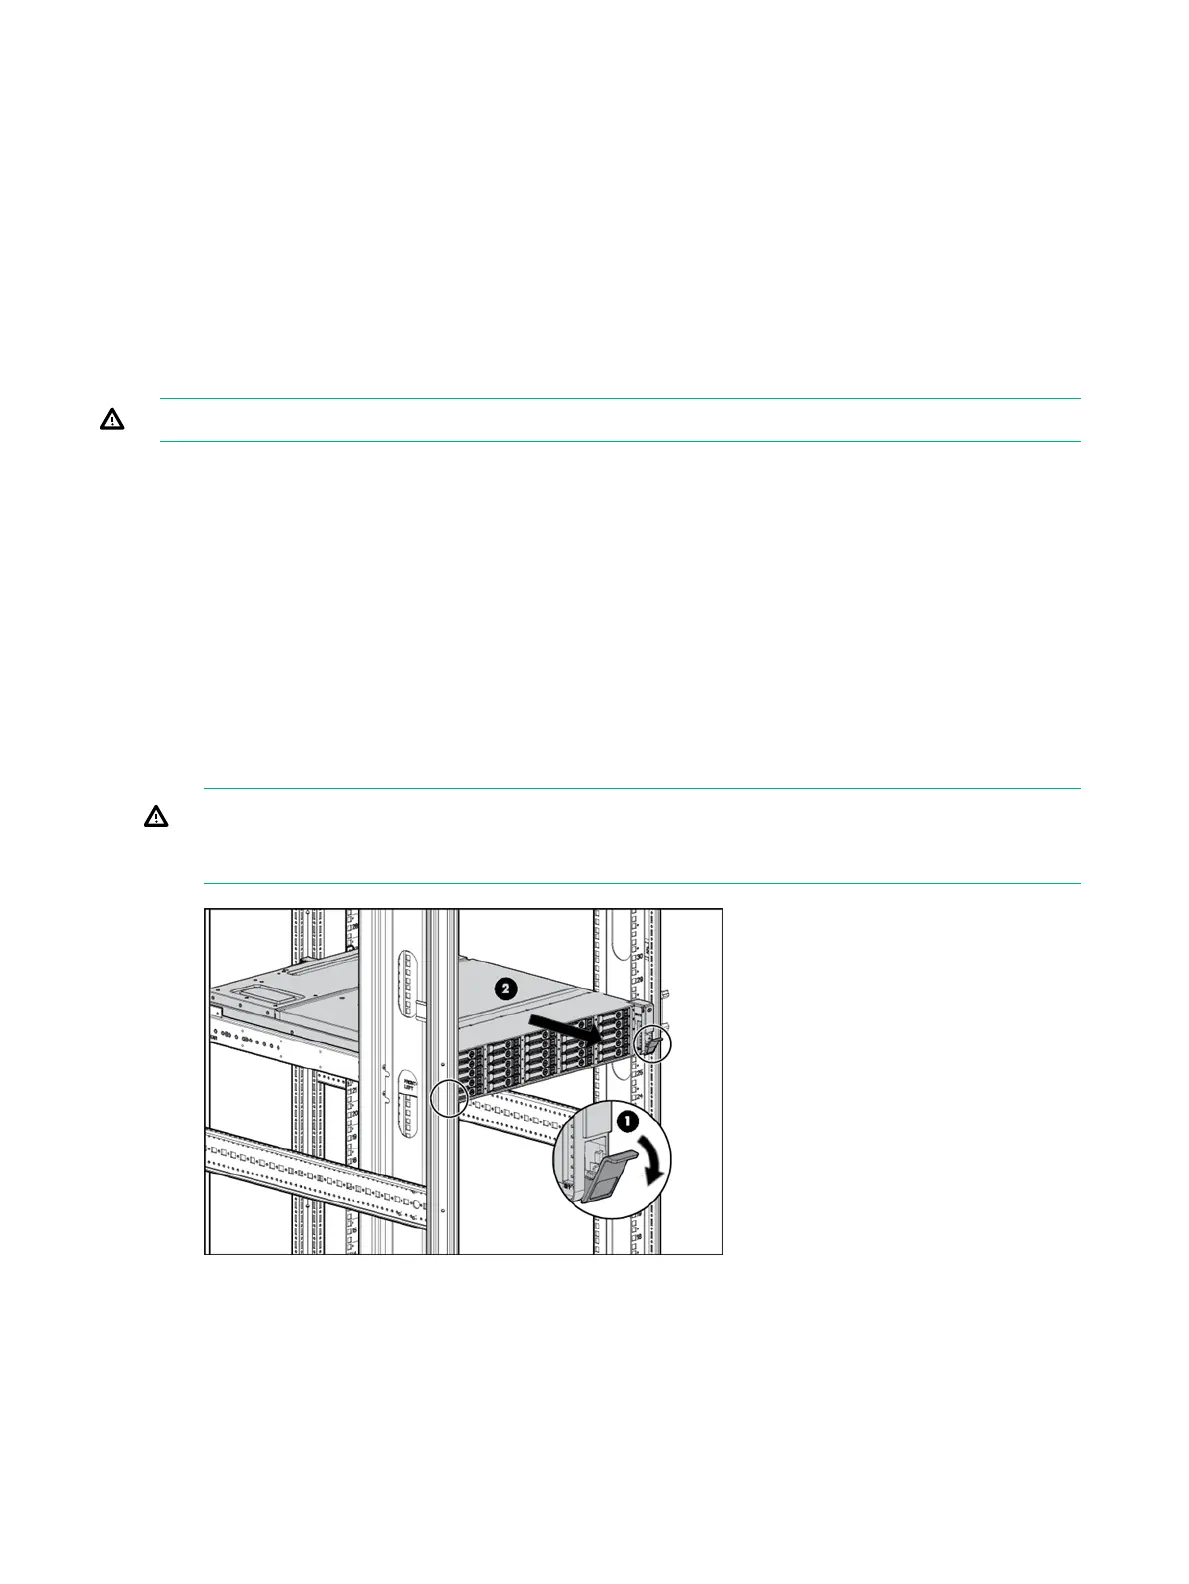
8. Loosen the captive CTO screws behind the latch on the front left and right bezel ears of the
chassis (1)
9. Loosen the rear CTO hold-down bracket.
10. Slide the enclosure out of the rails (2) and set it on a secure surface.
WARNING! Always use at least two people to lift an enclosure into the rack. If the enclosure
is being loaded into the rack above chest level, a third person must assist with aligning the
enclosure with the rails while the other two people support the weight of the enclosure.
11. Slide in the new enclosure and tighten the retaining screws.
12. Re-attach the rear CTO hold-down bracket.
13. Replace the I/O modules. See “Removing and replacing the I/O module” (page 18)
14. Replace the power supplies. See “Removing and replacing a power supply” (page 18)
15. Replace the fan modules. See “Removing and replacing the fan module” (page 19)
16. Replace the hard drives and/or SSDs. See “Replacing a drive” (page 16)
17. Replace I/O module cables. See “Removing and replacing the I/O module” (page 18)
22 Removal and replacement procedures