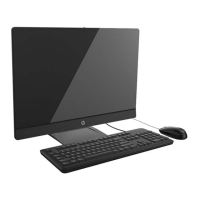
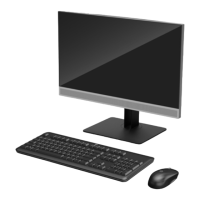
Attaching and removing a stand
Three stands are available for the computer:
●
Attaching and removing a recline stand
●
Attaching and removing a adjustable-height stand
●
Attaching and removing an easel stand
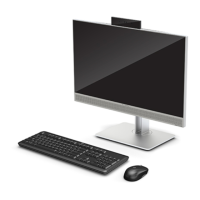
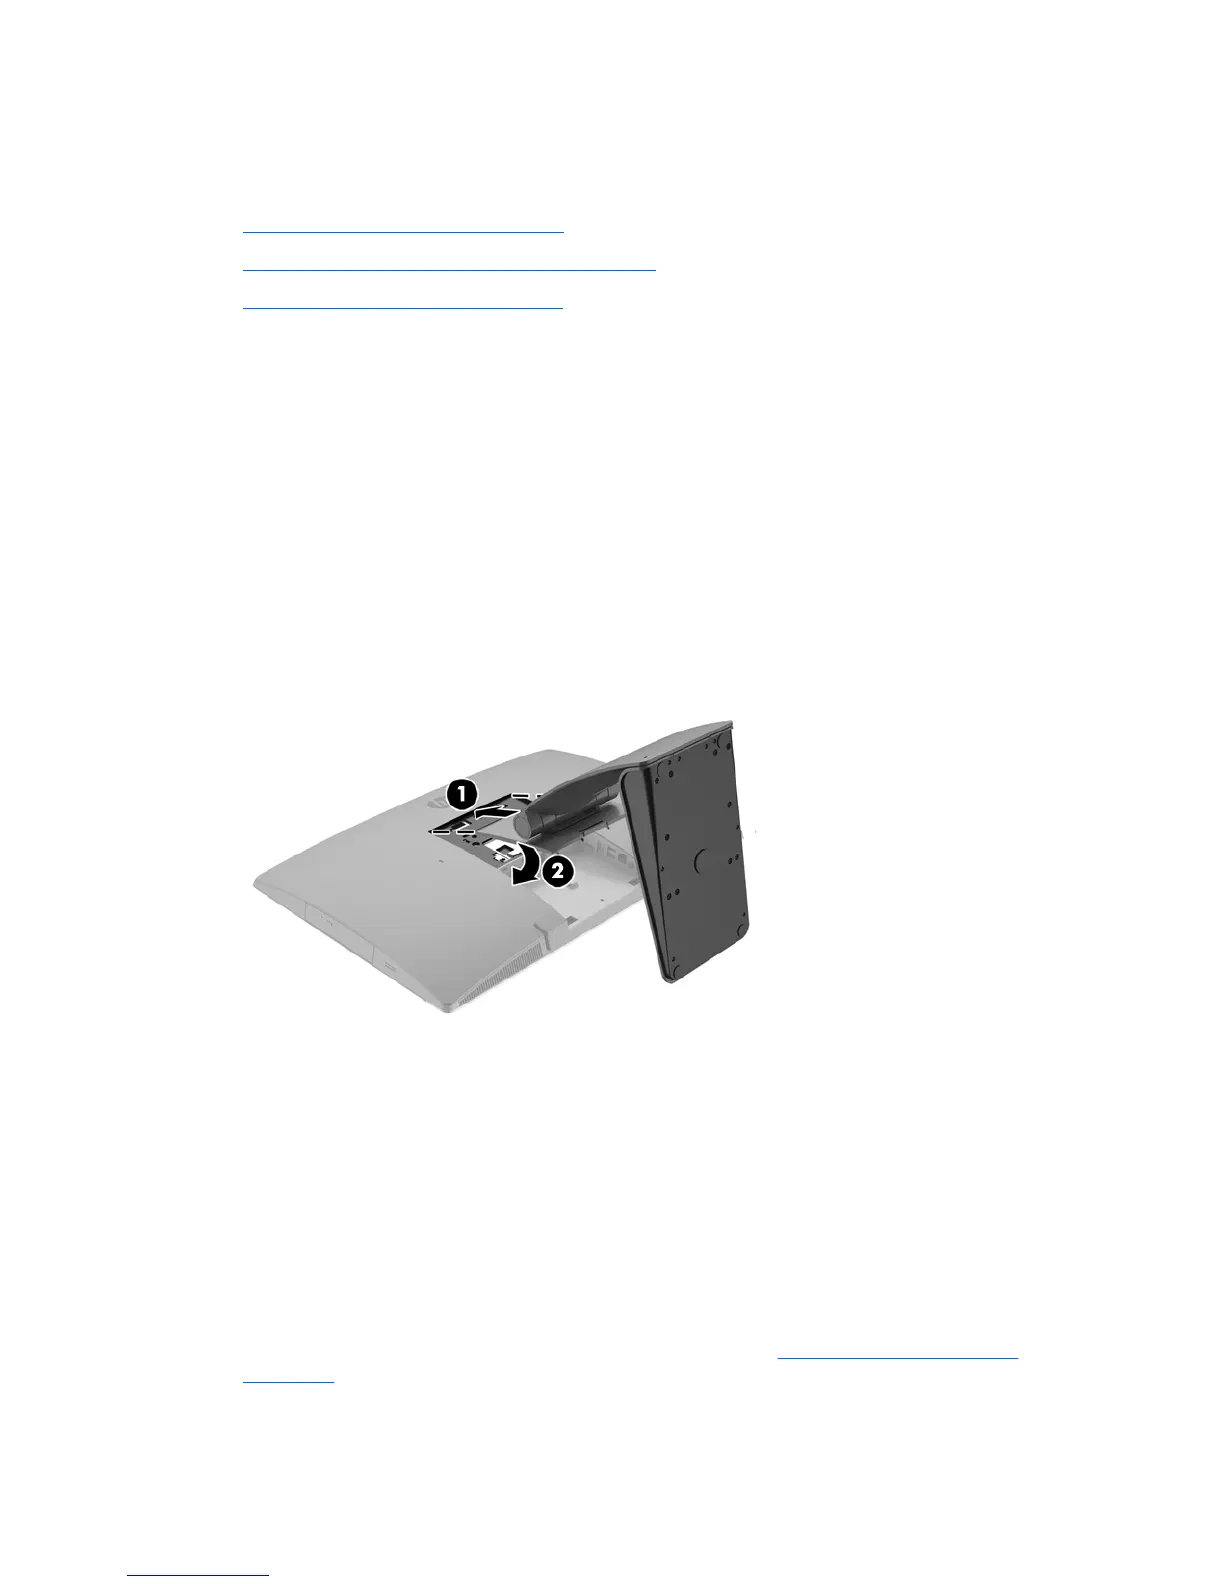
Attaching and removing a recline stand
Attaching a recline stand
To install the stand:
1. Place the computer face down on a soft flat surface. HP recommends that you set down a blanket,
towel, or other soft cloth to protect the bezel and screen surface from scratches or other damage.
2. Engage the hooks in the top of the stand in the two large holes in the upper part of the back of the
computer (1).
3. Lower the stand onto the computer and press down until it clicks into place (2).
Removing a recline stand
To remove the stand:
1. Remove all removable media, such as optical discs or USB flash drives, from the computer.
2. Turn off the computer properly through the operating system, then turn off any external devices.
3. Disconnect the AC power cord from the AC outlet and disconnect any external devices.
4. Place the computer face down on a soft flat surface. HP recommends that you set down a blanket,
towel, or other soft cloth to protect the bezel and screen surface from scratches or other damage.
5. Remove the rear port cover, if it is installed. For instructions, see
Removing the rear port cover
on page 27.
6. Press the release latch under the stand (1).
18 Chapter 2 Setup
 Loading...