14
3.
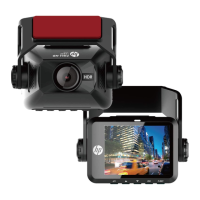
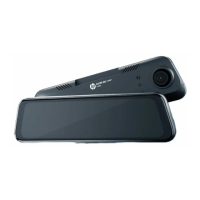
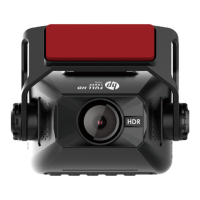
Turn on front camera’s power, the rear camera image will be shown on
the right upper corner of front camera screen. Tap icon on front
camera to switch front or rear image.
Note:
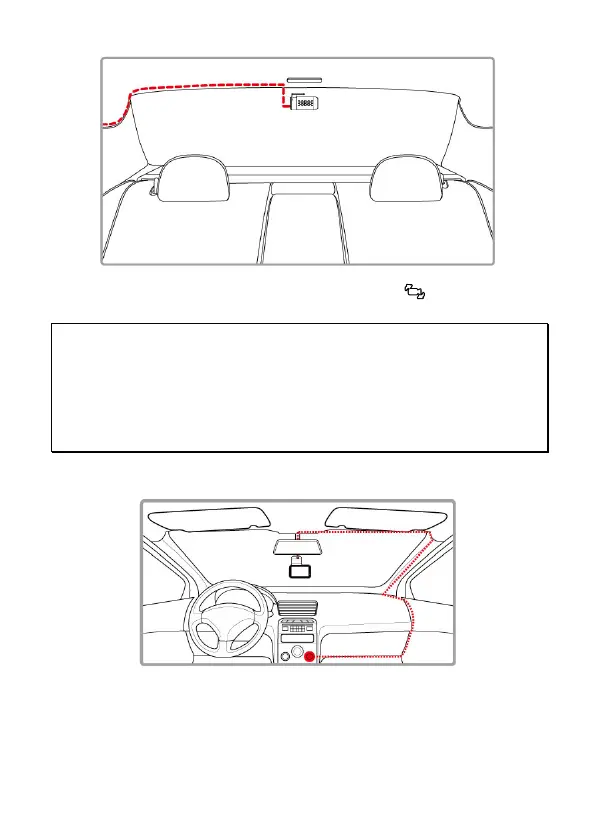
1. Install rear camera at upper central position of the rear windshield.
2. Rear camera doesn’t support hot Plug-n-Play. Please turn off the front camera
before plugging the rear camera.
3. Any end of rear camera’s cable is fine to connect with front camera or rear camera.
For better wire installation, suggest using 90
゜
end to connect with front camera, and
straight end to connect with rear camera.
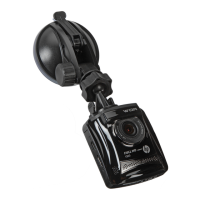
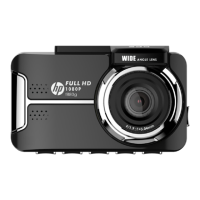
2.5 Connect to Power
Use only the supplied car charger to power up the camcorder.
1. Connect one end of the car charger to the USB connector of the
camcorder. USB port input: DC 5V / 2A.
2. Plug the other end of the car charger to the cigarette lighter socket
of your vehicle. Once the vehicle engine is started, the camcorder
automatically powers on. Car charger input: DC 12 / 24V.