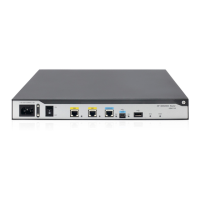
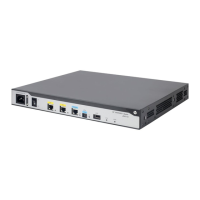
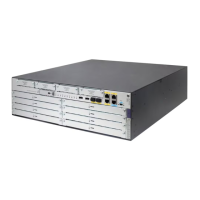
11
IMPORTANT:
• Ensure good ventilation and 10 cm (3.9 in) of clearance around the chassis for heat dissipation.
• Avoid placing heavy objects on the router.
To mount the router on a workbench:
1. Make sure the workbench is clean, stable, and properly grounded.
2. Place the router upside down on the workbench and attach the rubber feet to the four round
holes in the chassis bottom.
Figure 2 Mounting the router on a workbench
Installing the router on a wall
CAUTION:
hen mounting the router on a wall, position the router so the network interfaces face downwards,
and the sides with ventilation openings are perpendicular to the ground, as shown in Figure 3.
To mount the router on a wall:
1. Mark the locations of the two mounting holes on the wall with the separations listed as follows:
Router model Se
aration
MSR930 and MSR930G 180 mm (7.09 in)
MSR931, MSR931G, and MSR931DG 240 mm (9.45 in)
The holes must be level (on the same horizontal line.)
2. Drill two holes in the wall.
3. Following the marks, drill the two holes at least 22 mm (0.87 in) deep.
Verify that the holes are level.
4. Insert an anchor into each hole so it is flush with the wall surface.
5. Drive a screw into each anchor, keeping the screw heads protruding at least 1.5 mm (0.06 in)
from the wall.
6. Hang the router on the screws.
 Loading...