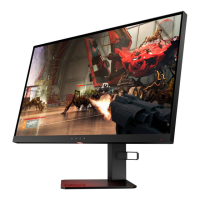
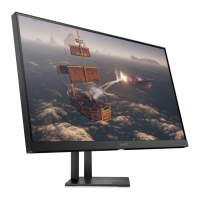
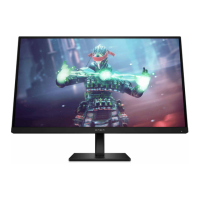
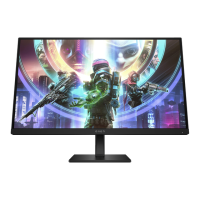
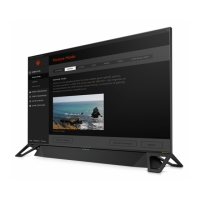
Turning on the monitor
1. Press the power button on the source device to turn it on.
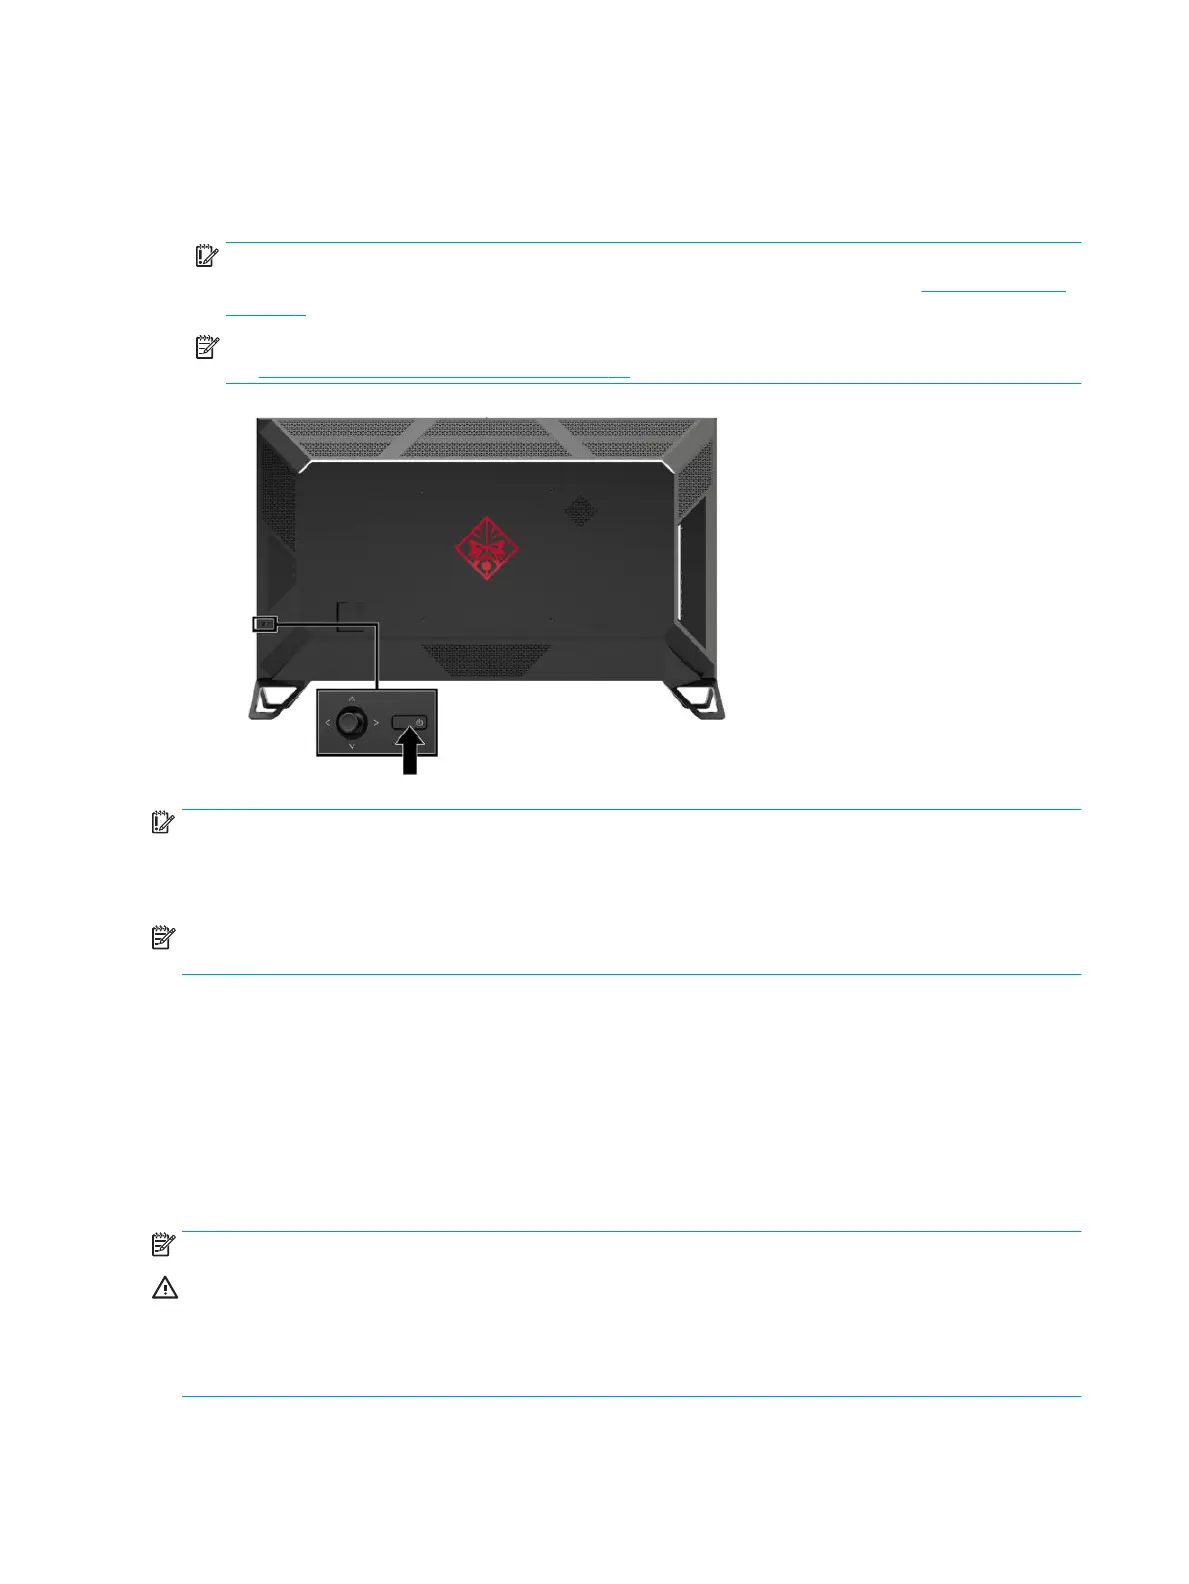
2. Press the power button on the back of the monitor to turn it on.
IMPORTANT: Ensure that the master power switch is in the On position. The master power switch is
located next to the power cord connector on the back of the monitor. For details, see Rear components
on page 3.
NOTE: The monitor may also be turned on using the optional remote control. For detailed instructions,
see Using the optional remote control on page 10.
IMPORTANT: Burn-in damage may occur on monitors that display the same static image on screen for
twelve or more hours. To avoid burn-in damage, always activate a screen saver application or turn o the
monitor when it will be unused for a prolonged period. Image retention is a condition that may occur on all
LCD screens. A burned-in image on the monitor is not covered under the HP warranty.
NOTE: If pressing the power button has no eect, the Power Button Lockout feature may be enabled. To
disable this feature, press and hold the monitor power button for 10 seconds.
When the monitor is turned on, a monitor status message displays for ve seconds. The message shows
which input is the current active signal, the current preset display resolution, and the recommended preset
display resolution.
The monitor automatically scans the signal inputs for an active input and uses the rst found active input for
the monitor.
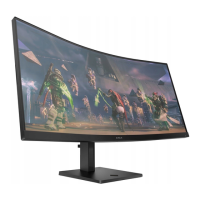
Mounting the monitor
The monitor head can be attached to a wall, swing arm, or other mounting xture.
NOTE: This apparatus is intended to be supported by a UL Listed or CSA Listed wall-mount bracket.
CAUTION: This monitor supports the VESA industry-standard 400 mm mounting holes. To attach a third-
party mounting solution to the monitor head, four 6 mm, 1.0 pitch, 10 mm-long screws are required. Longer
screws may damage the monitor. It is important to verify that the manufacturer’s mounting solution is
compliant with the VESA standard and is rated to support the weight of the monitor head. For best
performance, it is important to use the power and video cables provided with the monitor.
8 Chapter 1 Getting Started
 Loading...