EasyManuals Logo

HP ProCurve 2510G Series Installation And Getting Started Guide

HP ProCurve 2510G Series
96 pages
To Next Page IconTo Next Page
To Previous Page IconTo Previous Page
Page #28 background imageLoading...
Page #28 background image
2-10
Installing the Switch
Installation Procedures
Installing the Switch
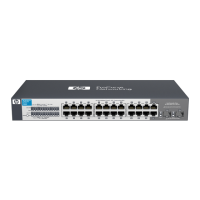
2. Check the LEDs on the switch as described below.
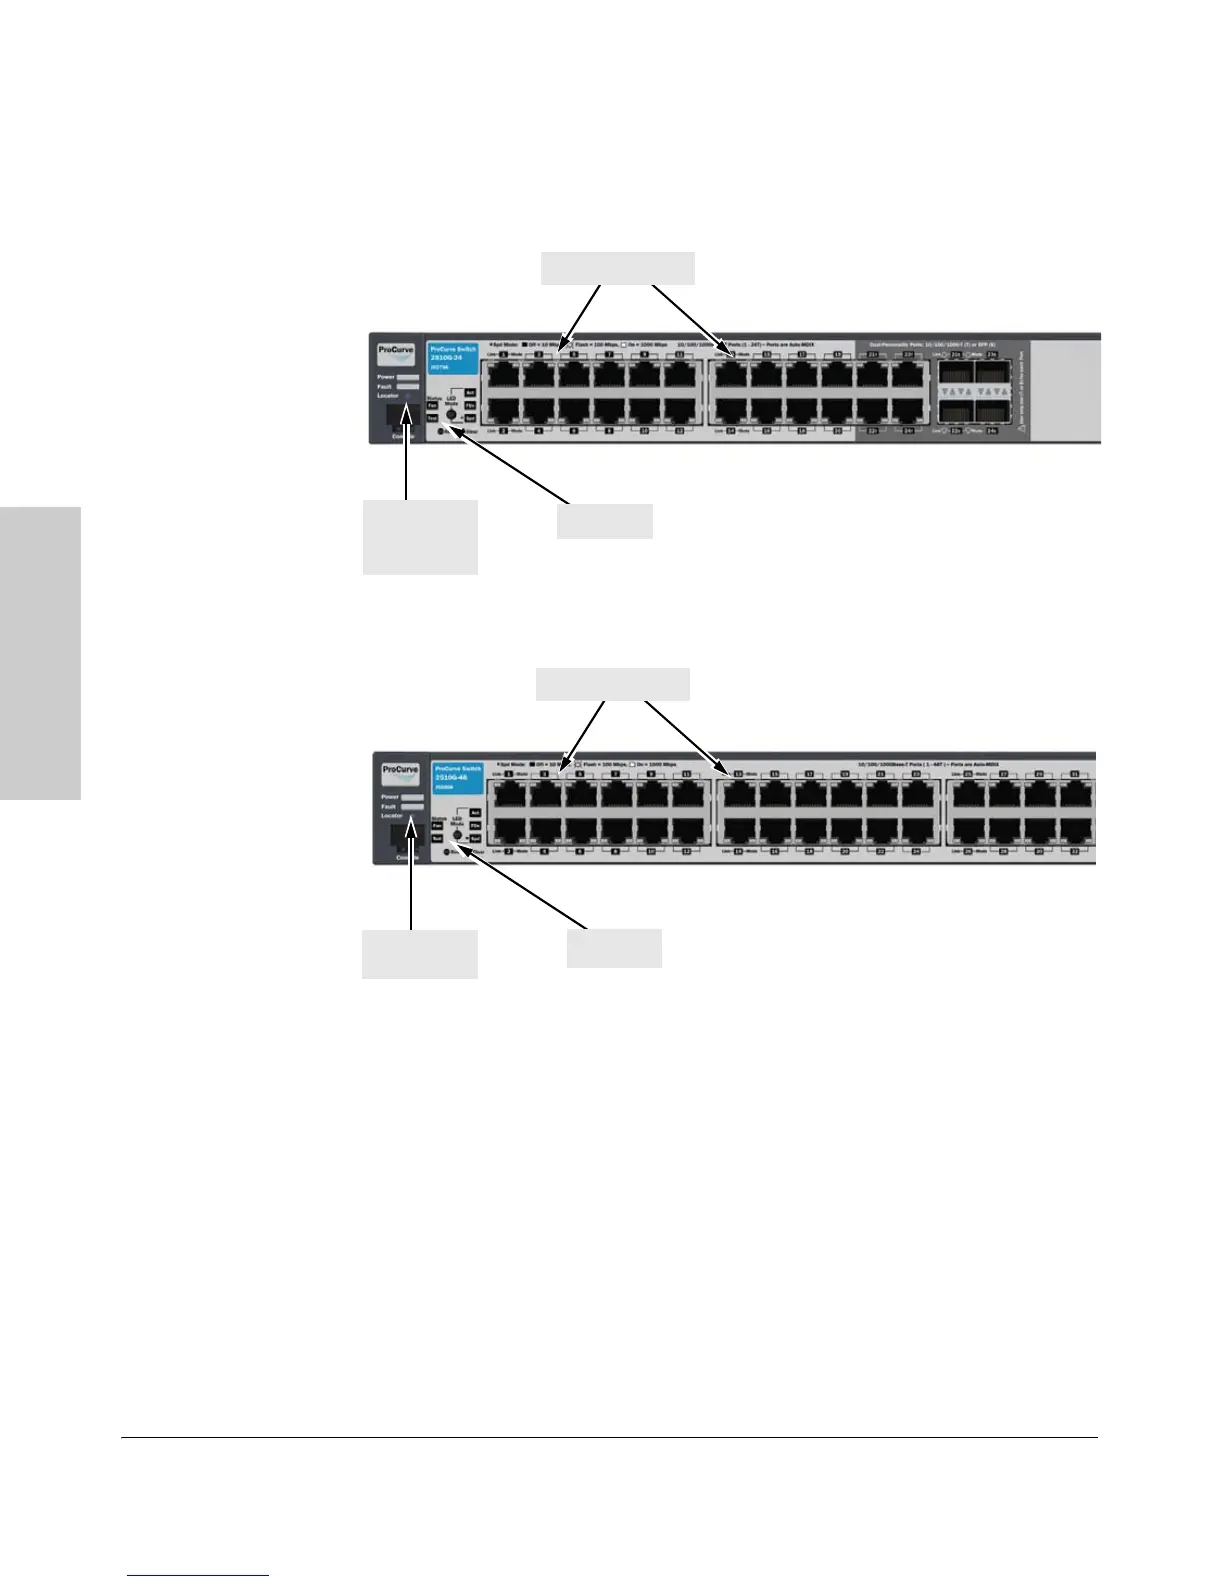
Figure 2-4. Checking the LEDs on the 2510G-24 (J9279A)
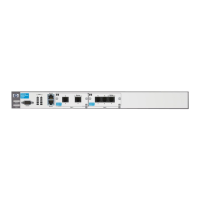
Figure 2-5. Checking the LEDs on the 2510G-48 (J9280A)
When the switch is powered on, it performs its diagnostic self test. Self
test takes approximately 50 seconds to complete.
LED Behavior:
During the self test:
Initially, all the switch and port LEDs are on. Most of the LEDs go off
and then may come on again during phases of the self test.
For the duration of the self test, the Test LED stays on.
Test LED
Switch port LEDs
Power, Fault
and locator
LEDs
Power and
Fault LEDs
Test LED
Switch port LEDs

Table of Contents

Other manuals for HP ProCurve 2510G Series

Questions and Answers:

Question and Answer IconNeed help?

Do you have a question about the HP ProCurve 2510G Series and is the answer not in the manual?

HP ProCurve 2510G Series Specifications

General IconGeneral
Switching Capacity48 Gbps
Forwarding Rate35.7 Mpps
ManageableYes
Storage Temperature-40°C to 70°C
Ports24 x 10/100/1000 ports
Memory128 MB
Jumbo Frame SupportYes
LayerLayer 2
FeaturesVLAN, QoS, ACLs, IGMP snooping
ManagementWeb interface, CLI, SNMP
Security FeaturesRADIUS, TACACS+
Power SupplyInternal power supply
Operating Temperature0°C to 45°C
Power over Ethernet (PoE)Optional (PoE models available)

Related product manuals