Removal and replacement procedures 66
2.
Remove all power:
a. Disconnect each power cord from the power source.
b. Disconnect each power cord from the server.
3. Do one of the following:
o Extend the server from the rack (on page 27).
o Remove the server from the rack (on page 30).
4. Remove the access panel ("Access panel" on page 37).
5. Release the front I/O cabling from the server:
a. Detach the ambient thermal sensor cable from its clip.
b. Release the ambient thermal sensor cable from the front chassis cable clip.
c. Disconnect the front I/O module cable.
6. Disconnect the cables for the front I/O module and then remove the front I/O module from the system
board.
To replace the component, reverse the removal procedure.
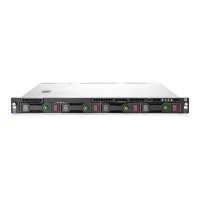
Thumbscrew rack ear assembly
WARNING:
To reduce the risk of personal injury from hot surfaces, allow the drives and the
internal system components to cool before touching them.
CAUTION: To prevent damage to electrical components, take the appropriate anti-static
precautions before beginning any installation, removal, or replacement procedure. Improper
grounding can cause electrostatic discharge.
To remove the component:
1. Power down the server (on page 27).
2. Remove all power:
a. Disconnect each power cord from the power source.
b. Disconnect each power cord from the server.
3. Remove the server from the rack (on page 30).
 Loading...
