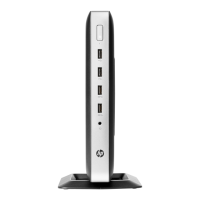
(2) DisplayPort connector (8) Power cord retention slot
(3) Ethernet RJ-45 connector (9) Cable lock slot
(4) Universal serial bus (USB) connectors (2) 2.0 (10) Parallel connector
(5) Universal serial bus (USB) connectors (2) 3.0 (11) PCI-Express expansion slot
(6) Serial connector (12) Power connector
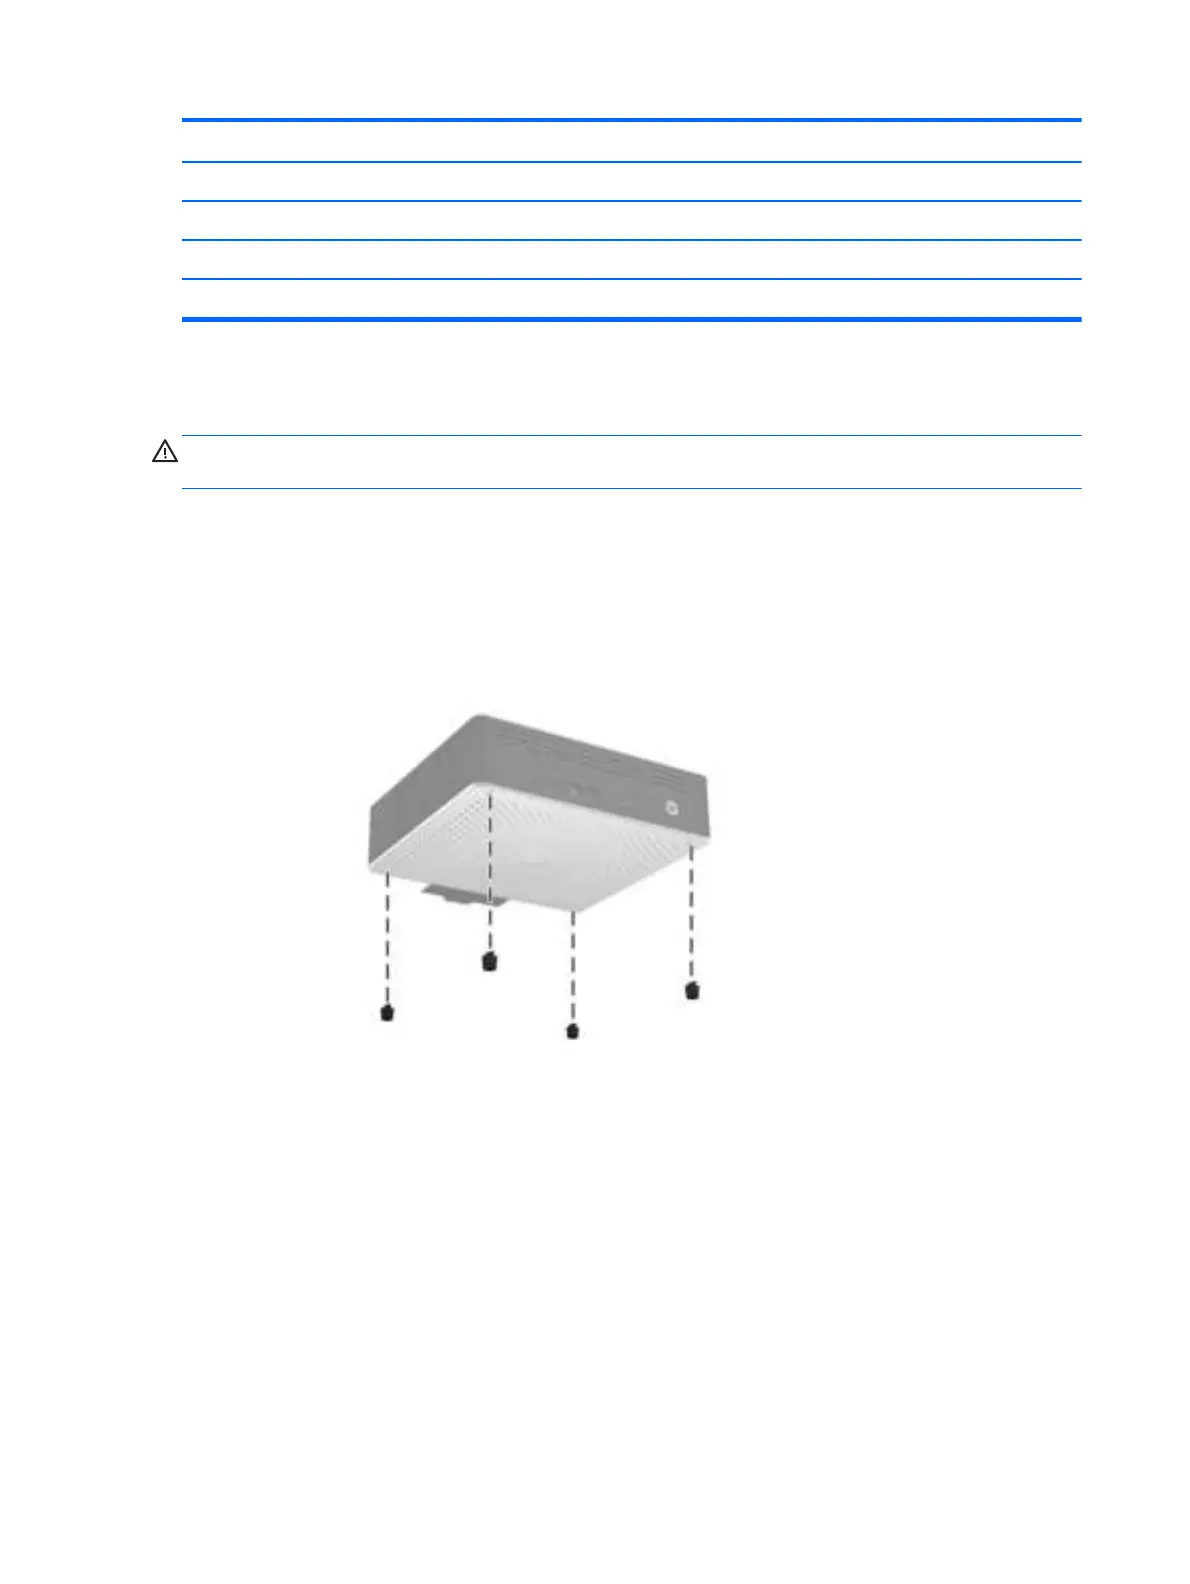
Installing the rubber feet
CAUTION: To prevent loss of performance or damage to the thin client, be sure to install the rubber
feet before operating the thin client in a horizontal orientation.
To install the rubber feet:
1. As you face the front of the thin client, lay the thin client on its left side.
2. Remove the feet from their backing.
3. Press each foot down securely onto a corner of the right side of the thin client.
Figure 1-4 Installing the rubber feet
Installing the stand
If the thin client will be installed in an vertical orientation and it will not be mounted, the stand should
be installed for stability.
To install the stand:
1. Turn unit upside down.
2. Locate the slots on the bottom of the unit into which the tabs on the stand fit.
4 Chapter 1 Product features

 Loading...