8. Install the stand, if you will be using the thin client unmounted in a vertical orientation. See
Installing the stand on page 4 for more information.
9. Reconnect any external devices and power cords.
10. Turn on the monitor, the thin client, and any devices you want to test.
11. Load any necessary drivers.
NOTE: You can download select hardware drivers from HP at http://www.hp.com/country/us/
eng/support.html.
12. Reconfigure the thin client, if necessary.
Removing and replacing the side access panel and
metal side cover
Removing the side access panel
WARNING! Before removing the side access panel, ensure that the thin client is turned off and the
power cord is disconnected from the electrical outlet.
To remove the left or right access panel:
1. Remove the stand, if it is installed. See
Removing the stand on page 5 for more information.
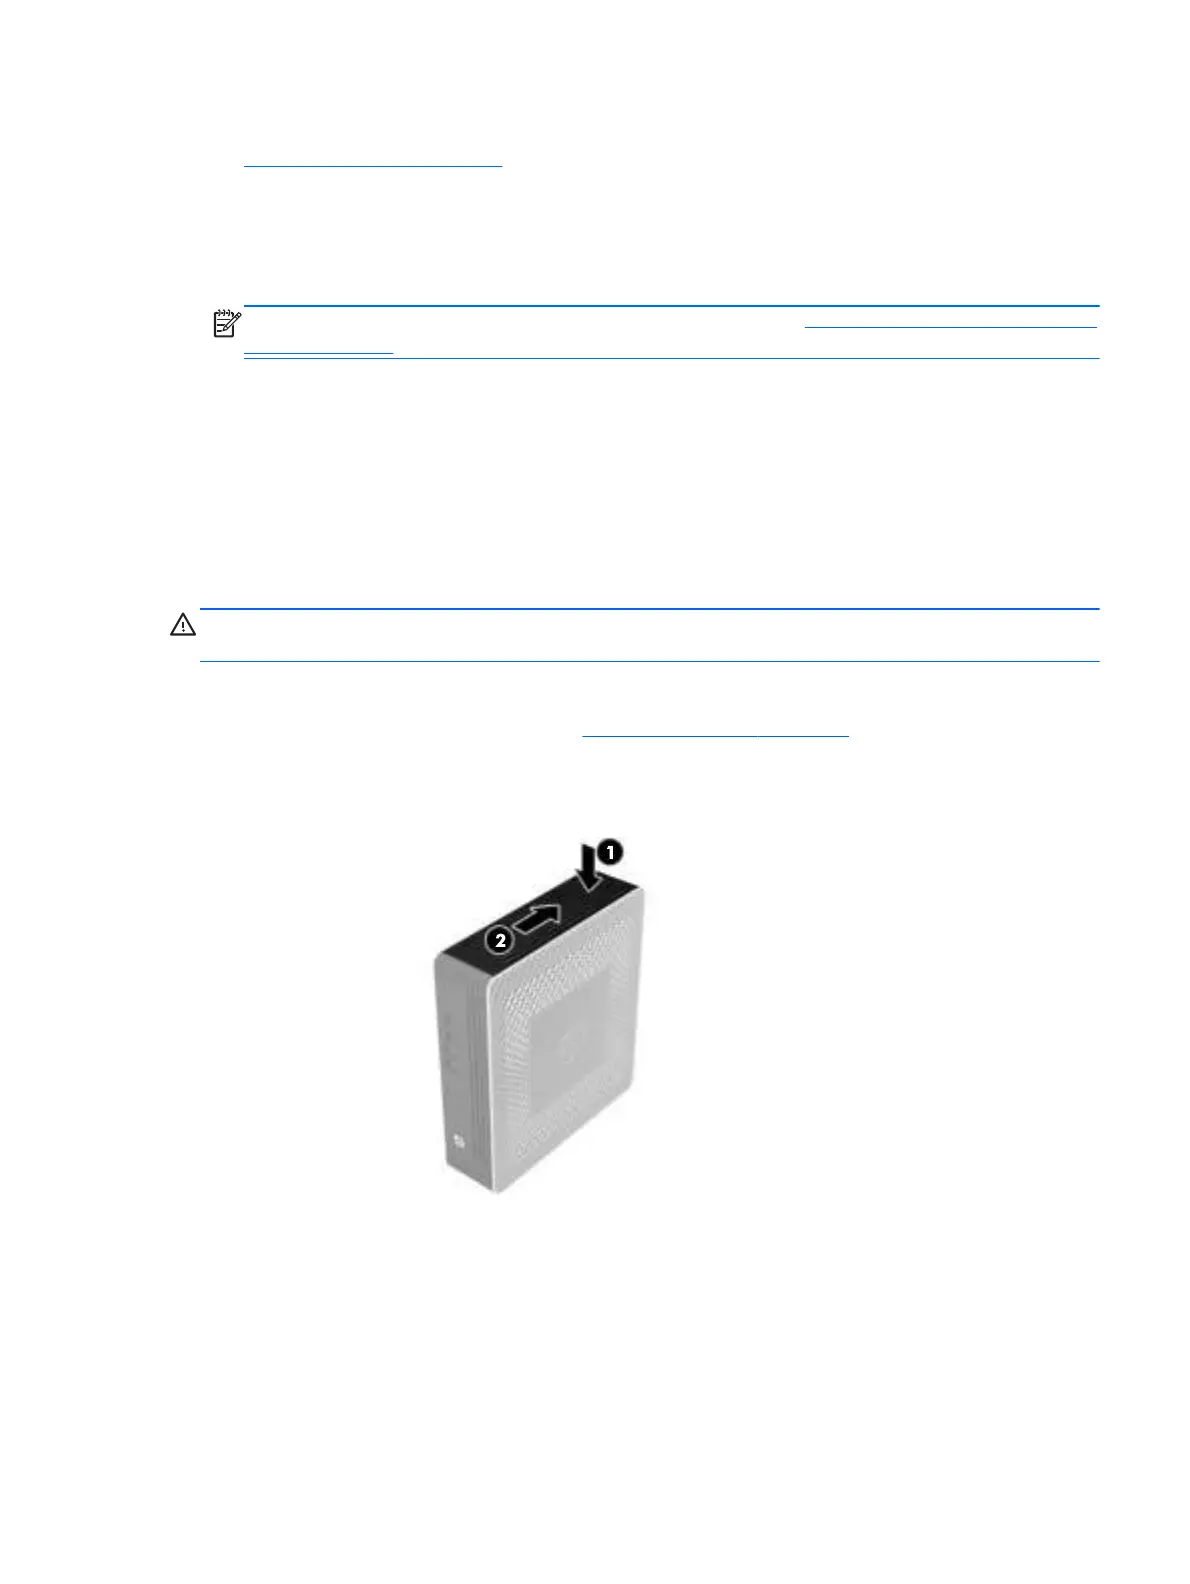
2. Press the tab on the bottom cover (1), and then slide the cover back (2) and lift it off the chassis.
Figure 2-1 Removing the bottom cover
3. Lay the thin client on its side on a secure working surface.
●
Remove the right side access panel to remove or install a SODIMM.
●
Remove the left side access panel to:
◦
Remove or replace the battery
◦
Install or remove a flash memory module
Removing and replacing the side access panel and metal side cover
11
 Loading...