NOTE: Populate the SODIMM sockets in the following order: SODIMM1, then SODIMM2.
1. Slide the serial number tab out of the way.
NOTE: Be sure not to lose this tab.
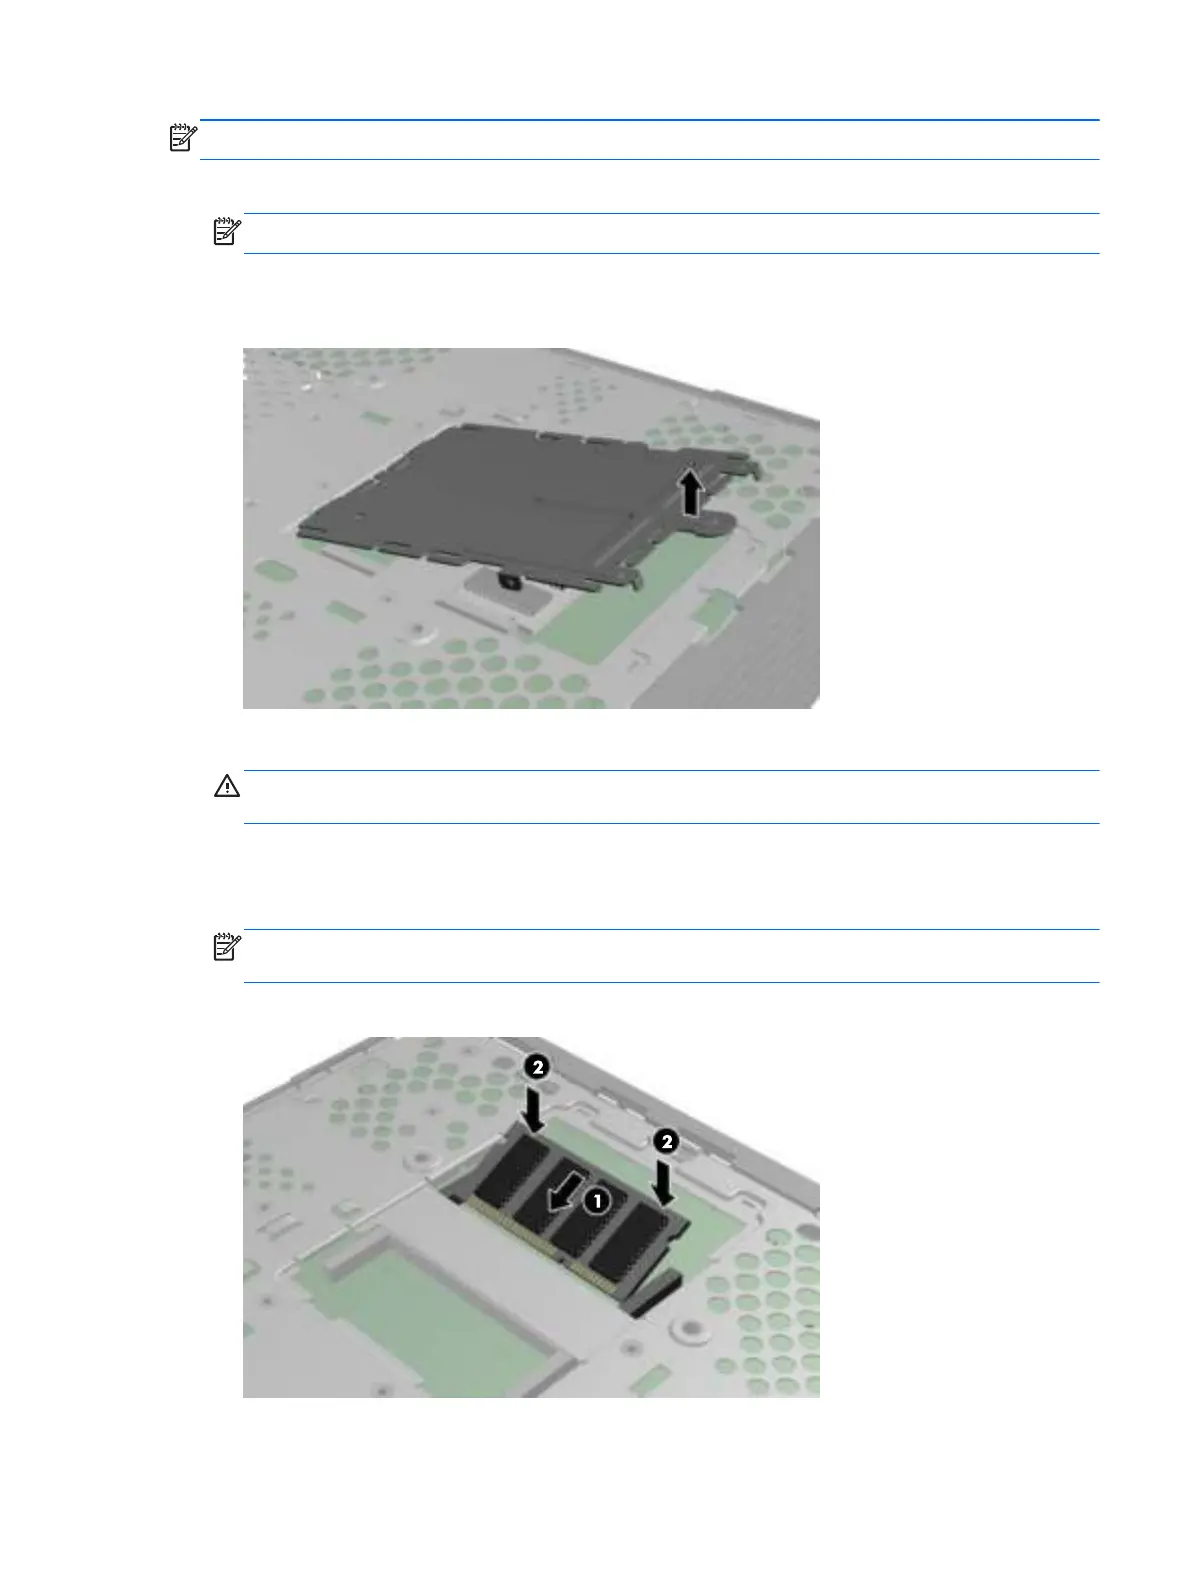
2. Pull the front of the access plate up, and lift it off the thin client.
Figure 2-8 Removing the SODIMM access plate
3. Align the notched edge of the SODIMM with the tab in the socket.
CAUTION: To prevent damage to the SODIMM, hold it by the edges only. Do not touch the
components on the SODIMM, and do not bend the SODIMM.
4. Hold the SODIMM at approximately a 20-degree angle, and then press the SODIMM into the
socket (1) until it is seated. Gently apply pressure to both the left and right edges of the SODIMM
until the retention clips snap into place.
NOTE: A SODIMM can be installed in only one way. Match the notch on the SODIMM with the
tab on the socket.
Figure 2-9 Installing a SODIMM
Installing thin client options
17

 Loading...