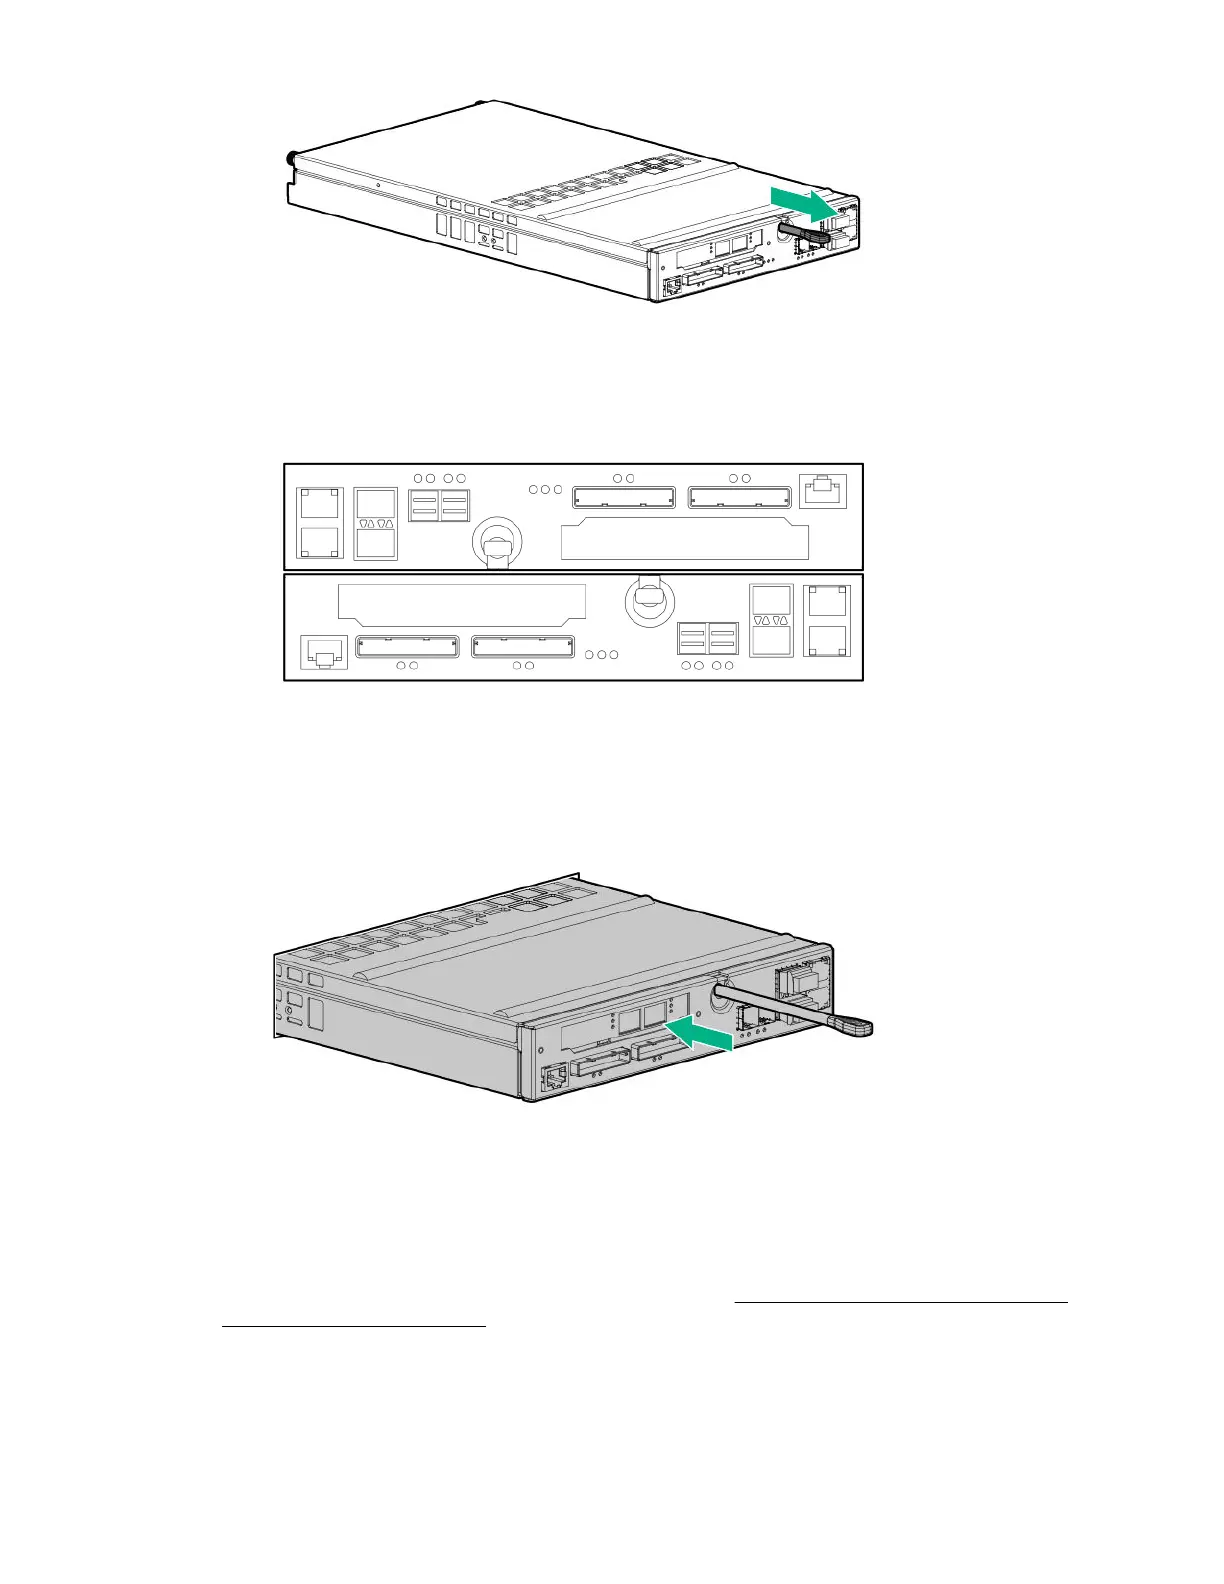
Figure 7: Extending the controller node rod
b. Confirm that the controller node is correctly oriented. In the controller node enclosure, the pair is
installed with each controller node oriented 180° from each other.
Figure 8: Orientation of a controller node pair
c. Partially install the controller node into the slot. Using two hands to grasp each side of the
replacement controller node, align it with the grooves in the slot, and slide it into the slot until it
halts against the insertion mechanism that is inside of the slot. Do not fully insert the controller
node in the slot at this time, because the cables must be reconnected before it is fully seated.
Figure 9: Partially install the controller node into the slot
13. Reconnect the cables to the controller node.
While the controller node is still only partially inserted in the slot, reconnect the cables to the
controller node.
14. Fully install and seat the controller node into the slot. See Figure 10: Fully install and seat the
controller node into the slot on page 16.
Slide in the controller node (1) while pushing in on the gray rod until it stops (2).
Service 15

 Loading...