Step 2 Turn o the AC switch between the inverter and the power grid.
Step 3 Set the three DC switches to OFF.
----End
8.2 Power-O for Troubleshooting
Context
To prevent personal injury and equipment damage, perform the following
procedure to power o the solar inverter for troubleshooting or replacement.
● When a solar inverter is faulty, try to avoid standing in front of the solar
inverter.
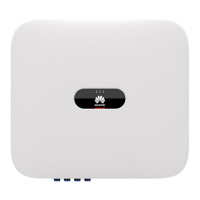
● If the LED1 indicator of the inverter is o, the switches are in the OFF position,
do not operate the DC switches of the inverter. In this case, go to Step 4.
● Do not operate the DC switch on the solar inverter before you nish Step 3 to
Step 5.
● The DC switch can be automatically disconnected when an internal fault is
detected in an inverter. Do not turn on the switch before the fault is cleared.
● If the AC switch between the solar inverter and the power grid has
automatically disconnected, do not turn on the switch before the fault is
rectied.
● Before power-o for troubleshooting, do not touch the energized components
of the solar inverter. Otherwise, electric shocks or arcing may occur.
Procedure
Step 1 Wear proper personal protective equipment (PPE).
Step 2 If the solar inverter is not shut down due to a fault, send a shutdown command
on the SUN2000 app, SmartLogger, or management system. If the solar inverter
has shut down due to a fault, go to the next step.
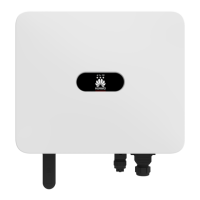
Step 3 Turn o the AC switch between the solar inverter and the power grid.
Step 4 Measure the DC current of each PV input string using a clamp meter that is set to
the DC position.
● If the current is less than or equal to 0.5 A, go to the next step.
● If the current is higher than 0.5 A, wait until the solar irradiance decreases
and the PV string current decreases below 0.5 A at night, and then go to the
next step.
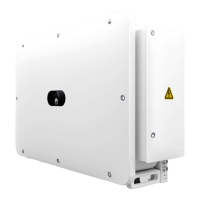
Step 5 Open the maintenance compartment door, install a support bar, and use a
multimeter to measure the voltage between the AC terminal block and the
ground. Ensure that the AC side of the solar inverter is disconnected.
SUN2000-(175KTL-H0, 185KTL-INH0, 185KTL-H1)
User Manual 8 Maintenance
Issue 19 (2023-12-20) Copyright © Huawei Technologies Co., Ltd. 92
 Loading...