68
• Press and hold the Information button, while turning
the ACC dial to the Set Sensor Operation position.
Then, release the Information button.
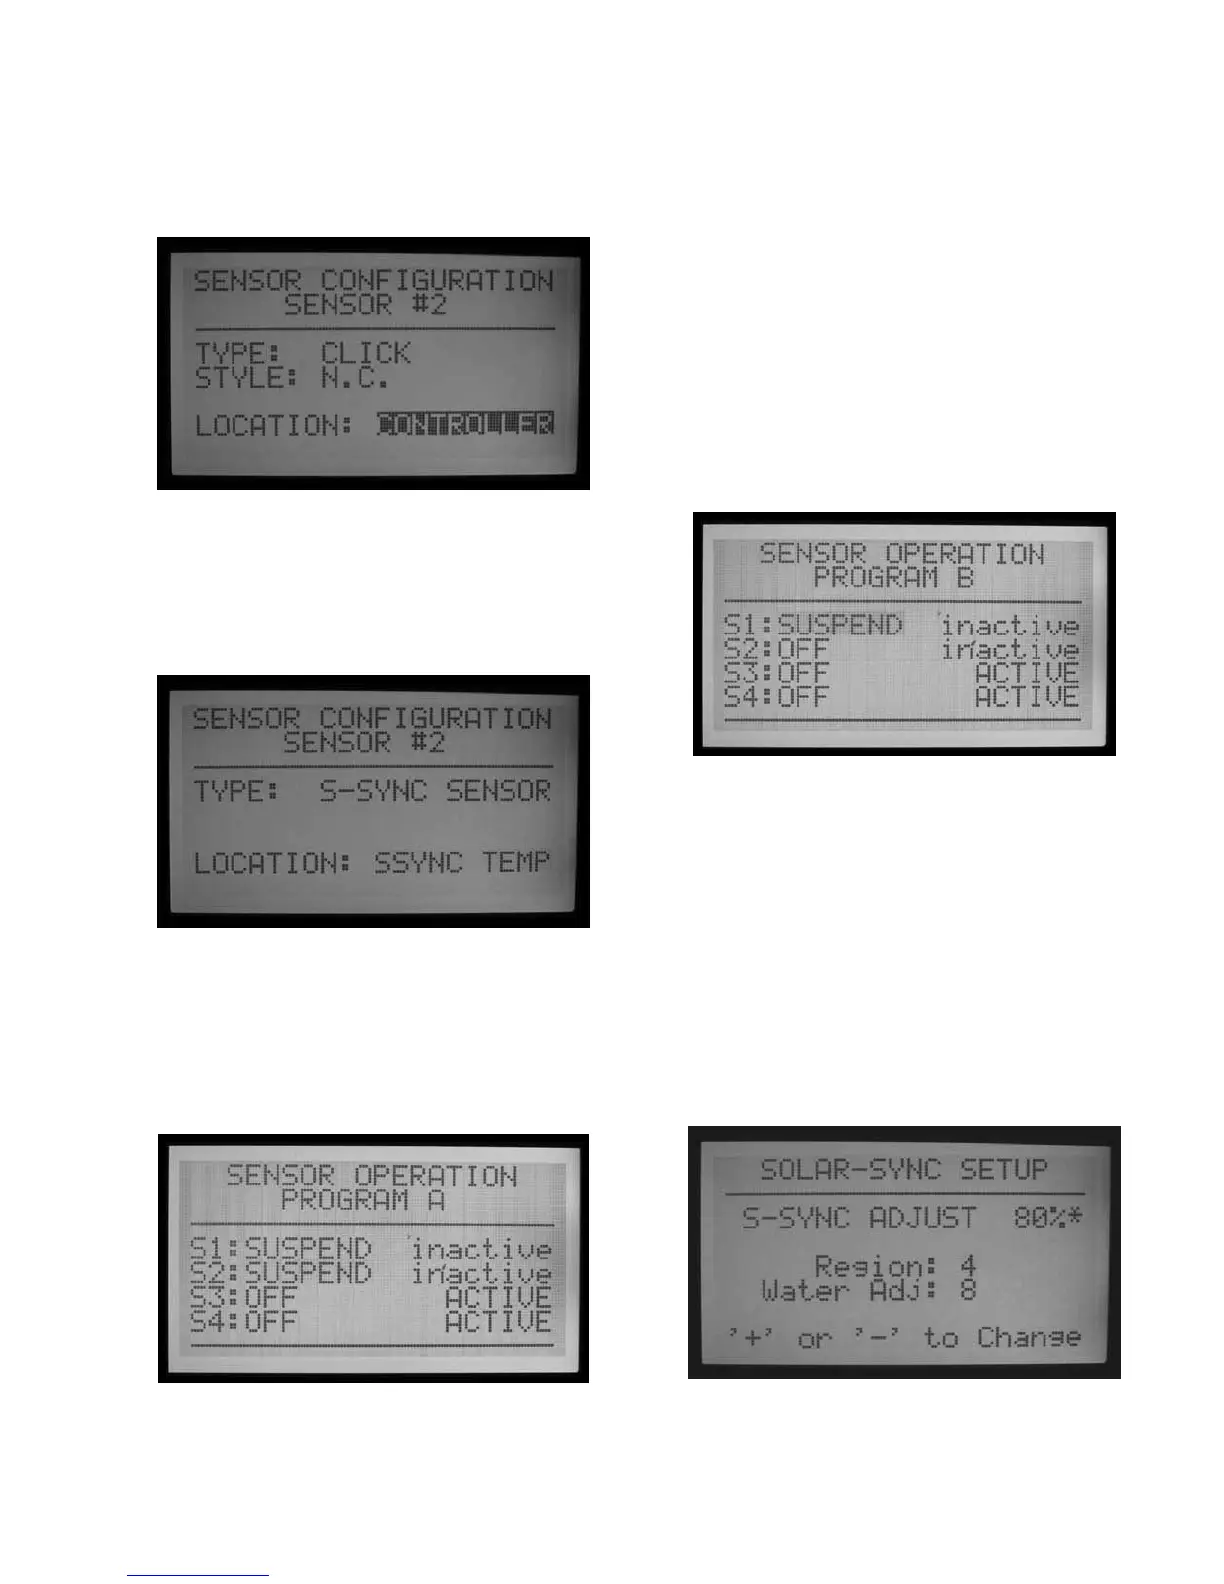
• This will display the Sensor Configuration screen. This
is used to tell the ACC which of its 4 sensor inputs will
operate with the Solar Sync sensor.
• Choose the sensor input number with + or – buttons
while the Sensor number is highlighted.
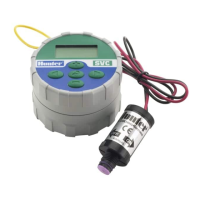
• Then, press the down arrow button to move to
“Location”. Use the + or – buttons to select “SSync
Rain” or SSync Temp” to make that sensor input
respond to the Solar Sync sensor.
• When either or both Rain and Temp have been
assigned to Sensor numbers, turn the dial to another
dial position to save the setup.
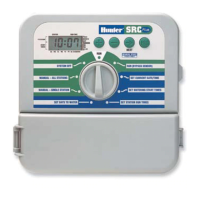
SENSOR SHUTDOWN BY PROGRAM
• Turn the dial back to Set Sensor Operation (without
holding the Information button).
• The screen will display the sensor responses for
Program A (unless another program has been
selected). It will also display which sensors will shut
down Program A.
• If the Sensors (S1, 2, 3, and 4) are set to Off, they will
not shutdown the selected Program.
• Use the + or – buttons to change Off to Suspend, or
Pause. See the sensor section in the ACC manual
for a complete description of the difference between
Suspend and Pause.
• Suspend is generally the better choice for irrigation
programs! Make sure to fully understand Pause
before selecting this option.
• If Sensor 1 (S1) is assigned to SSync Rain, change the
response for S1 from Off to Suspend (with the + or –
buttons), to have the program stop watering when the
SSync Rain sensor is alarmed (active).
• If Sensor 2 (S2) is assigned to SSync Temp, change
the response for S2 from Off to Suspend (with the + or
– buttons), to have the program stop watering when
the SSync Temp nears freezing.
• Press the Programs button to move through each
program, and configure the shutdown responses for
the Solar Sync sensors, as desired.
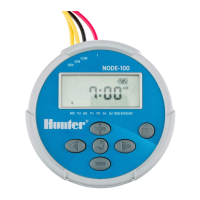
OPERATION & ADJUSTMENT
• Turn the dial to the Run position. The S-Sync Adjust
status should appear in the display.
• When the system is newly installed, the S-Sync
Adjust is set to 100% on the first day (this cannot be
changed).
• At midnight, the S-Sync Adjust will change to 80% (or
greater) based on the sensor.
• The asterisk disappears from the Setup screen after a
full 24 hour period of sensor data. The asterisk is not
visible in the Run dial position display.