5
Leveling
IMPORTANT! IT IS IMPERATIVE THAT CASES BE
LEVELED FROM FRONT TO BACK AND SIDE TO SIDE
PRIOR TO JOINING. A LEVEL CASE IS NECESSARY
TO INSURE PROPER OPERATION, WATER DRAINAGE,
GLASS ALIGNMENT, AND OPERATION OF THE HINGES
SUPPORTING THE GLASS. LEVELING THE CASE
CORRECTLY WILL SOLVE MOST HINGE OPERATION
PROBLEMS.
NOTE: A. To avoid removing concrete fl ooring, begin lineup
leveling from the highest point of the store fl oor.
B. When wedges are involved in a lineup, set them fi rst.
All cases were leveled and joined prior to shipment to
insure the closest possible ! t when cases are joined in
the ! eld. When joining, use a carpenters level and shim
legs accordingly. Case must be raised correctly, under legs
where support is best, to prevent damage to case.
1. Check level of " oor where cases are to be set.
Determine the highest point of the " oor; cases will
be set off this point.
2. Set ! rst case, and adjust legs over the highest part
of the " oor so that case is level. Prevent
damage - case must be raised under leg or by use
of 2x6 or 2x4 leg brace. Remove side and back leg
braces after case is set.
3. Set second case as close as possible to the
! rst case and level case to the fi rst using the
instructions in step one. The fronts of the cases
should be in alignment. Caution: do not use
connecting bolts to pull sections together.
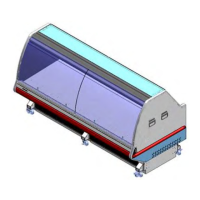
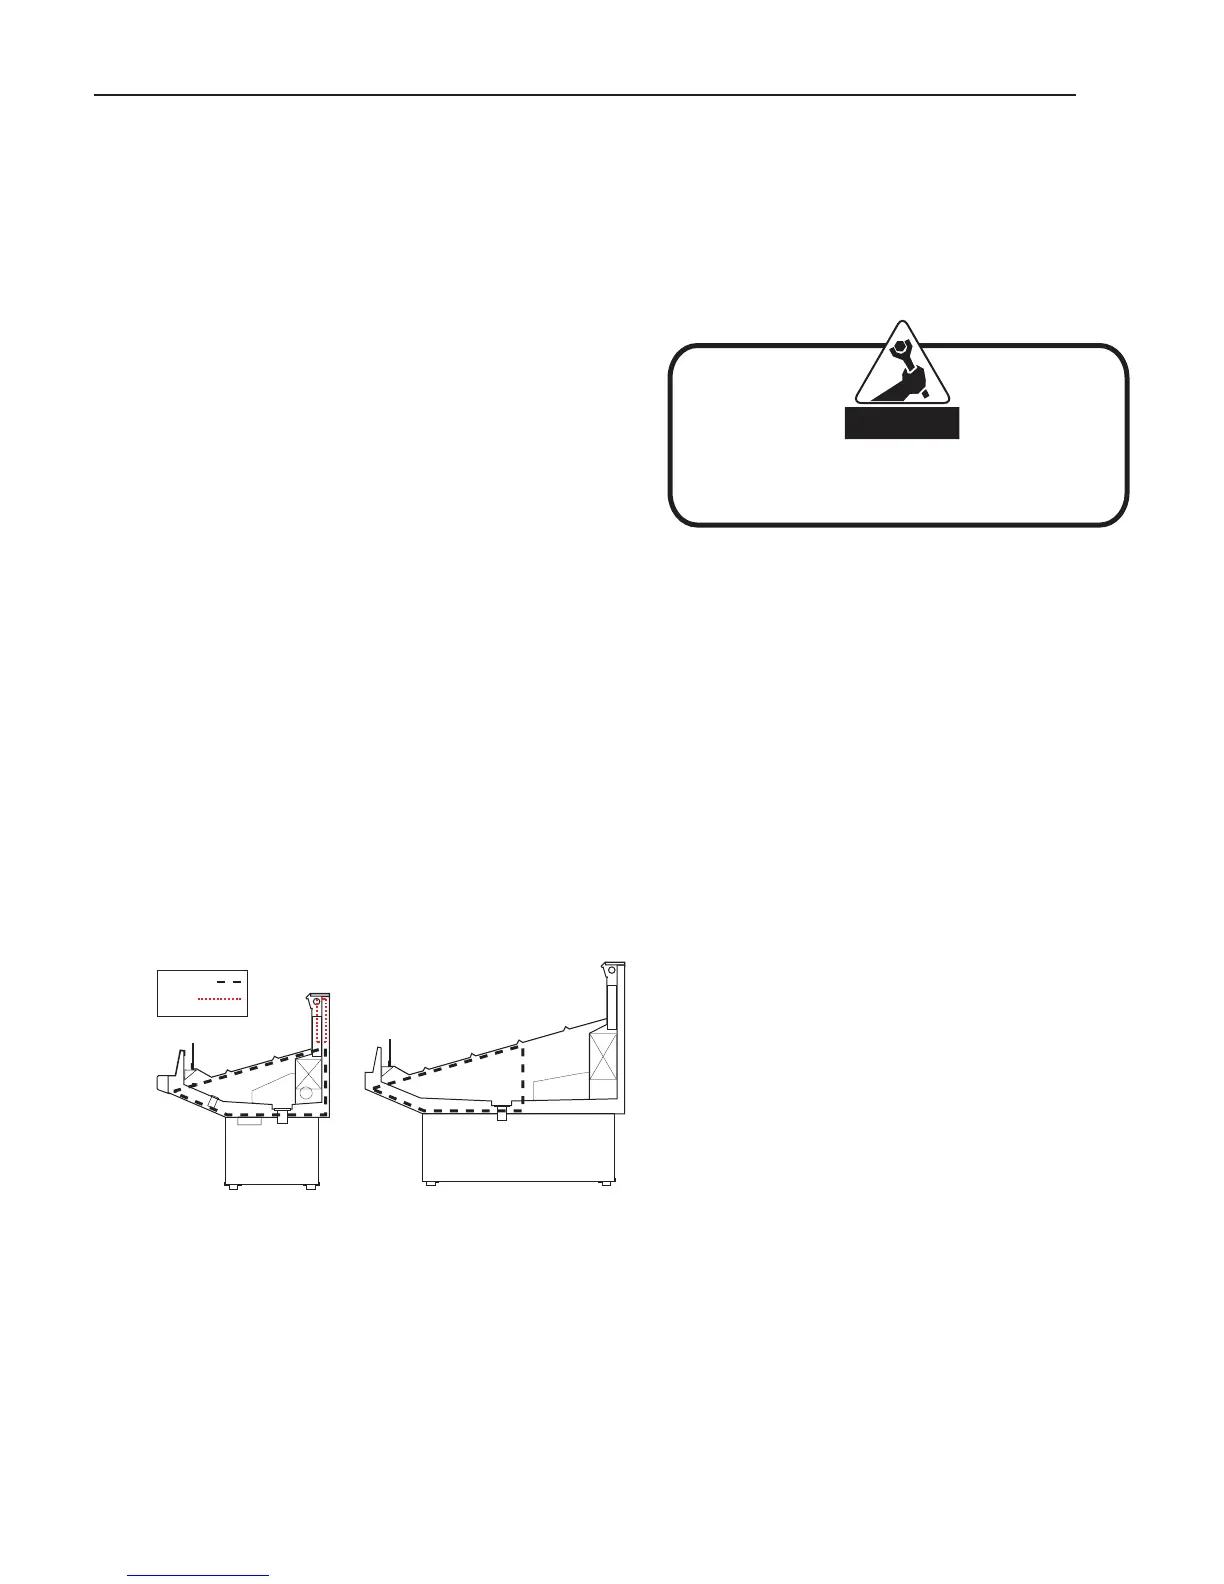
4. Apply a thick bead of 2-part epoxy to adjoining
end panels as illustrated in the following diagram,
especially around bulkhead cutouts and screw
holes. Apply liberal bead of 2-part epoxy between
cases along bulkhead and up the rear discharge
(grey silicone). Do not use Permagum because this
does not allow cases to draw up tight, and therefore
leaves gaps at the joint.
8. Connect applicable electrical, refrigeration, water,
and drain lines. See respective chapters for more
detailed instructions.
9. After cases have been leveled and refrigeration,
electrical, and waste piping work completed, install
the splashguards. (see instructions in the “Finishing
Touches” section of this booklet).
Note: Seal the unit to the fl oor with an NSF Listed caulk or
equivalent
Corner Wedges
Corner wedges are attached via front and rear camlocks.
Use a 7mm allen wrench to turn the locks. Do not
overtighten# Join the top by using a joint bracket (included
in joint kit) with 3/8” bolts.
Joint Trim
After cases have been leveled and joined, and refrigeration,
electrical, and wasted piping work completed, install the
splashguards. Fasten along the top edge, or center, with
$10 X 3/3” sheet metal screws.
Installation (Cont'd)