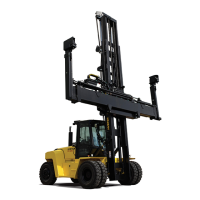
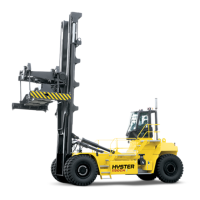
5000 SRM 969 Sideshift Cylinders Repair
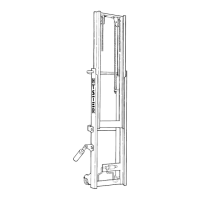
7. Remove top two wear blocks to allow easier re-
moval of attachment. Slide lower frame of at-
tachment forward so frame rotates slightly. This
will allow top bar of attachment frame to be re-
leased from the carriage. For further disassem-
bly, attachment should be put in a flat position.
Sideshift Cylinders Repair
REMOVE
1. Disconnect hydraulic lines at cylinder. Put caps
on open lines and cylinder.
2. Remove cylinder. To remove lock nut from cylin-
der rod end, use a wrench on flats so rod end will
not turn in cylinder.
DISASSEMBLE
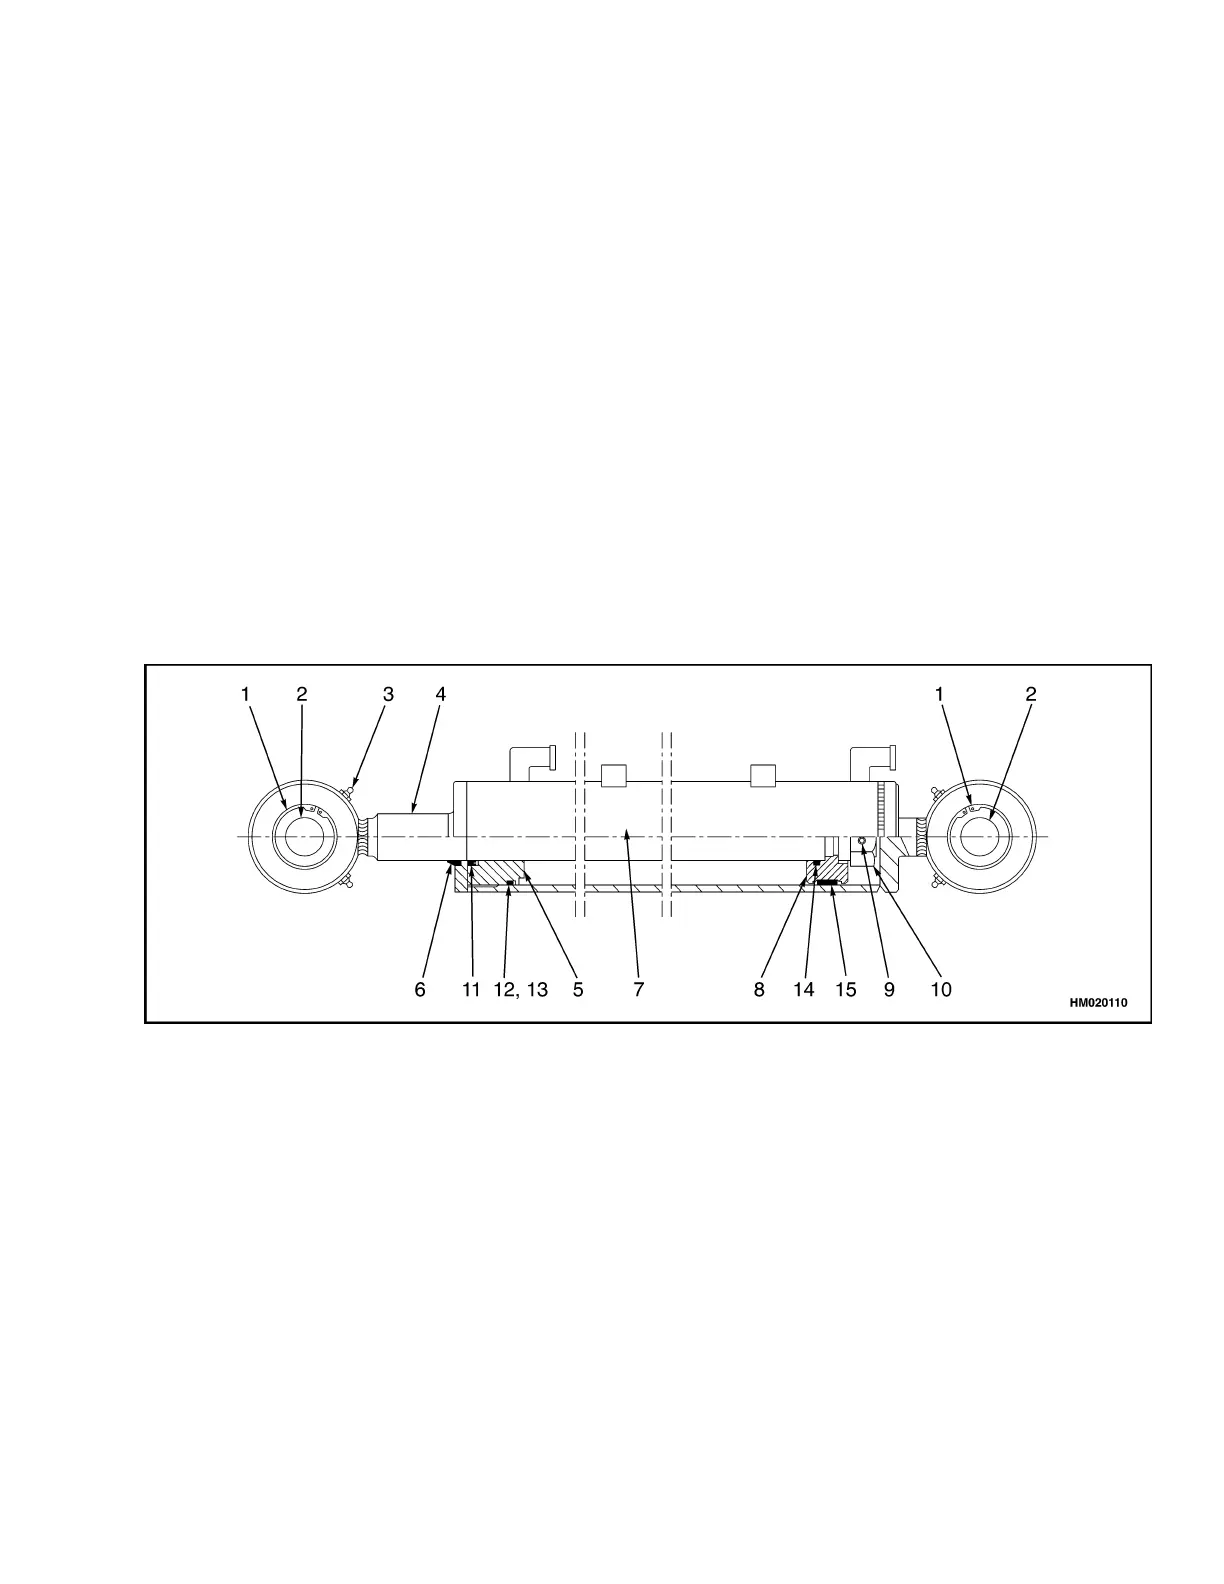
1. Remove gland nut. See Figure 7.
2. Pull rod assembly and retainer from cylinder
shell. Remove gland nut from rod.
3. Remove nut and piston from rod.
4. Remove and discard all wipers, seals, backup
rings, and O-rings from gland nut.
ASSEMBLE
1. Install new wipers, seals, and backup ring on pis-
ton. See Figure 7.
2. Install gland nut piston onto rod and tighten nut
to 800 N•m (590 lbf ft).
3. Install rod and piston in shell.
1. SNAP RING
2. SPHERICAL BEARING
3. GREASE NIPPLE
4. PISTON ROD
5. GLAND NUT
6. WIPER RING
7. SHELL
8. PISTON
9. SETSCREW
10. NUT
11. SEAL ROD
12. O-RING
13. BACKUP RING
14. O-RING
15. SEAL PISTON
Figure 7. Sideshift Cylinder
11