24 25
Step 12
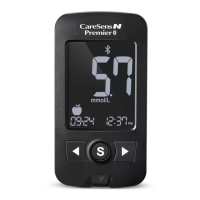
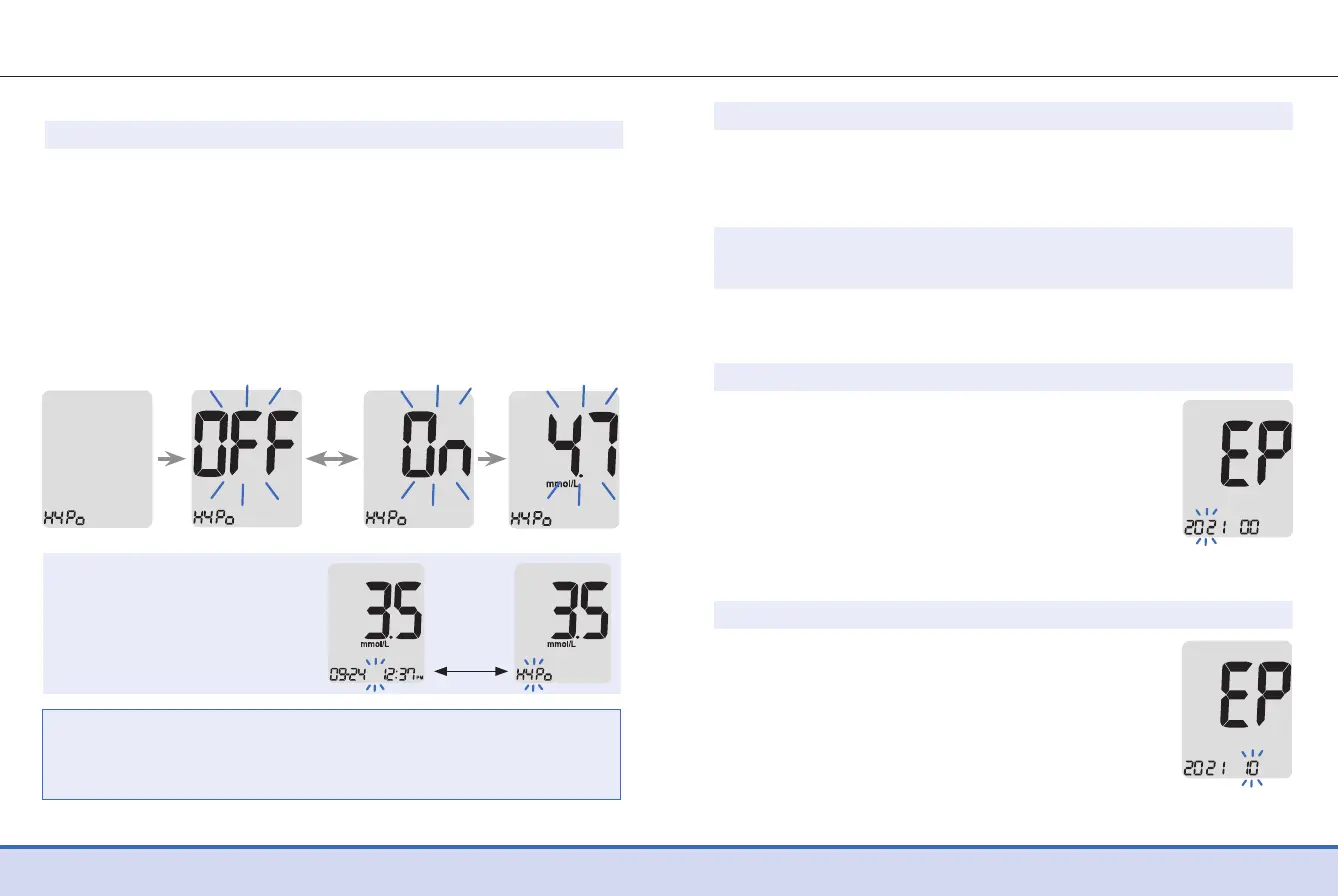
This setting allows you to turn the hypoglycemia indicator
(possible low blood sugar) on or off and to select the desired
level for the indicator. You will be alerted any time your test
result is lower than the selected level. On pressing the ◀ or ▶
button, the screen will display 'On' or 'OFF'. Press the ●
button
when 'On' appears to enter the setting. Press the ◀ or ▶ button
until the desired hypoglycemia level between 1.1–5.0 mmol/L
appears. Press the ●
button to confirm the hypoglycemia level
and go to the next step.
Setting the Hypoglycemia (HYPo) Indicator
Caution:
Ask your healthcare professional to help you decide what your
hypoglycemia level is before setting your level.
Note:
If the test result is lower than
the pre-set hypoglycemia
level, the meter will display
the following.
HYPo warning
will blink at the
bottom.
Setting the Strip Expiration Date Indicator
Step 1 Entering the Expiration Date Setting
Press and hold the
◀
and
▶
buttons at the same time for 3
seconds to enter the expiration date settings. After all segments
flash across the screen, 'EP' will show up.
Step 2 Setting the Year
A number indicating the year will blink at the
bottom left corner of the screen. Press the
◀ or ▶
button until the correct year appears.
Press the
●
button to confirm the year and
set the month.
Note:
The strip expiration date is printed on the test strip vial.
Step 3 Setting the Month
A number indicating the month will blink
at the bottom of the screen. Press the
◀ or
▶
button until the correct month appears.
Press and hold the
●
button for 3 seconds to
confirm the month and turn off the meter.
 Loading...