After you install or remove a DIMM, you must change and save the new
configuration information by using the Setup utility. When you turn on the blade
server, a message indicates that the memory configuration has changed. Start the
Setup utility and select Save Settings (see “Using the Setup utility” on page 47 for
more information) to save changes.
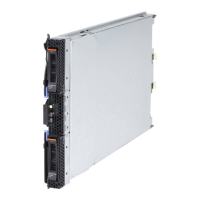
Retaining
clip
DIMM
Note: DIMMs or DIMM fillers must occupy DIMM connectors 1, 2, 13, 14, 15, and
16 for proper cooling.
To remove a DIMM, complete the following steps:
1. Before you begin, read “Safety” on page v and “Installation guidelines” on
page 17.
2. If the blade server is installed in a BladeCenter unit, remove it (see “Removing
the blade server from the BladeCenter unit” on page 19).
3. Remove the blade server cover (see “Removing the blade server cover” on page
20).
4. If an optional expansion unit is installed, remove the expansion unit (see
“Removing an optional expansion unit” on page 23).
5. Locate the DIMM connectors (see “Blade server connectors” on page 15).
Determine which DIMM you want to remove from the blade server.
Attention: To avoid breaking the retaining clips or damaging the DIMM
connectors, handle the clips gently.
6. Move the retaining clips on the ends of the DIMM connector to the open
position by pressing the retaining clips away from the center of the DIMM
connector.
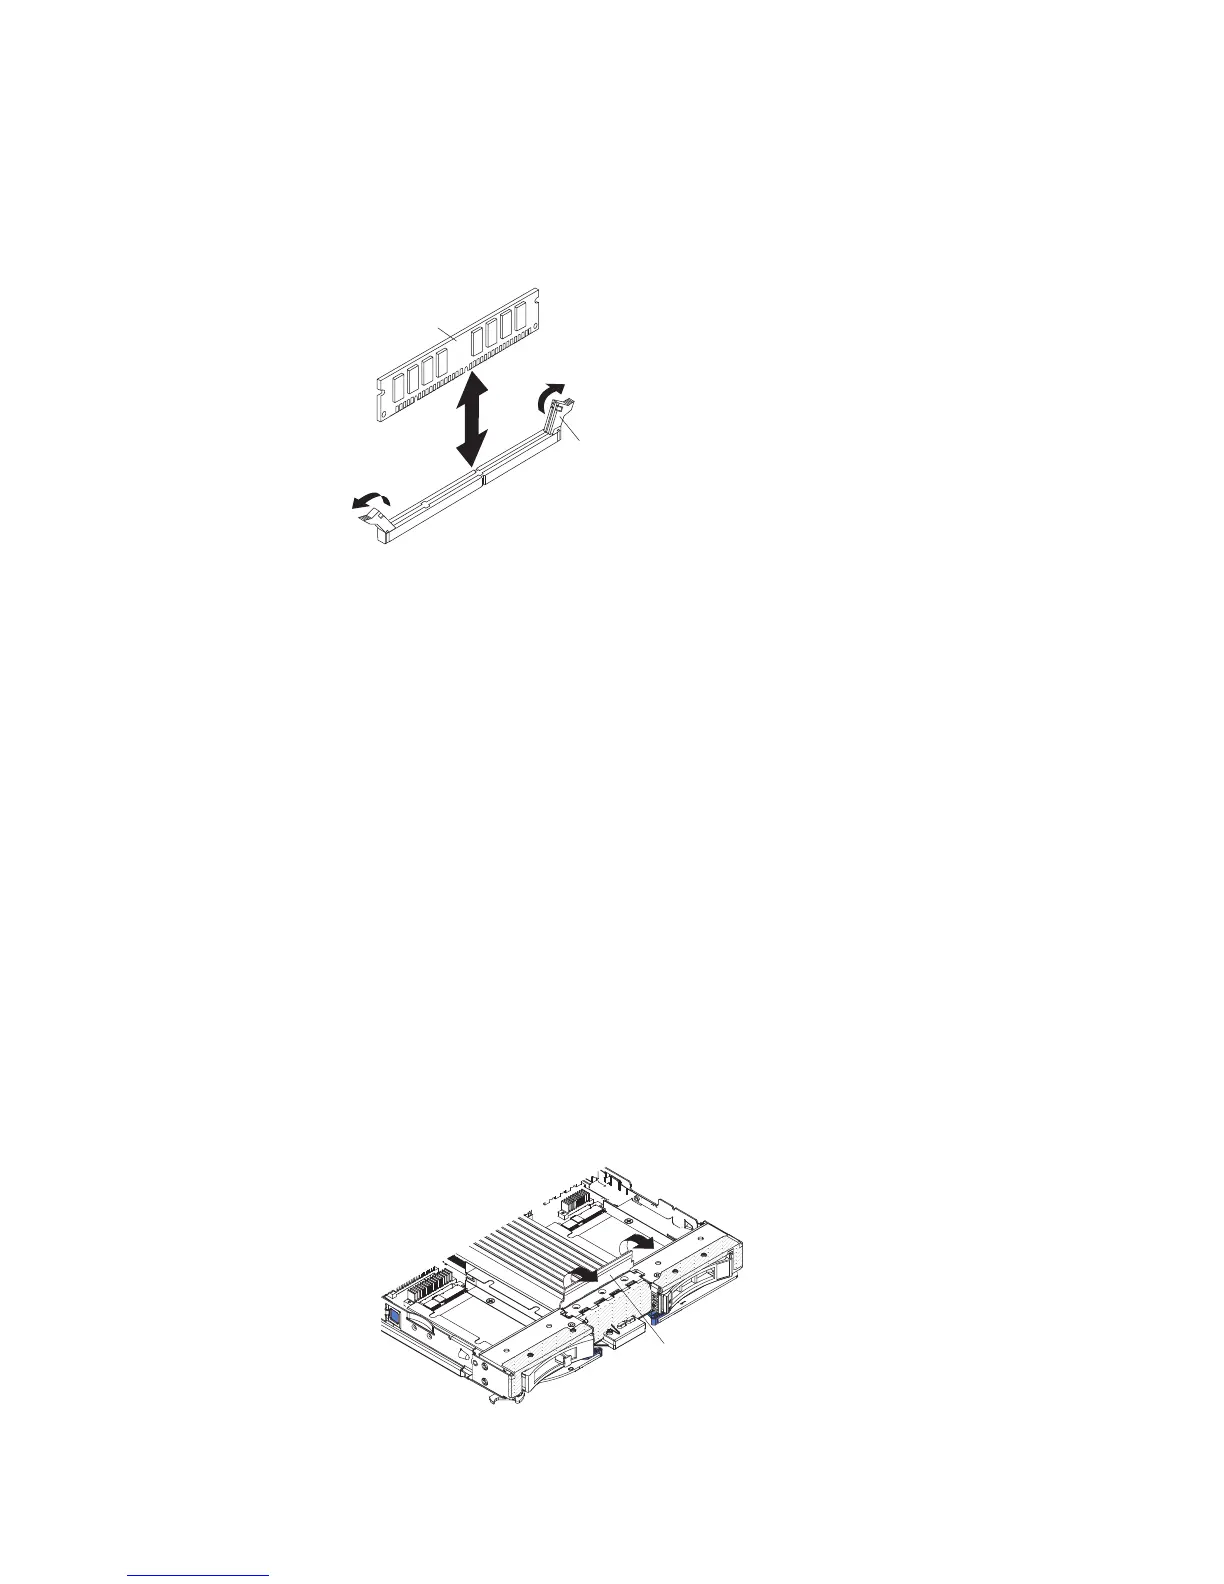
Note: To access DIMM connectors seven through twelve, use your fingers to
lift the DIMM access door.
DIMM access door
7. Using your fingers, pull the DIMM out of the connector.
Chapter 3. Installing options 29
 Loading...


