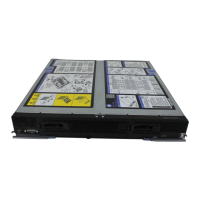
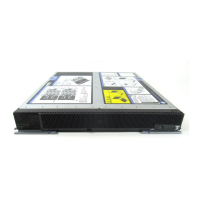
8. You can place identifying information on the label tabs that are accessible from
the front of the compute node.
What to do next
If this is the initial installation of the compute node in the chassis, you must
configure the compute node through the Setup utility and install the compute node
operating system. See “Updating the compute node configuration” on page 488
and Chapter 3, “Installing the operating system,” on page 39 for details.
If you have changed the configuration of the compute node or if you are installing
a different compute node from the one that you removed, you must configure the
compute node through the Setup utility, and you might have to install the compute
node operating system (see “Using the Setup utility” on page 26).
Removing and replacing Tier 1 customer replaceable units (CRUs)
Use this information for removing and replacing Tier 1 CRUs.
About this task
Replacement of Tier 1 CRUs is your responsibility. If IBM installs a Tier 1 CRU at
your request, you will be charged for the installation.
Removing the adapter-retention assembly
Use this information to remove the adapter-retention assembly.
Before you begin
Before you remove the adapter-retention assembly, complete the following steps:
1. Read “Safety” on page v and “Installation guidelines” on page 487.
2. If the compute node is installed in an IBM Flex System chassis, remove it (see
“Removing a compute node from a chassis” on page 489 for instructions).
3. Carefully lay the compute node on a flat, static-protective surface, orienting the
compute node with the bezel pointing toward you.
About this task
The adapter-retention assembly consists of five separate parts. You can replace only
the parts that you choose and save the unused parts for future use.
492 IBM Flex System x440 Compute Node Types 7917 and 2584: Installation and Service Guide

 Loading...


