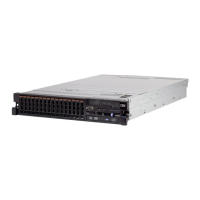
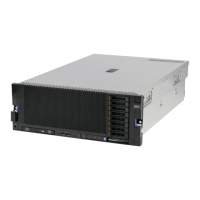
The following illustrations show the supported combination of drive backplane
configurations that you can use to support 24 drives:
This configuration consists of two 4x2.5-inch drive backplanes and two
8x1.8-inch drive backplanes and requires six SAS signal cables.
2.5” HDD/SSD
4567
2.5” HDD/SSD
2.5” HDD/SSD
2.5” HDD/SSD
2.5” HDD/SSD
0123
2.5” HDD/SSD
2.5” HDD/SSD
2.5” HDD/SSD
16 191817 20 21
1.8” SSD
1.8” SSD
1.8” SSD
1.8” SSD
1.8” SSD
1.8” SSD
1.8” SSD
1.8” SSD
22 23
24 272625 28 29
1.8” SSD
1.8” SSD
1.8” SSD
1.8” SSD
1.8” SSD
1.8” SSD
1.8” SSD
1.8” SSD
30 31
This configuration consists of one 8x2.5-inch drive backplane and two
8x1.8-inch drive backplanes and requires six SAS signal cables.
2.5” HDD/SSD
4567
2.5” HDD/SSD
2.5” HDD/SSD
2.5” HDD/SSD
2.5” HDD/SSD
0123
2.5” HDD/SSD
2.5” HDD/SSD
2.5” HDD/SSD
16 191817 20 21
1.8” SSD
1.8” SSD
1.8” SSD
1.8” SSD
1.8” SSD
1.8” SSD
1.8” SSD
1.8” SSD
22 23
24 272625 28 29
1.8” SSD
1.8” SSD
1.8” SSD
1.8” SSD
1.8” SSD
1.8” SSD
1.8” SSD
1.8” SSD
30 31
This configuration consists of three 8x1.8-inch drive backplanes and requires six
SAS signal cables. You can also install the optional simple-swap 2.5-inch SATA
drive kit in this configuration.
Installing an optional CD/DVD drive
To install an optional CD/DVD drive, complete the following steps:
1. Read the safety information that begins on page “Safety” on page v and
“Installation guidelines” on page 44.
2. Turn off the server (see “Turning off the server” on page 24) and all attached
peripheral devices. Disconnect all power cords; then, disconnect all external
cables from the server.
3. Remove the top cover (see “Removing the server top cover” on page 46).
4. Locate the blue release tab on the rear of the drive bay; then, while you press
the tab, push the CD/DVD filler toward the front of the server.
Chapter 2. Installing optional devices 67

 Loading...


