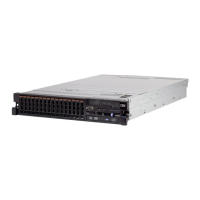
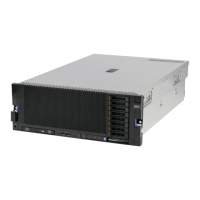
a. Remove the 4x2.5-inch filler panel on the front of the server next to the
information panel.
b. Touch the static-protective package that contains the new drive to any
unpainted metal surface on the server; then, remove the drive from the
package and place it on a static-protective surface.
c. Grasp the black drive handle and press down on the blue release latch and
align the drive assembly with the guide rails in the drive bay.
d. Gently push the drive assembly into the drive bay until the drive stops.
e. Install the plastic drive-bay spacer into the first two bays to the left of the
SATA drive.
12. Reinstall the fan cage assembly. (see “Replacing the fan cage assembly” on
page 114).
If you have other devices to install or remove, do so now. Otherwise, go to
“Completing the installation” on page 112.
Installing the 8x1.8-inch hot-swap drive backplane assembly
To install the 8x1.8-inch hot-swap drive backplane assembly, complete the
following steps:
1. Read the safety information that begins on page “Safety” on page v and
“Installation guidelines” on page 44.
2. Turn off the server (see “Turning off the server” on page 24) and all attached
peripheral devices. Disconnect all power cords; then, disconnect all external
cables from the server.
3. Remove the top cover (see “Removing the server top cover” on page 46).
4. Remove the fan cage assembly (see “Removing the fan cage assembly” on
page 50).
5. If a backplane filler panel is installed in the slot where you are installing the
backplane assembly, remove the backplane filler panel.
6. Align the drive backplane assembly with the drive-bay slots in which you
want to install the assembly.
Chapter 2. Installing optional devices 103

 Loading...


